How to make rubber band crafts - step by step master classes for beginners
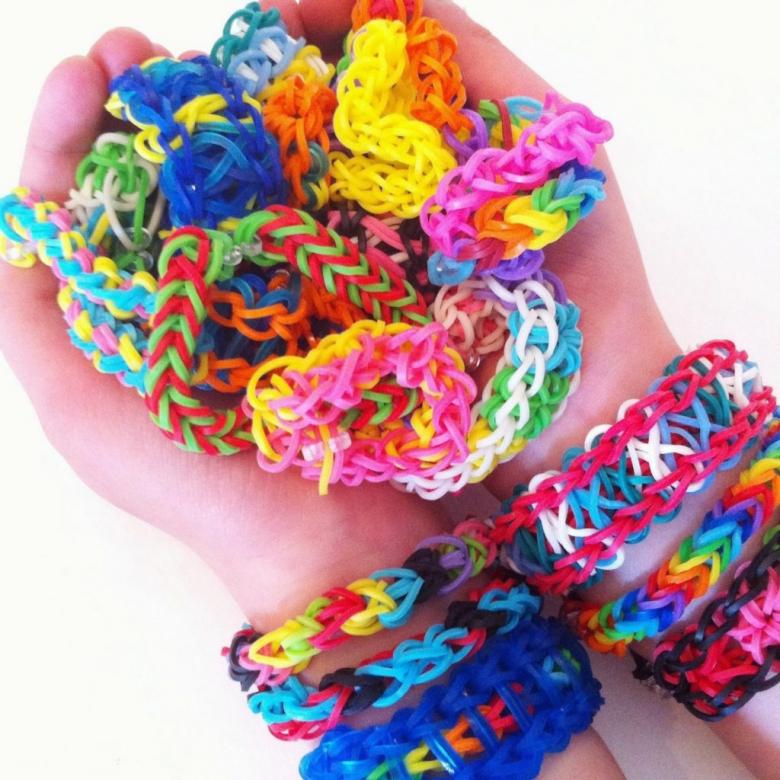
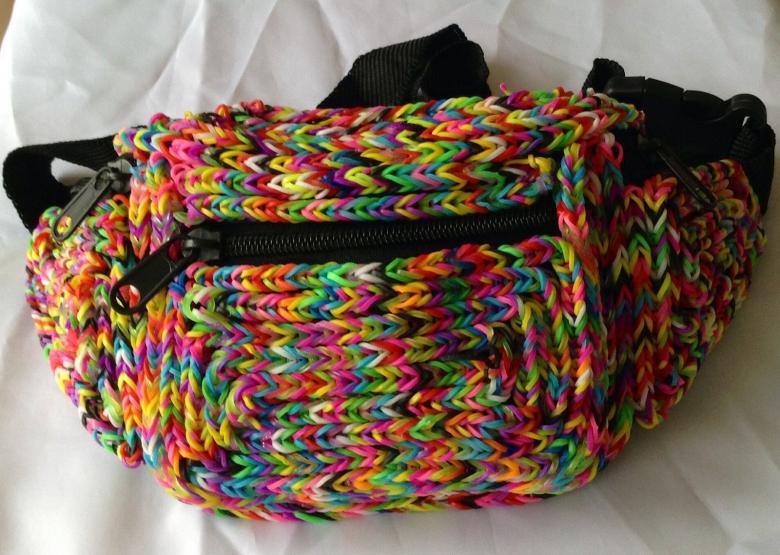
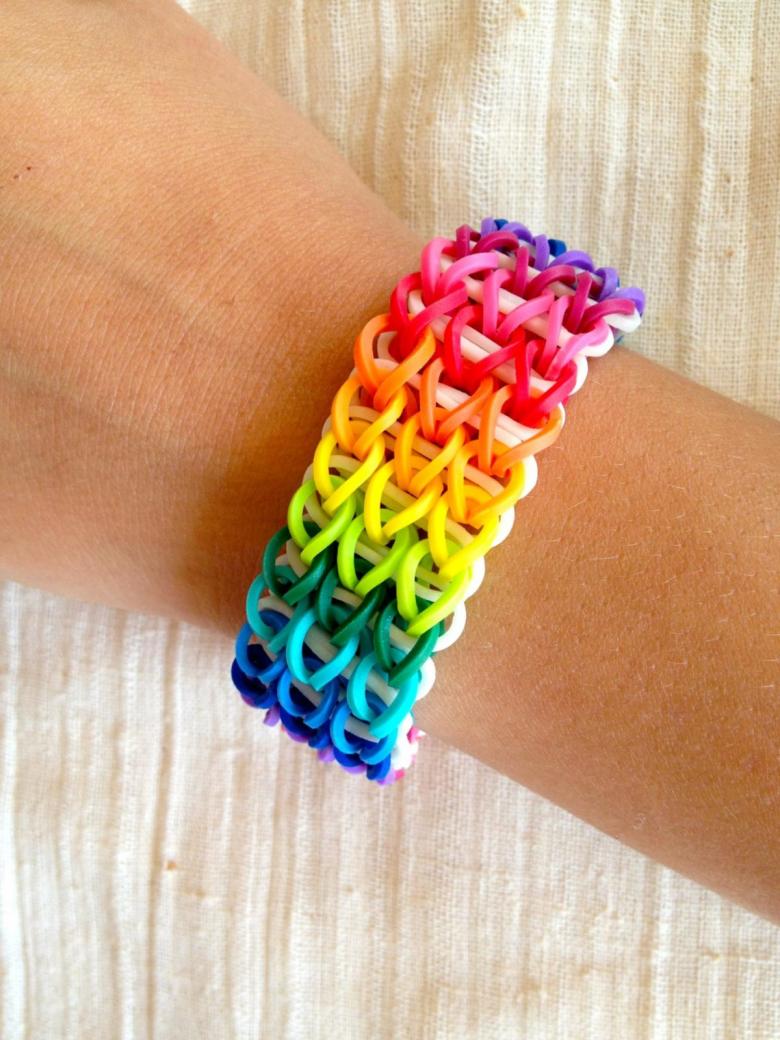
With the existing varieties of rubber bands your own hands can make toys, watch straps, bracelets and jewelry.

Craftsmen at home have at their disposal a wonderful material for needlework - different kinds of rubber bands: paper, for paper, money, women's hairstyles, and special for weaving. This kind of needlework is very popular among craftsmen of all ages, from children to seniors. From rubber bands you can make not only jewelry, but also useful things in everyday life.
Benefits of rubber band crafts
The popularity of this hobby is also due to the fact that the source material is inexpensive and available. In addition to the prevalence and cheapness of rubber bands, it is worth noting the environmental safety of this material, which can be used even by young children.

Rubber bands are used not only to create original hairstyles and fixation of long hair. They are also used as material for crafts in the form of jewelry and souvenirs for relatives and friends.
The whole family often takes part in the work of making crafts. Such collective leisure contributes to mutual understanding and family relationships. Such craft activities are very useful for preschool children. This leisure develops such qualities:
- Ability to accurately perform subtle motions with hands and fingers.
- Creative imagination.
- Intelligence and patience.
- The skill to achieve the set goal.
- Dedication, concentration and concentration of attention.

To achieve positive results, it is enough to master the basic skills of weaving products from elastic bands. In case of difficulties in the work is recommended to read the posted in the world network of numerous photo and video master classes on making items out of rubber bands.
Practical use of rubber band crafts
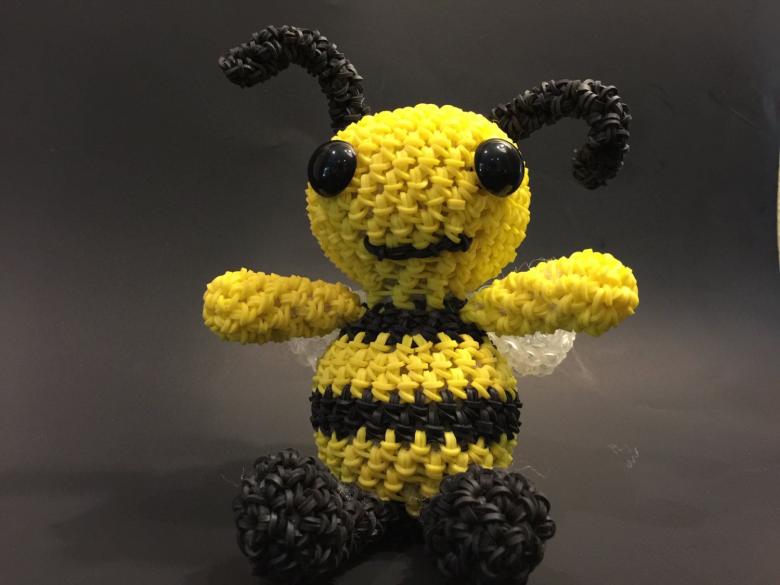
Gifts for relatives and friends
Self-made memory mementos from elastic bands for relatives, friends and acquaintances will be a reminder of the man who gave them for many years. Buy the source material for this craft can be any craftsman at home, even having a modest income.
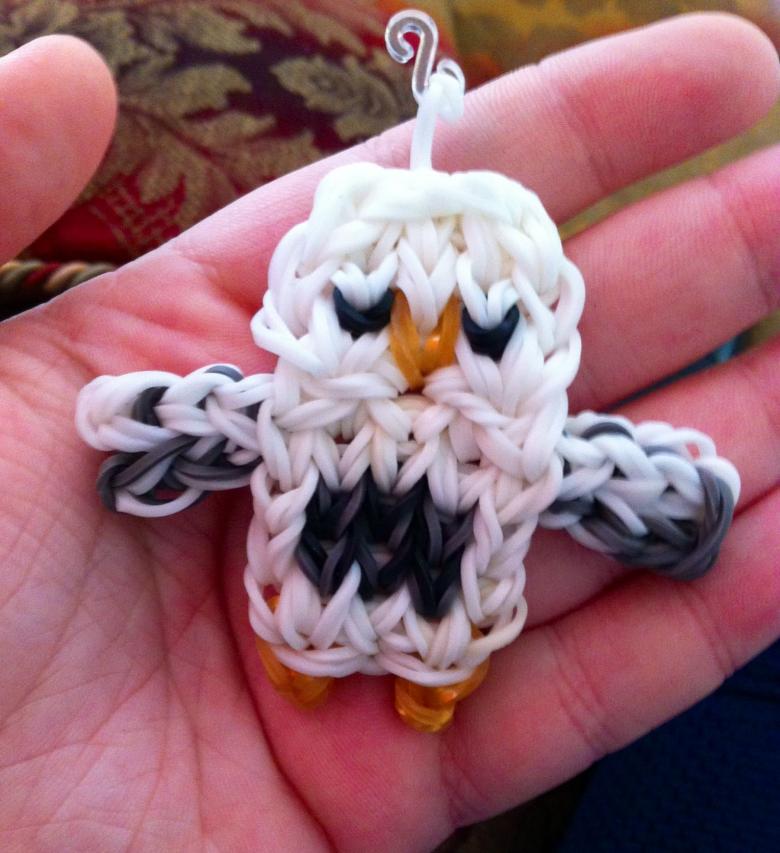
Children's toys
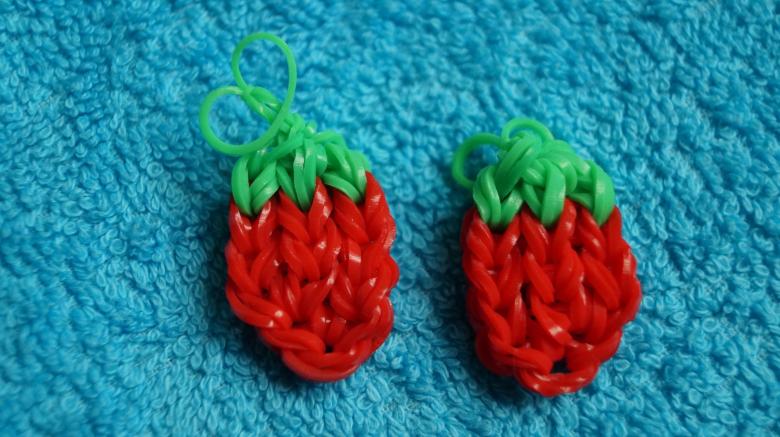
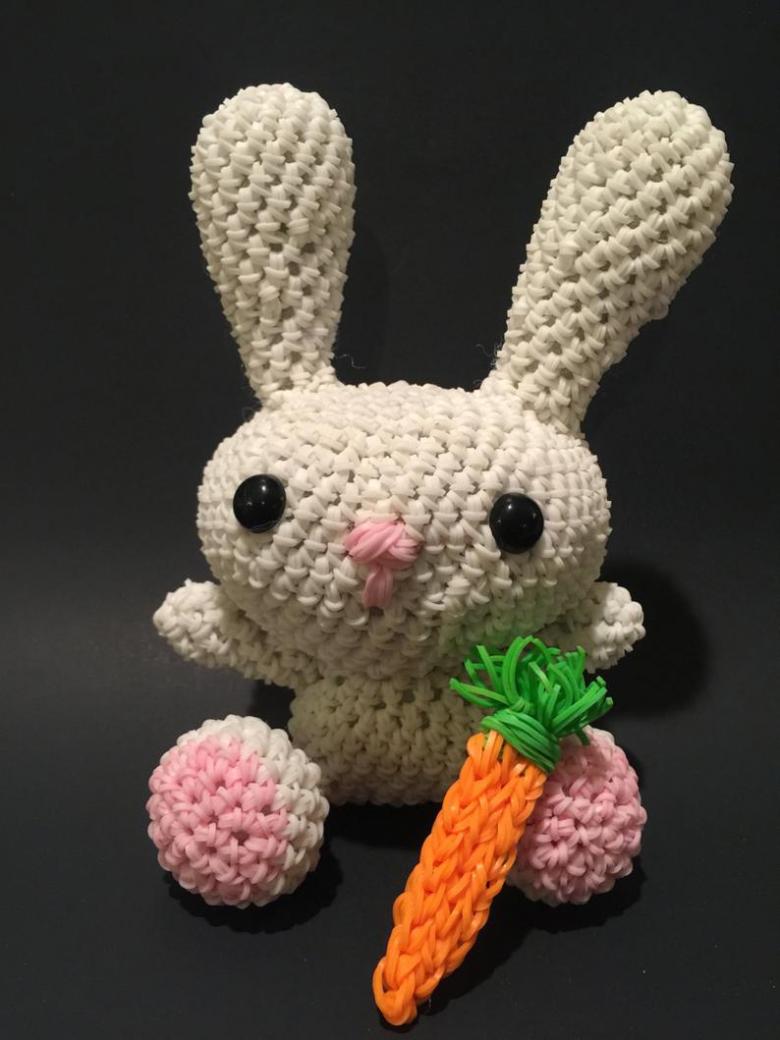
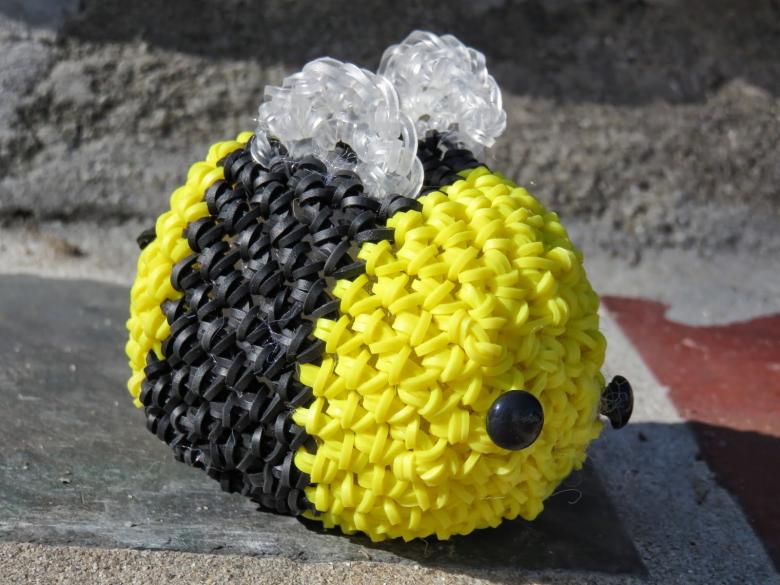
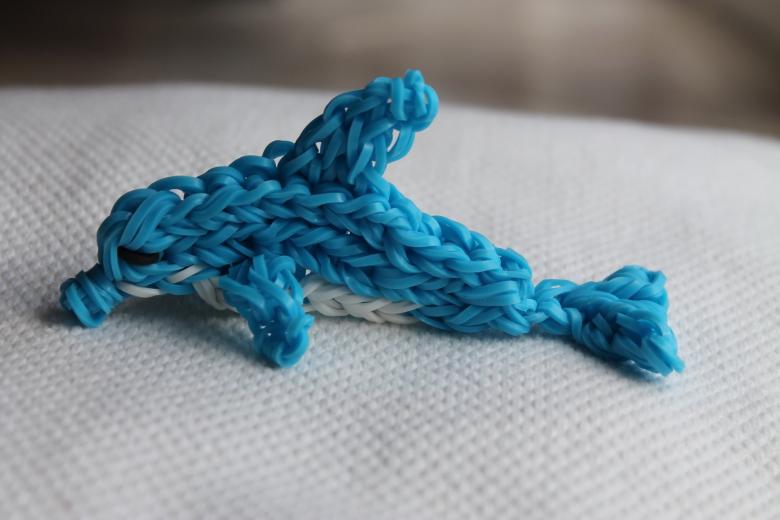
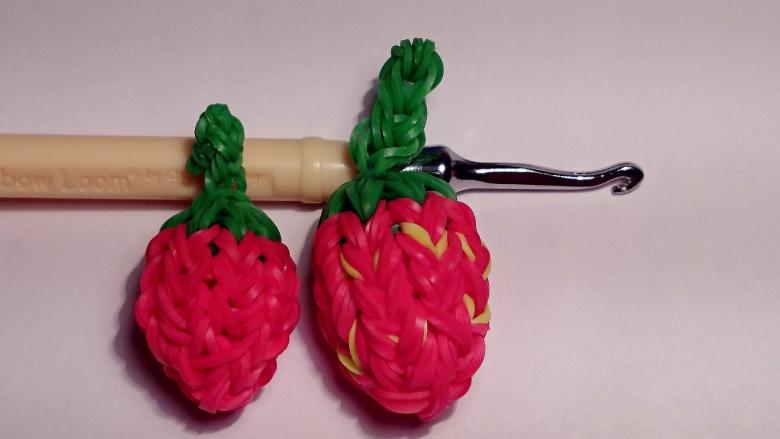
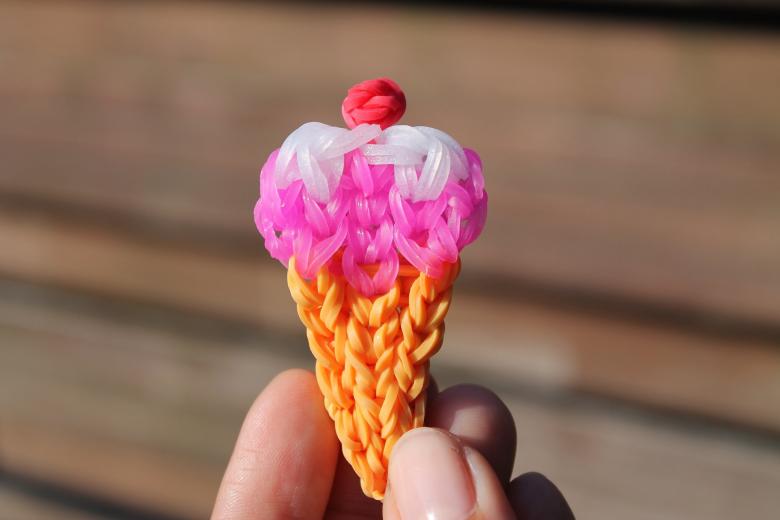
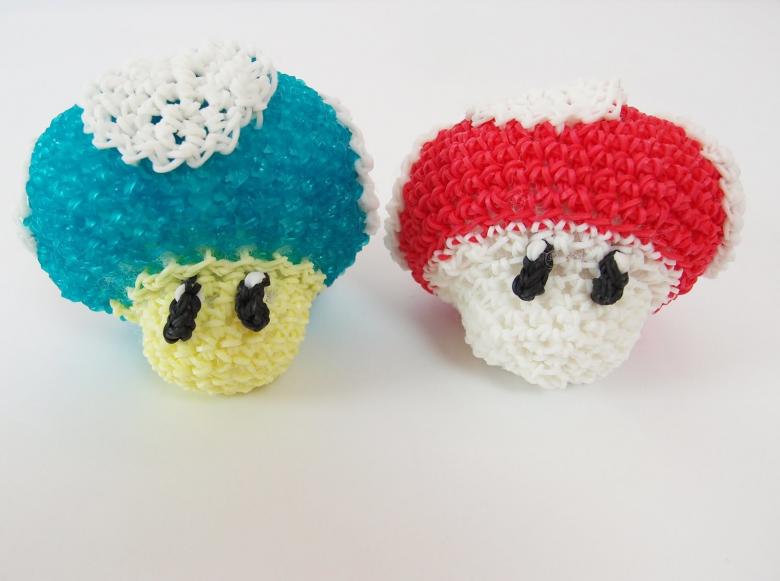
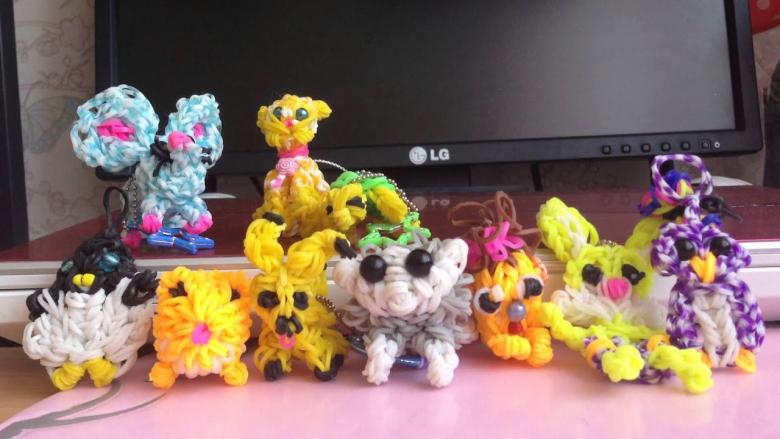
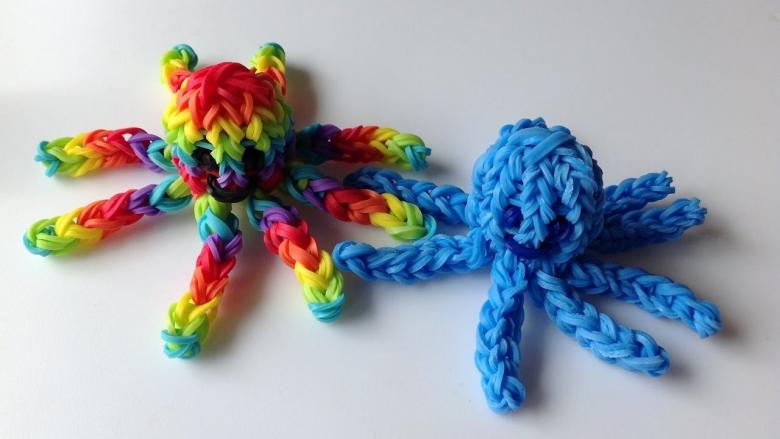
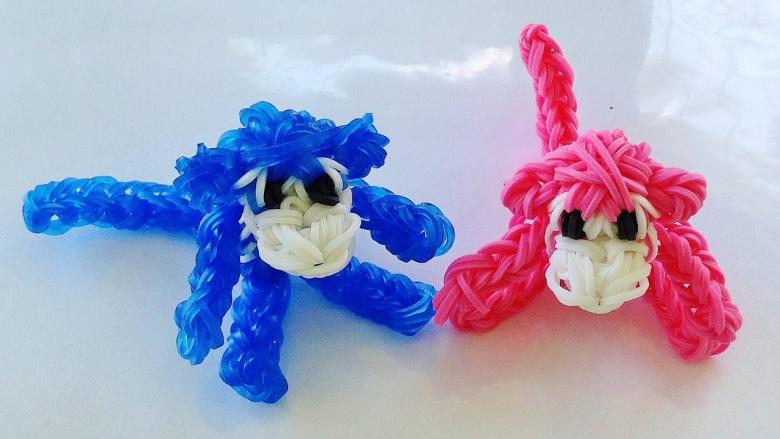
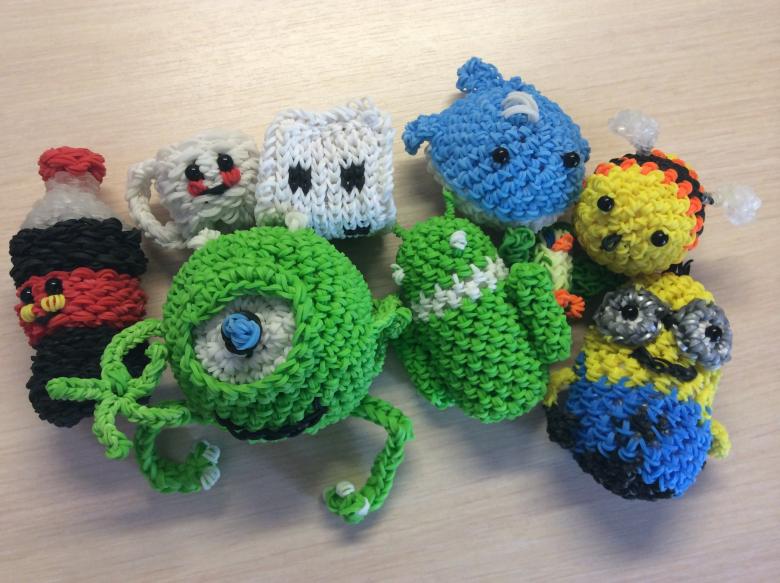
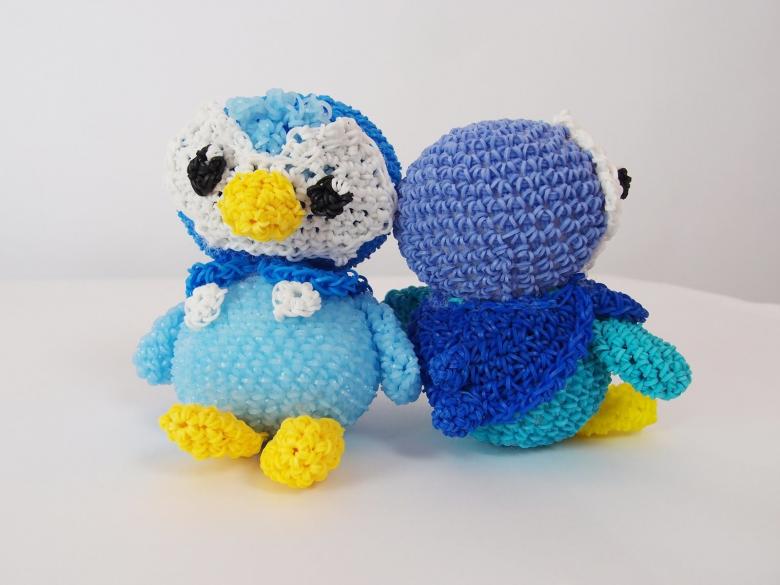
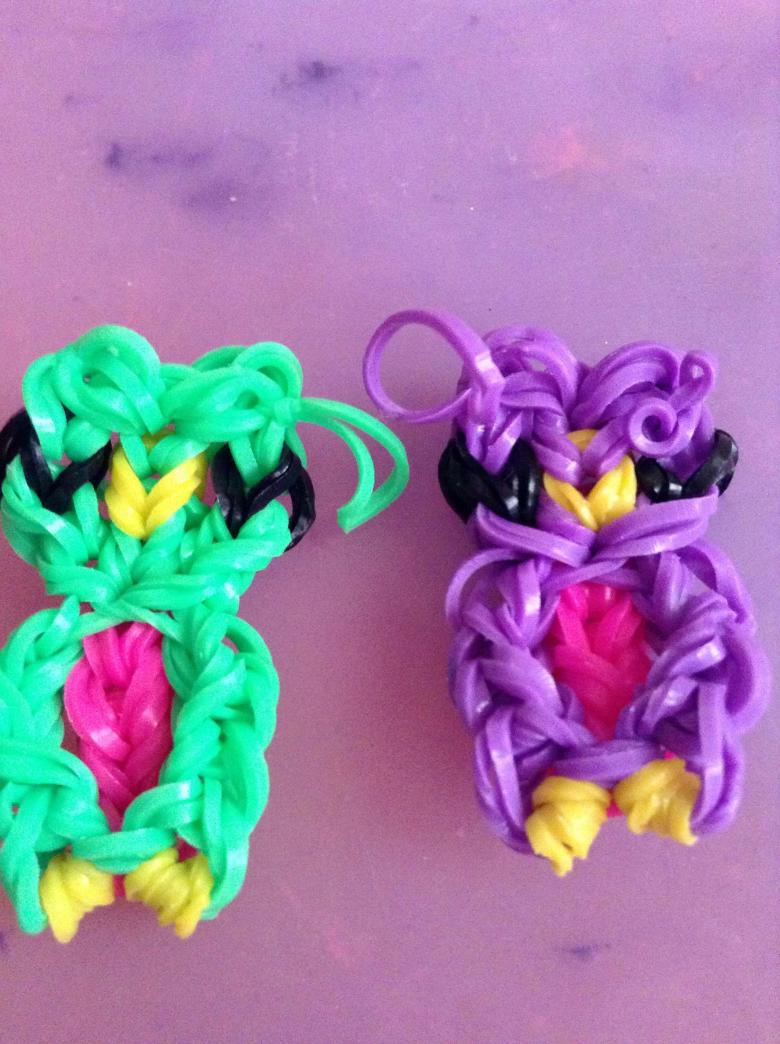
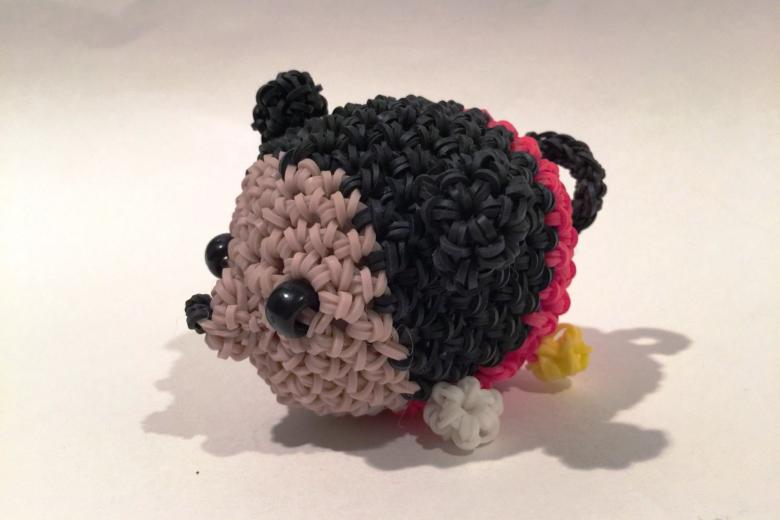
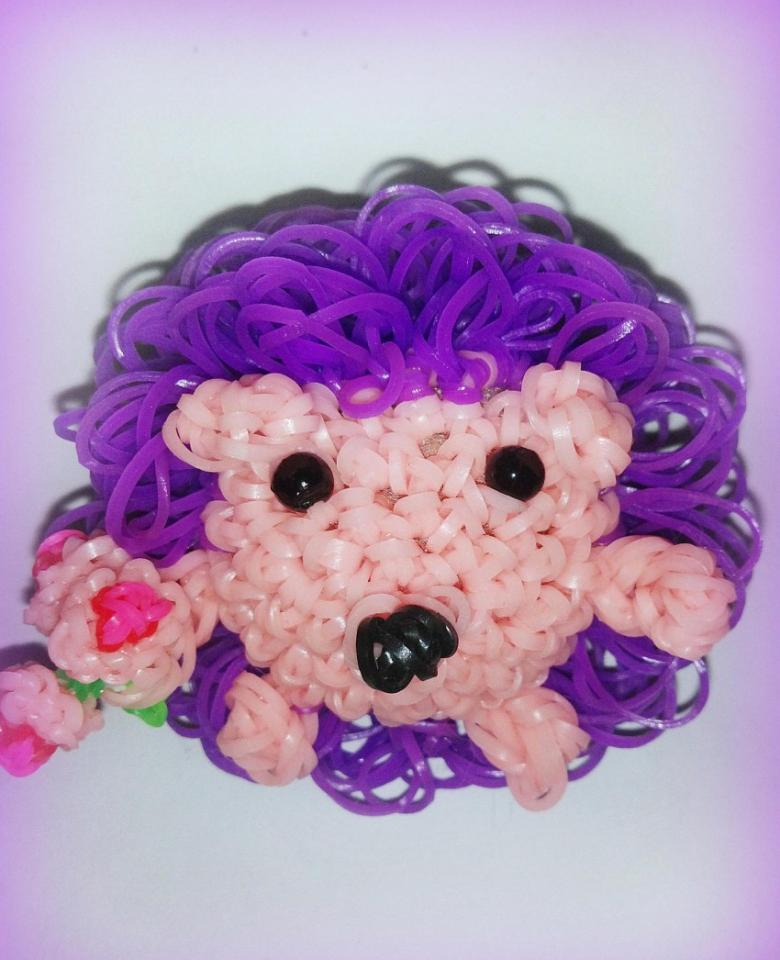
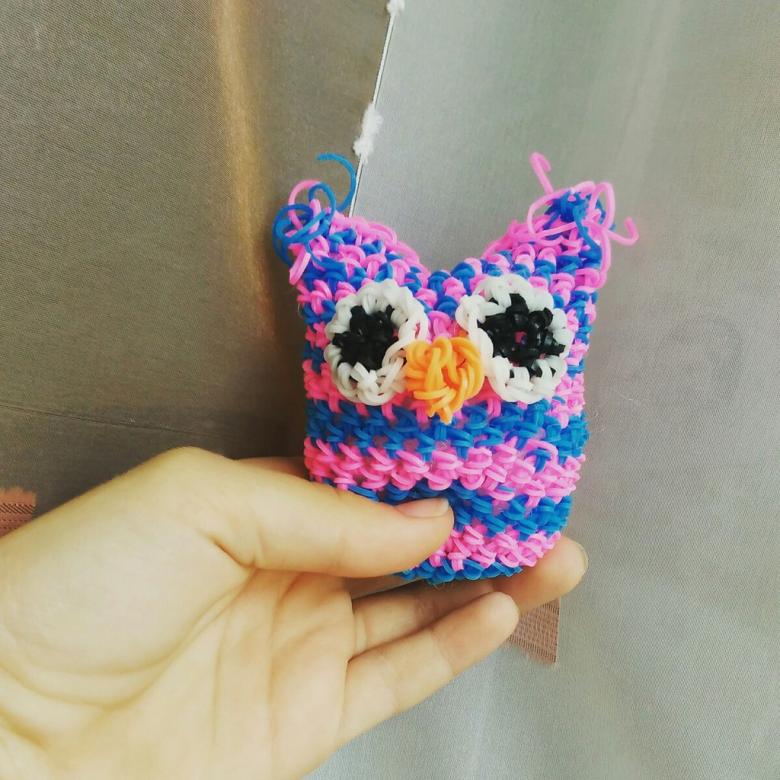
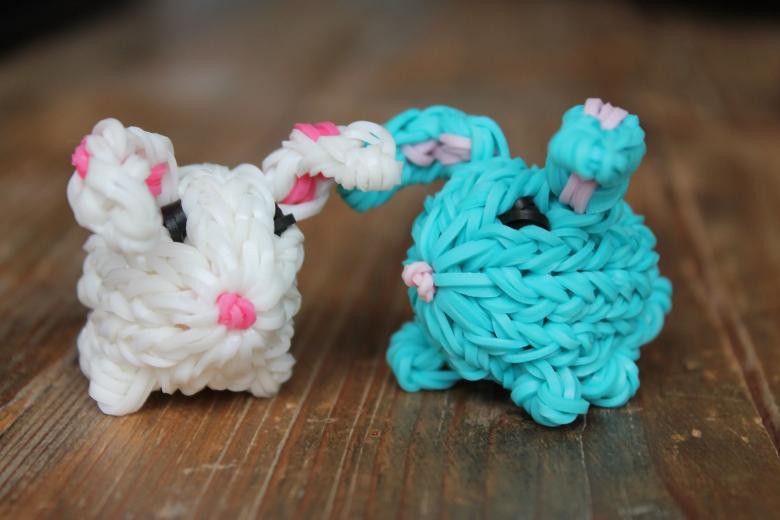
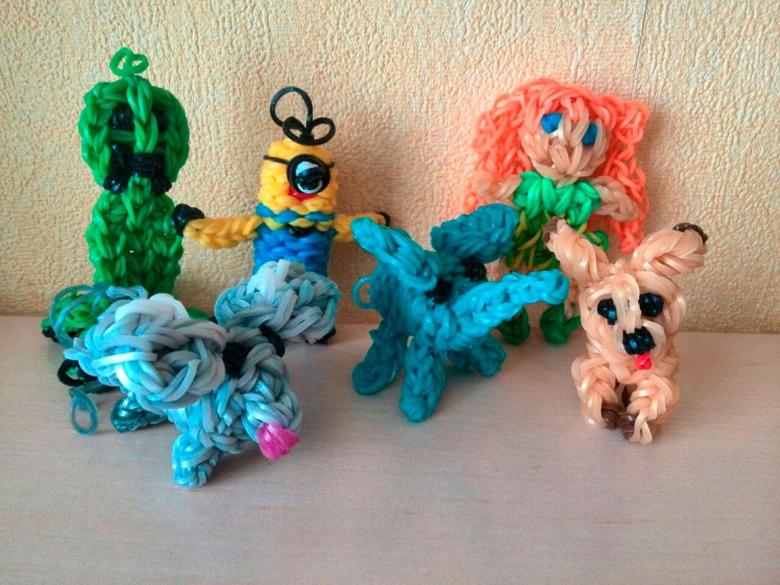
Experienced craftsmen make of rubber bands not only dolls, characters from fairy tales, birds and animals, but also fantastic compositions and characters from famous cartoons.
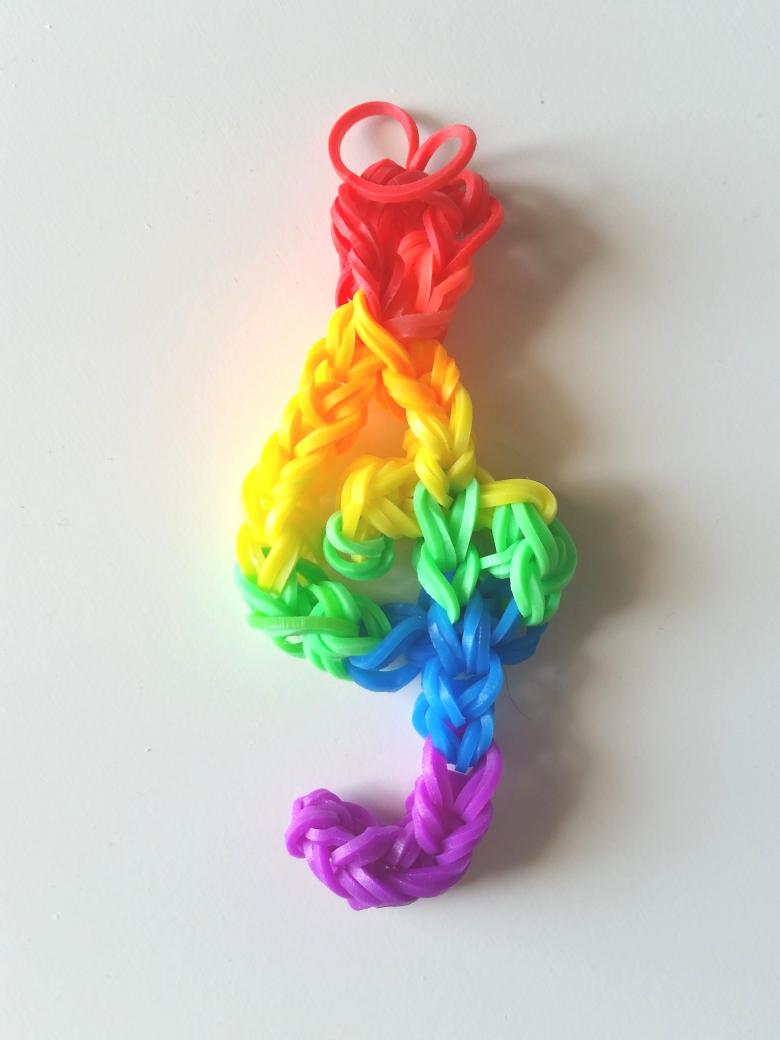
Interior design
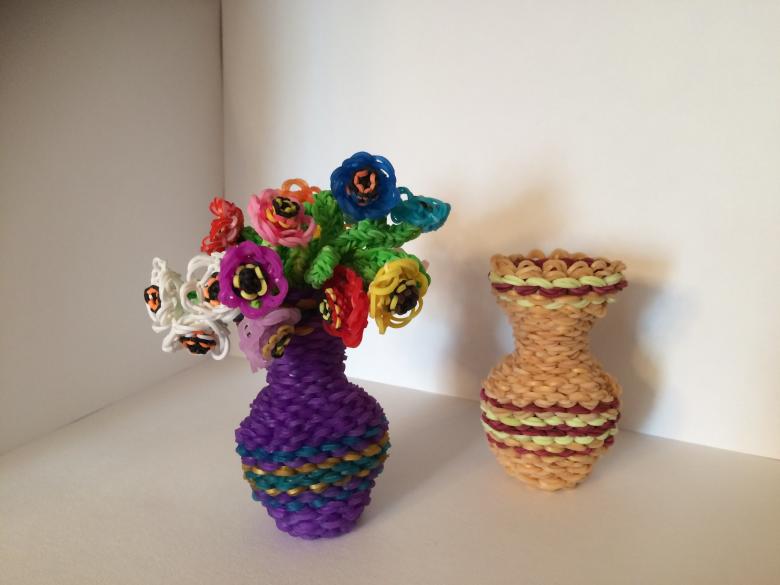
In the presence of such design elements, the room will acquire its unforgettable original style and will be able to reflect the individuality of the owners.
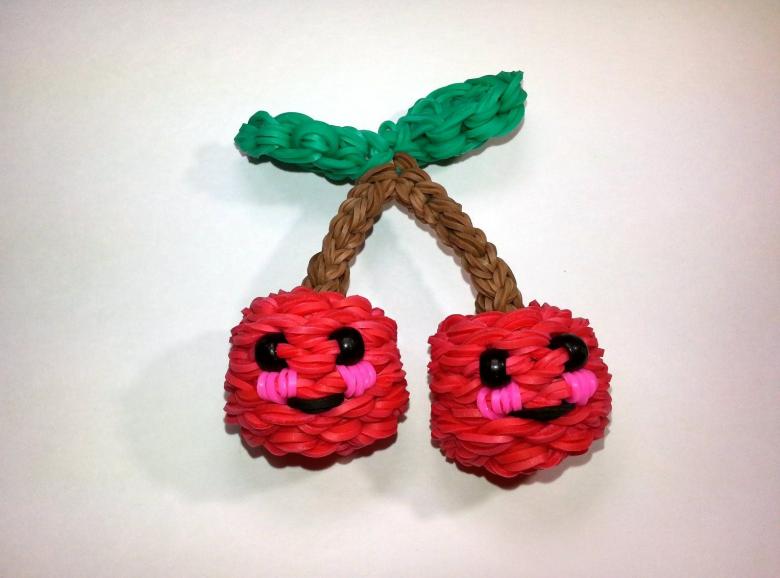
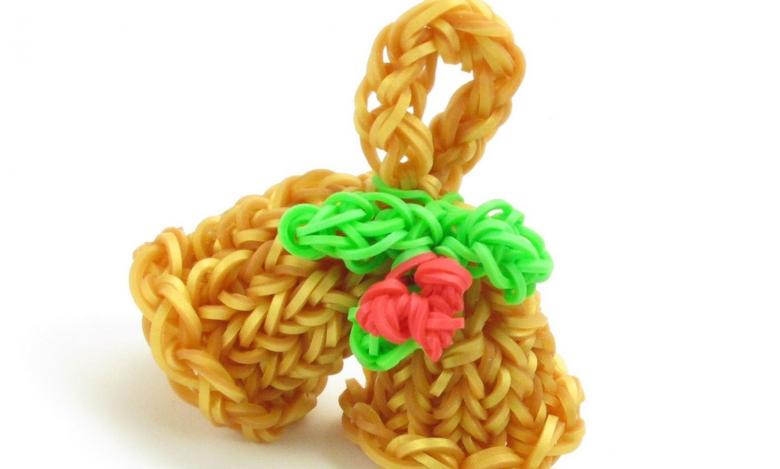
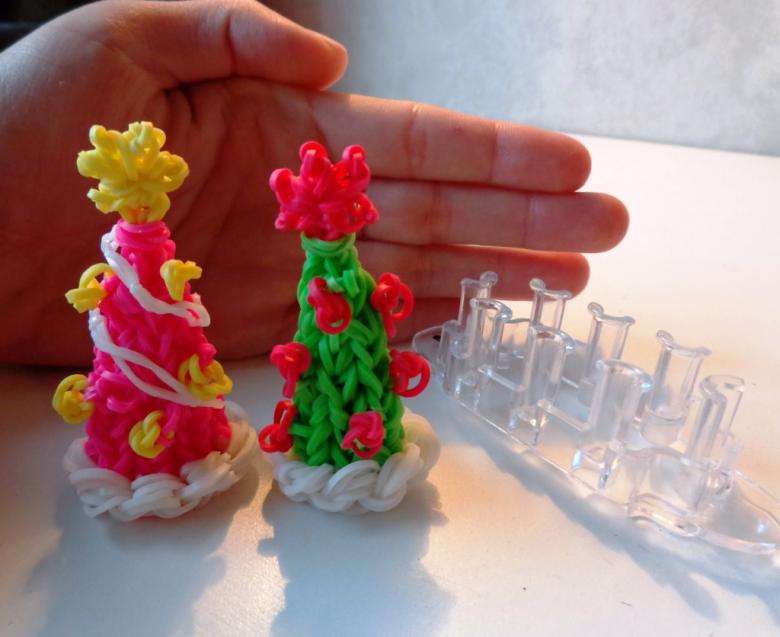
The technique of weaving on the slingshot will help to create various crafts, including toys and garlands, capable of giving the Christmas tree an exquisite and unique look.
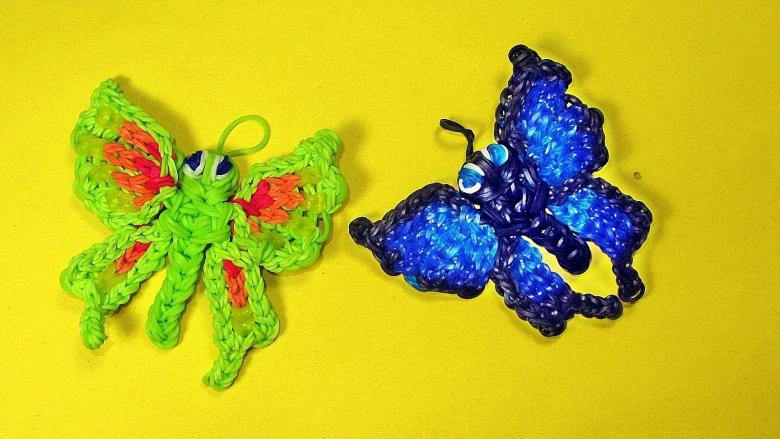
Materials, tools and supplies you need.
There are kits that contain everything you need for rubber band weaving. You can also buy a hook and colored rubber bands separately.

After acquiring the necessary experience, additional tools will be needed to make products that require skill and skill:

Special weaving machines.
Accessories for different weaving techniques.
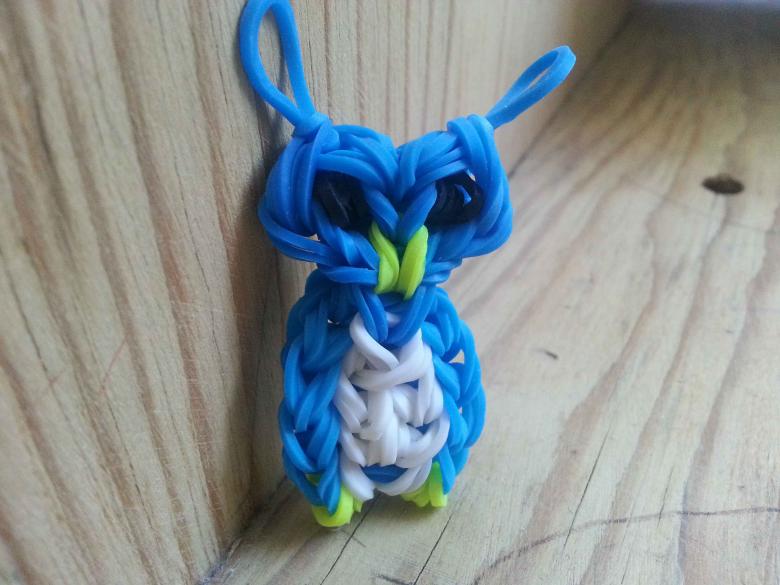
Weaving techniques
During the training period and the initial stages of weaving can be on the hands without special devices.
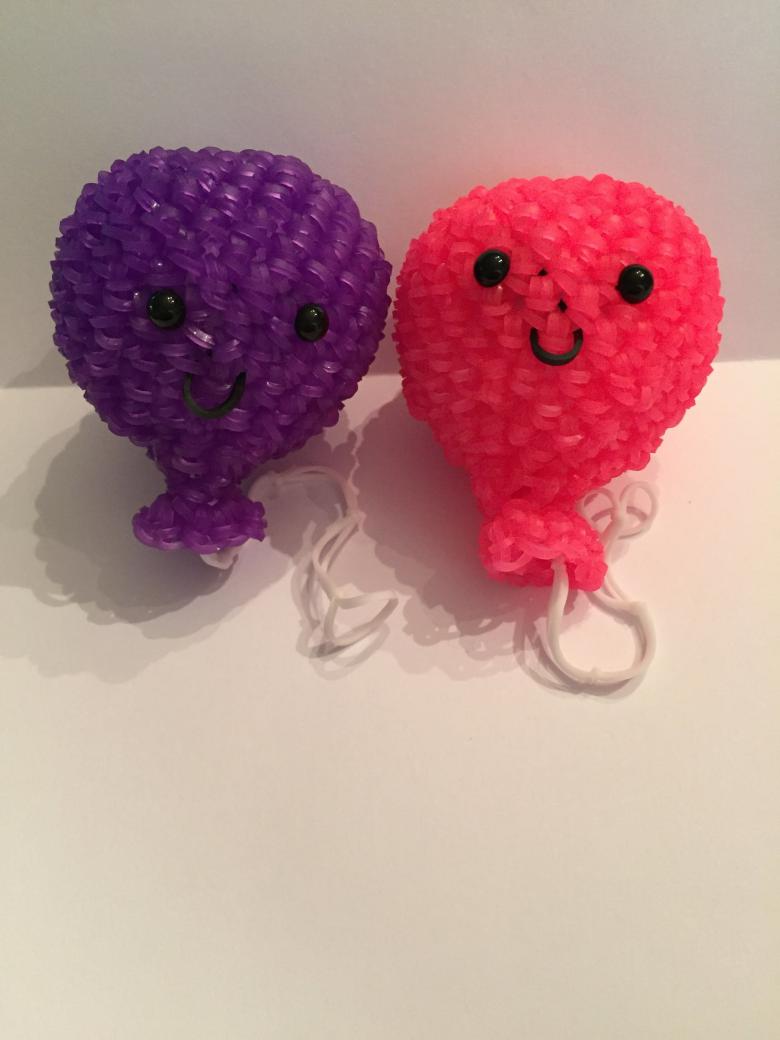
For this purpose, only a weaving scheme is needed. After mastering the initial skills it is necessary to buy equipment and accessories for making more complex items - hook or loom.

Complex creative ideas can be implemented with a weaving machine. This way you can make elegant products with the least amount of labor.
Making a "fishtail" bracelet out of rubber bands on a machine
Stages of work:
- Put an elastic band on the loom and twisted into a figure of eight.
- The next is put on without twisting, and the third is twisted as the first.
- The bottom rubber band is pulled through the other two in the center.
- After that, put on top of the next rubber band without twisting.
- Both ends of the bottom rubber band are moved to the center.
- The next rows are woven similarly until the planned size is reached.

The result should be a small flagellum, resembling a fish tail. To connect the ends of the product into a closed figure, use special clasps, often included in the kit for crafts.
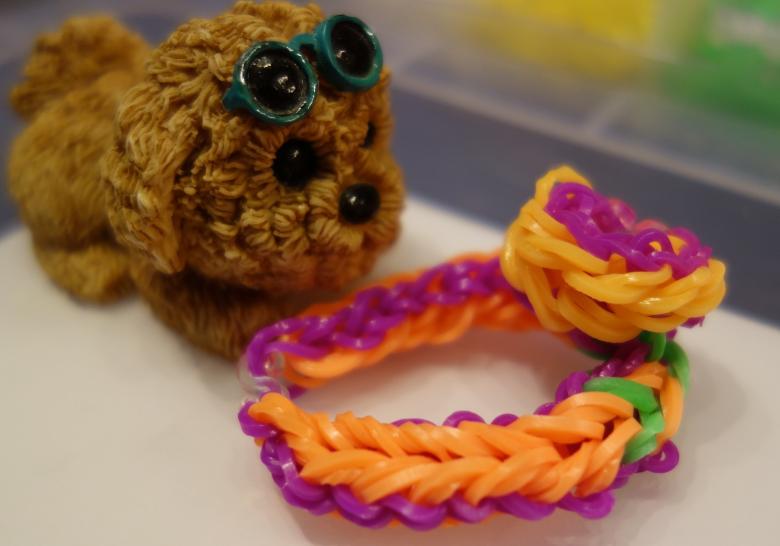
Created products are complemented by decorative elements. The most successful examples of such crafts can be found on the Internet at special sites.

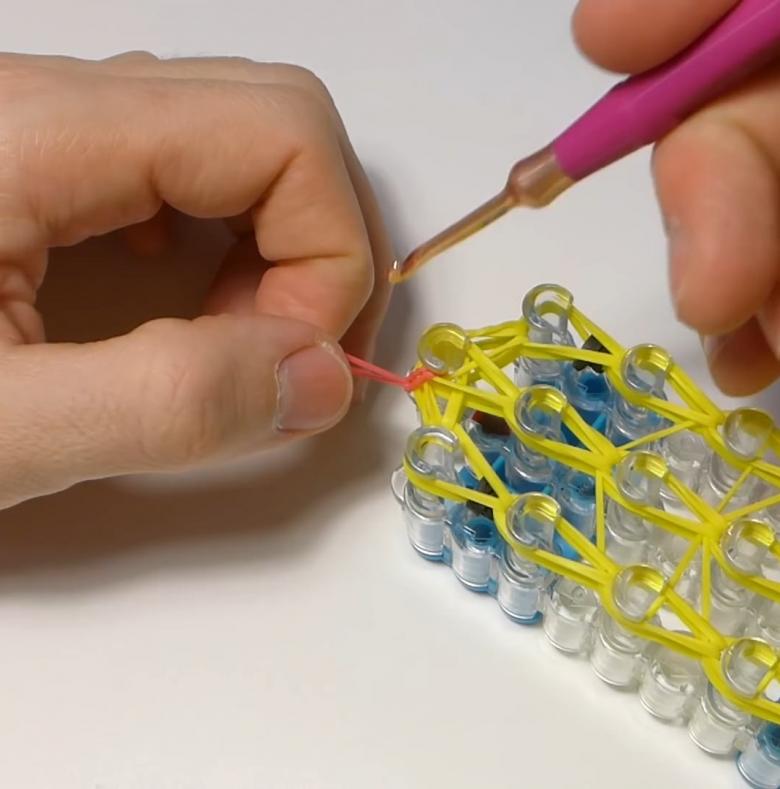
Making a bracelet on a loom
Step by step instructions:
- Choose rubber bands of 3 colors;
- Put the first rubber band on the middle column, and then on the left one. At the same machine should be turned to you with an arrow;
- throw the next ring on the left column, which already has the first rubber band, and pull on the central column, with the rubber bands in a zigzag pattern;
- Then continue with the column closest to you. Hook the rubber band in the middle row below and pass it through from above, swapping places with the neighboring stitch;
- pull the removed rubber band over the adjacent row. You should get a figure in the shape of a figure of eight. The same actions should be done with all the elastic bands below;
- The rule should be followed - always weave to the left;
- hook to remove the loops from the columns;
- To wear the bracelet on the hand, special clips in the shape of the letter S are attached to its ends. They can be purchased in specialized outlets or in a set of rubber bands for braiding;
- Connect the ends of the bracelet with a clasp.

Making rubber band crafts with a fork
Few people guess that with the help of a fork you can weave exclusive jewelry.
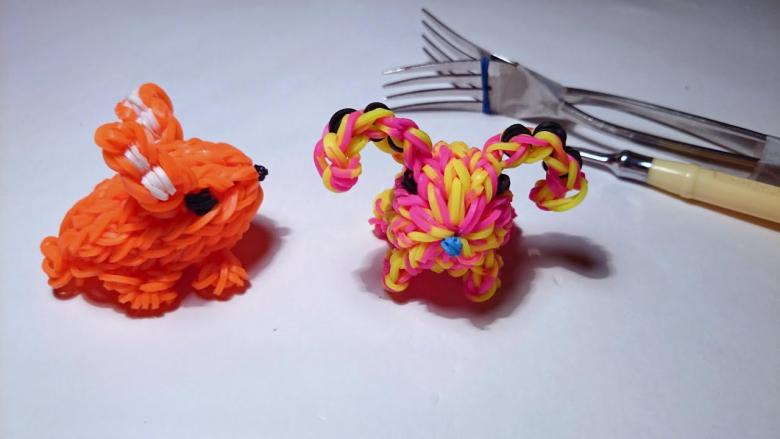
Step by step instructions:
- Take three rubber bands and put them on a fork according to the following scheme:
- Put the first rubber band on the three left prongs, twist into a figure of eight and pull on the three right prongs.
- Put the second rubber band on the four prongs, and put the remaining back part on the two middle prongs.
- Do the same manipulation with the third rubber ring as with the second.
- Hook the left loop at the bottom, take it off the fork and thread it through the middle rows. Do the same manipulation with the second stitch.
- Put a new rubber band on according to the following scheme:
- Position it on the 4 prongs, and pull the back part to the two middle ones.
- With a hook, successively pull through the two sides of the loops.
- Bracelet periodically remove from the fork to hook the upper rubber bands and gently pull them up.
- Remove the bracelet and return the two outermost loops to their original position.
- Continue and complete the braiding.
- Attach the S shape clasp.
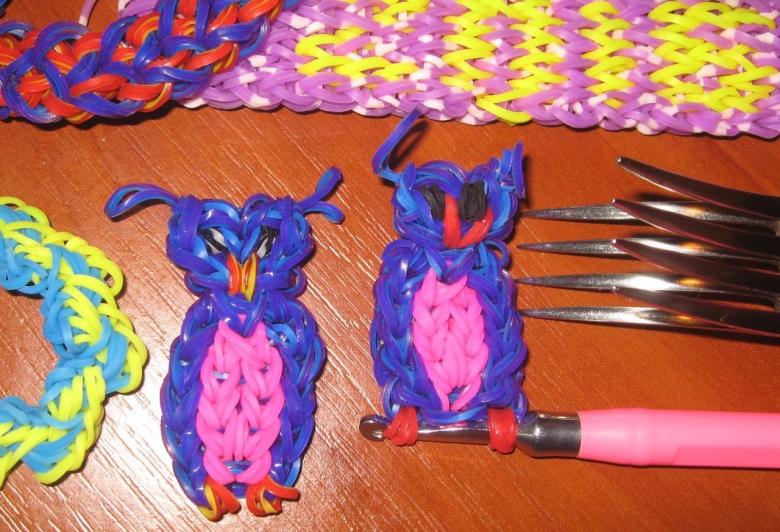
All, without exception, rubber band weaving techniques are based on the principles of knitting or twisting. Therefore, having mastered several techniques of working with elastic bands, you can continue the creative pursuit on your own, using the experience gained.


