Rubber band weaving for beginners on the loom, fork, slingshot - detailed instructions and interesting photo ideas
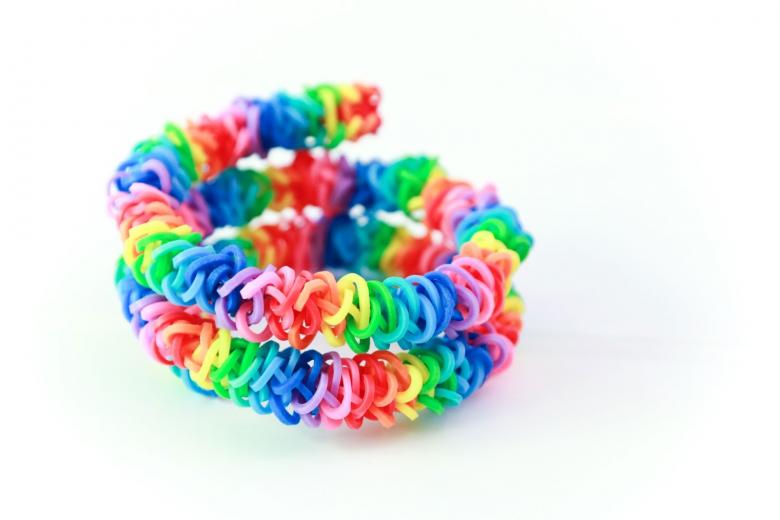
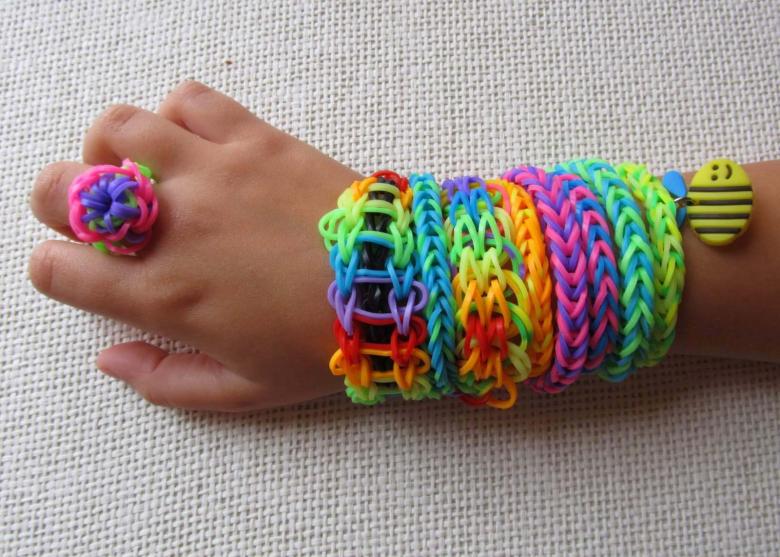
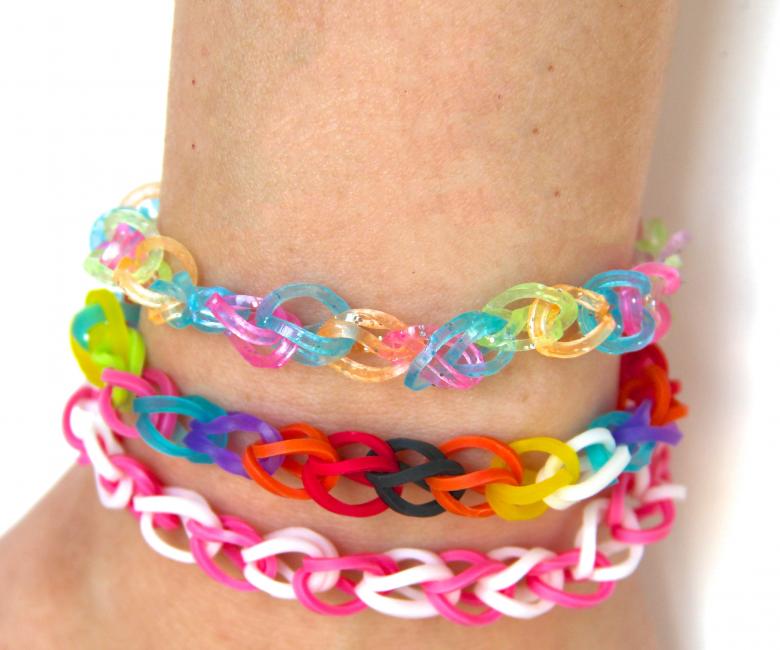
Friendship bracelets (fenechkas) are samples of needlework, in which a lot of love is invested by the person who creates these masterpieces. These interesting decorations are the result of weaving in a certain way beads, thin ribbons, colored threads, leather cords, something reminiscent of the macrame method. The collection of patterns of these items is extremely extensive. Today the rating of bracelets, made of rubber bands, is incredibly high. And not only among teenagers, but also among older people.
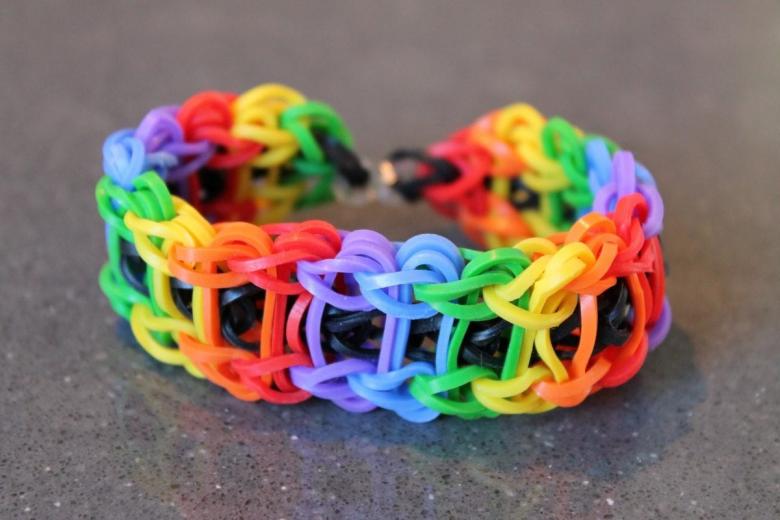
How to learn to weave such bracelets, what material is needed, what ways to use - to these and other questions we will try to answer in this article.
What do you need for braiding
Rubber band weaving - rainbowloom is attractive because it is quite easy to make objects with this technique with your own hands. Need a small rubber bands, which can be freely purchased not only in stores "All for needlework", but in the stationery departments. Kits can also be purchased in online stores, with home delivery.

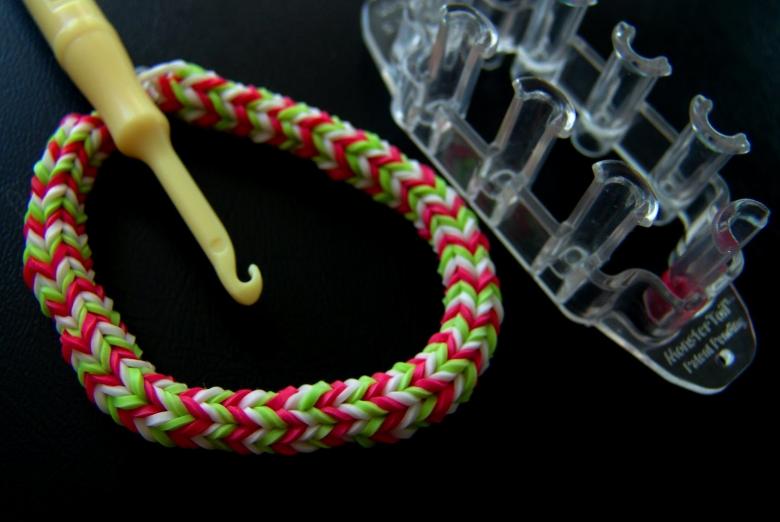
Kits for weaving can consist of monochrome or multi-colored rubber bands, in varying quantities. The kit includes slingshots, special plastic looms, hooks, plastic locks for clasps. It should be noted that the loom will be convenient for a child (or adult) who has quite large fingers. It is very easy and simple to create jewelry on it.

If you do not have such a loom, do not feel bad - other items such as an ordinary fork, a specially designed slingshot, a crochet hook will do. Even on your fingers you can create a beautiful ornament. Having gained sufficient experience, move on to the creation of more complex patterns. It should be understood that the decorative elements are performed strictly according to a certain scheme, using a thin hook. Rubber bands serve as a basis, for the addition we choose any other material: ribbons, beads, beads, etc.
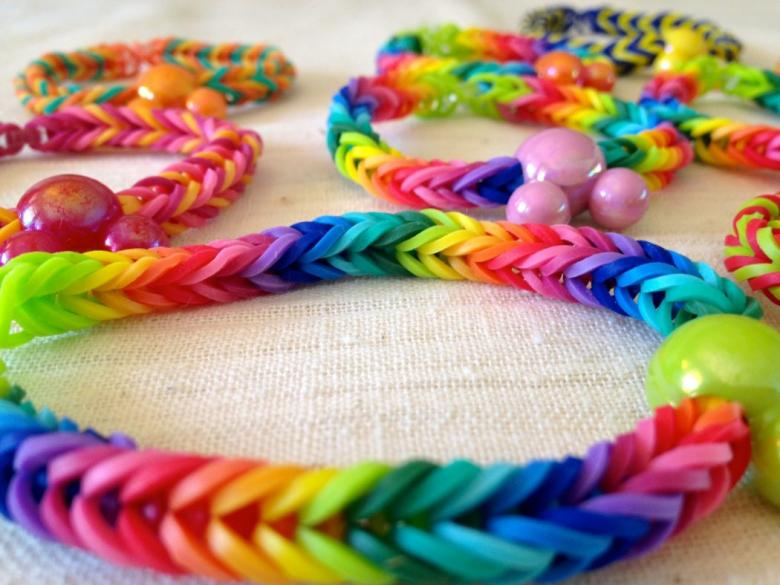
This kind of needlework is a good helper for the development of fine motor skills, concentration, contributes to the development of creative thinking, introduces the beauty.
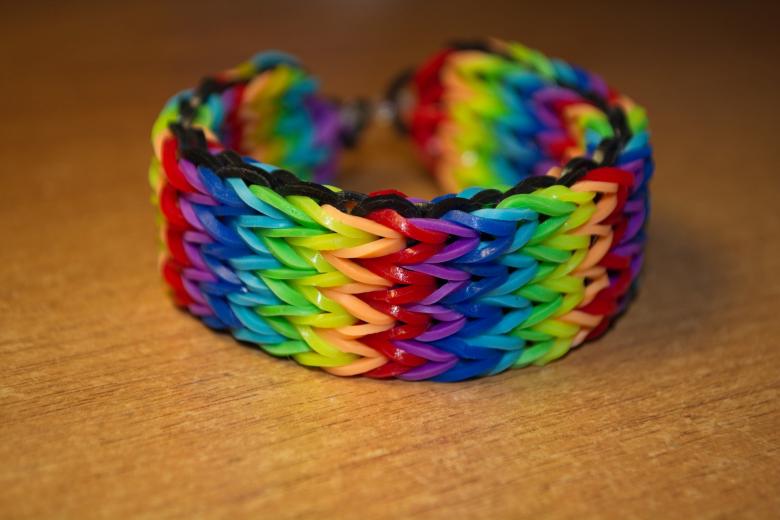
The basis of
Having learned to perform the simplest scheme - a chain, you will obey patterns with more complicated configurations.
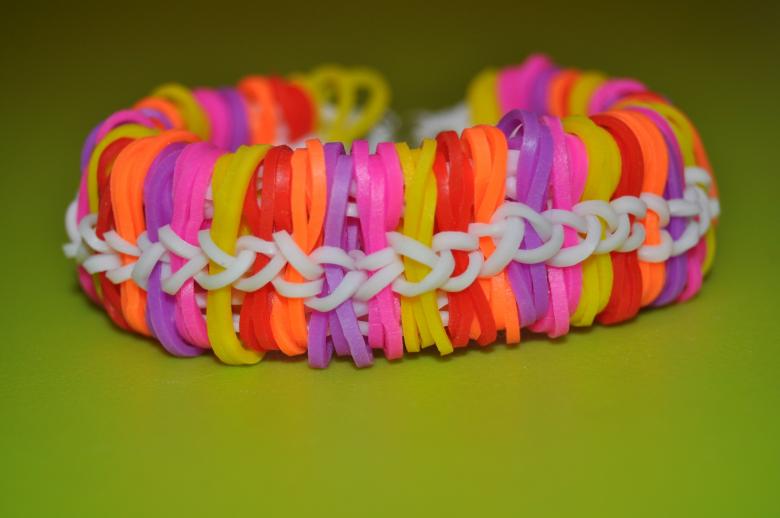
Let's try to weave a "double plait" with an ordinary crochet hook of colored elastic bands.
- To make the product, take an elastic band and wrap it on the hook so that it turns into a figure eight.
- Then we put the next rubber ring on the finger. Gently holding it on the hook, take the rubber band from the finger and slip it through the "figure of eight", you get the second loop.
- Subsequent ring pull in a similar way, resulting in two loops.
- Let's try to weave a single-color braid (for example, pink), consisting of eight rows.
- After finishing braiding, go back.
- Continue working, choosing a different color of rubber bands (orange). The process repeats - hook through the loop pull a new rubber band. Parallel braid consists of about five rows.
- Through the four loops formed, connect the weave with an elastic band.
- Weave further with the same color of rubber bands (using five rings).
- Go back to the part that was connected first and, using the hook, continue to make a pattern of rubber rings in pink. Use the same to make a connecting loop.
- All steps of the plaiting alternate to the length you choose.
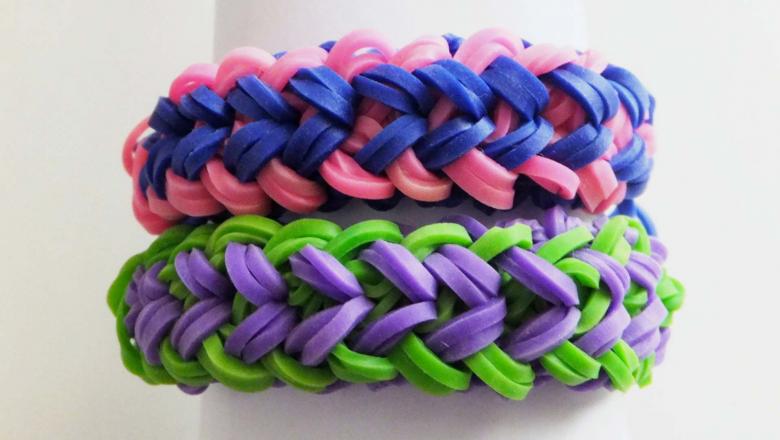
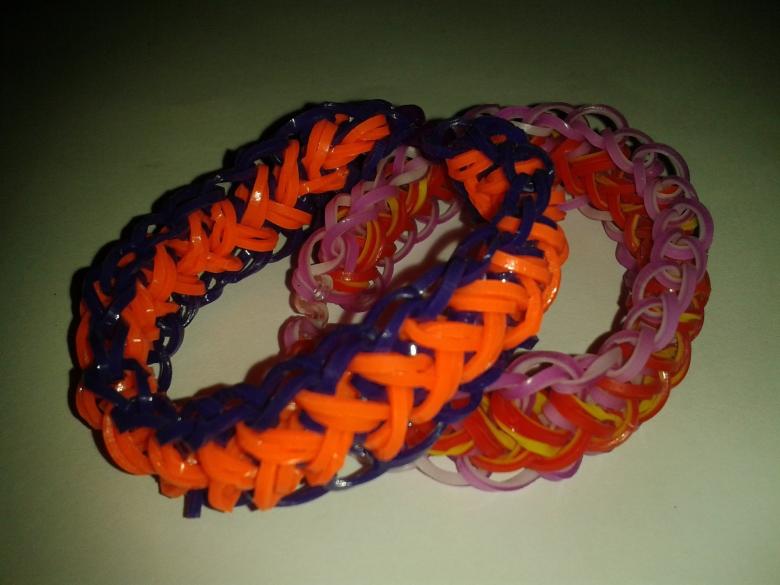
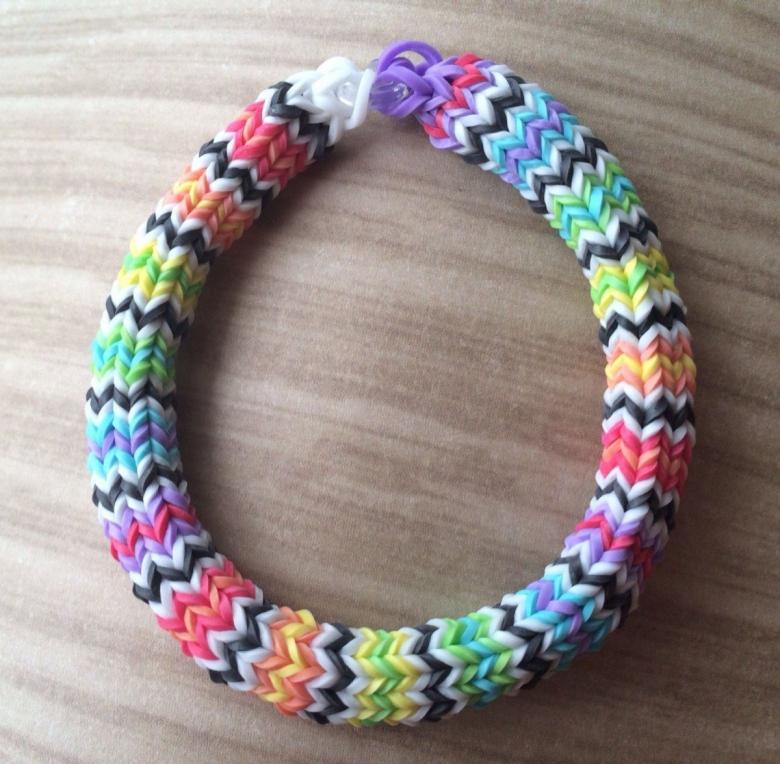
When you join the ends of the chain, you will make a beautiful two-color bracelet.

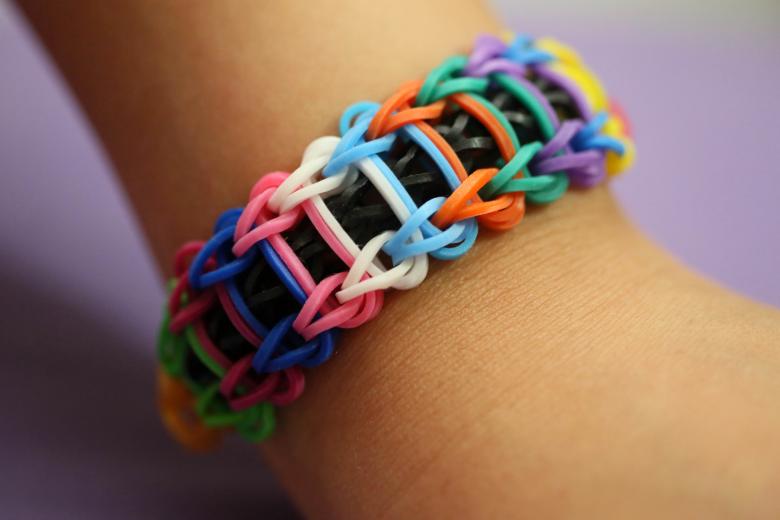
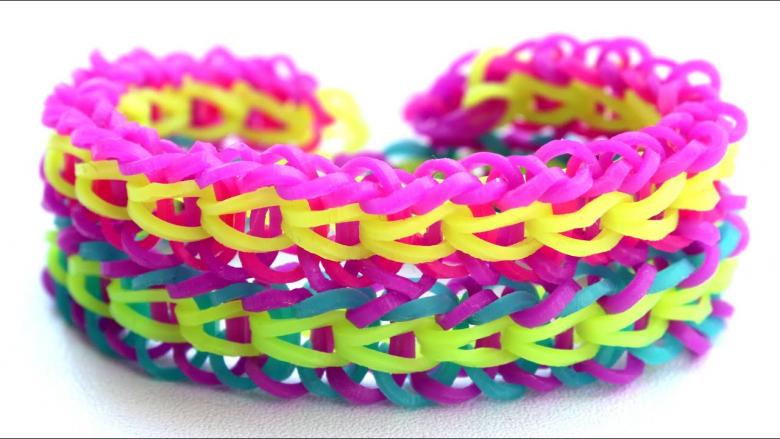
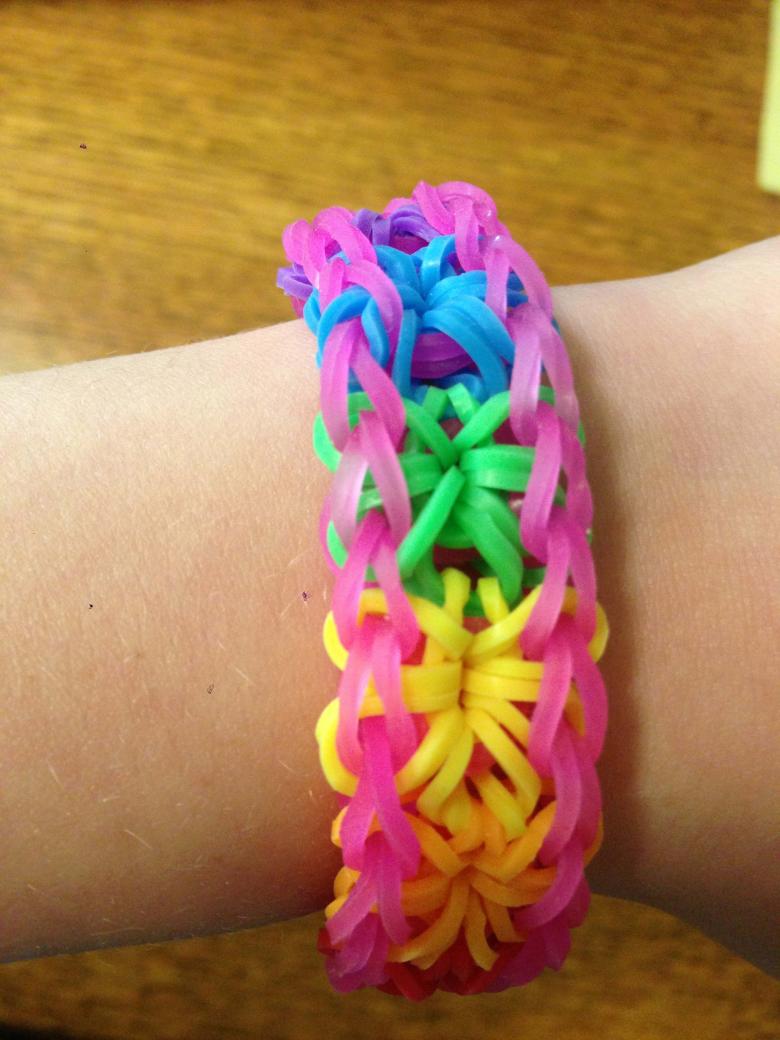
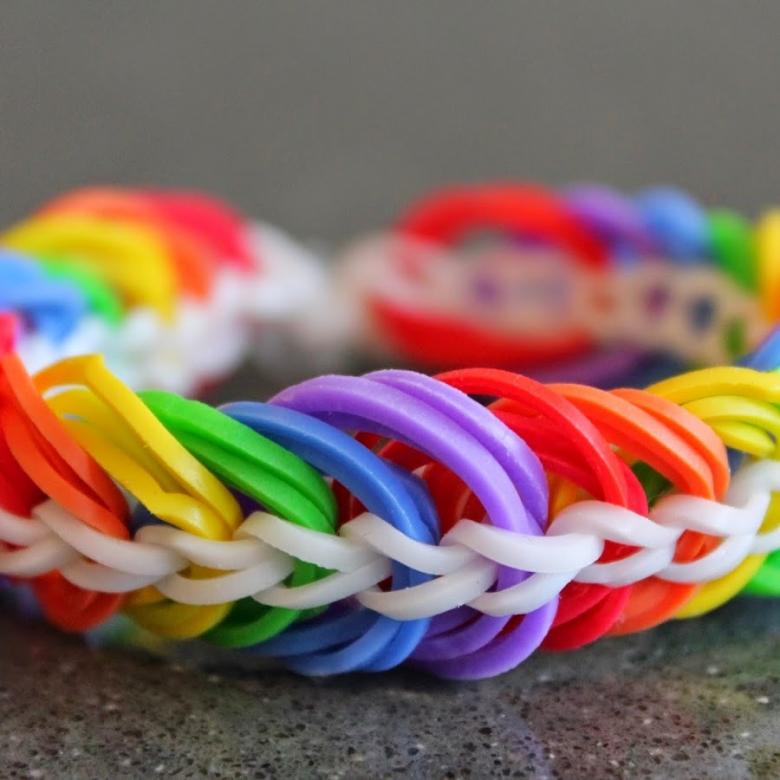
A bracelet made with a rainbow loom
Let's try to weave an original bracelet in several ways.
The necessary attributes:
- loom;
- rubber bands of three colors;
- hook.

Step by step bracelet making
- The first rubber band of the selected color put on the loom - involve the middle column, located on the left.
- A rubber band of a different color is put on the leftmost post, where the first rubber band is already located. Move it to the prong, located in the middle. Place the rings on the teeth of the rainbow loom in a zigzag pattern.
- Continue weaving in the same way, alternating colored rubber bands throughout the work.
- Turn the loom so that it is easier to pick up the rubber rings as you work on making the bracelet.
- Continue working by selecting the column that is on the side of the loom that is in front of you. With your hook, pick up the rubber band that is in the middle row at the bottom and pull it through to the top. At the same time, swap the rings next to it.
- Transfer the removed rubber band to the next row, not forgetting the connection with the figure eight. Repeat the process with all the other rings. What you should pay attention to - during weaving, regardless of the location of the loom, the fabric should move to the left.
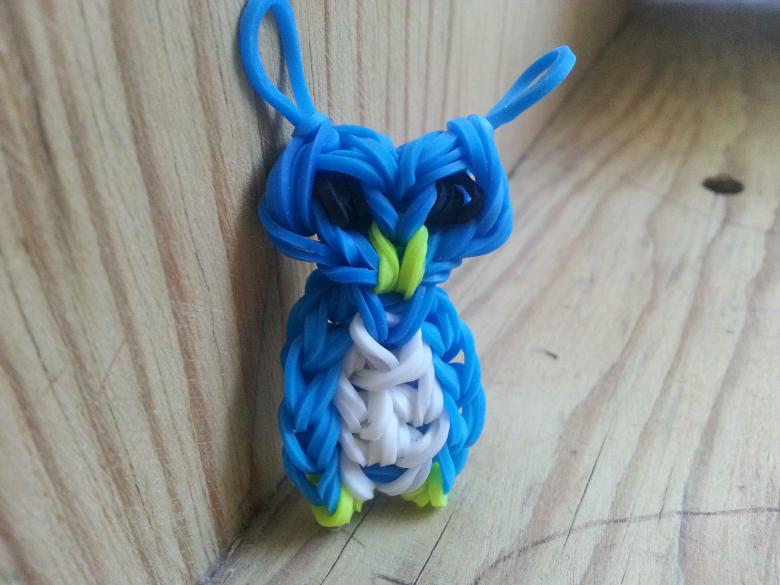
Do not worry if at the beginning of the first works will not work with the hook as fast as you would like. This technique will come with experience, and the whole procedure will be much faster. In the end result (our example), you should get two round rims of different colors. On both sides of the created braid, attach the clasps (they are sold in the form of S in kits, or separately). In conclusion, all the plaiting from the columns of the loom should be carefully removed by hook and join both ends of the product with a special device. It turns out a wonderful decoration.
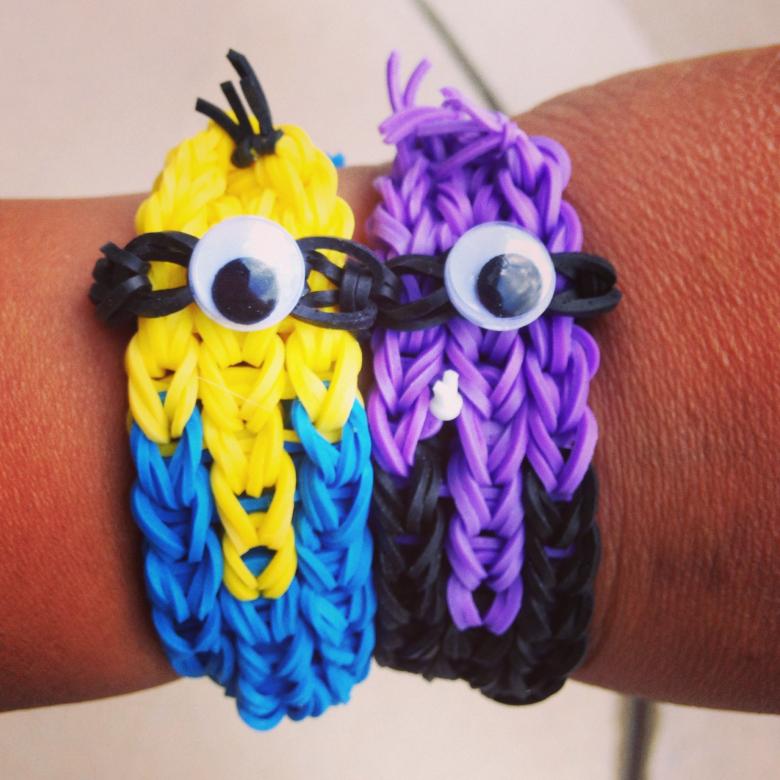
Taking as a basis this technique of braiding, you can make accessories much more complicated than bracelets.
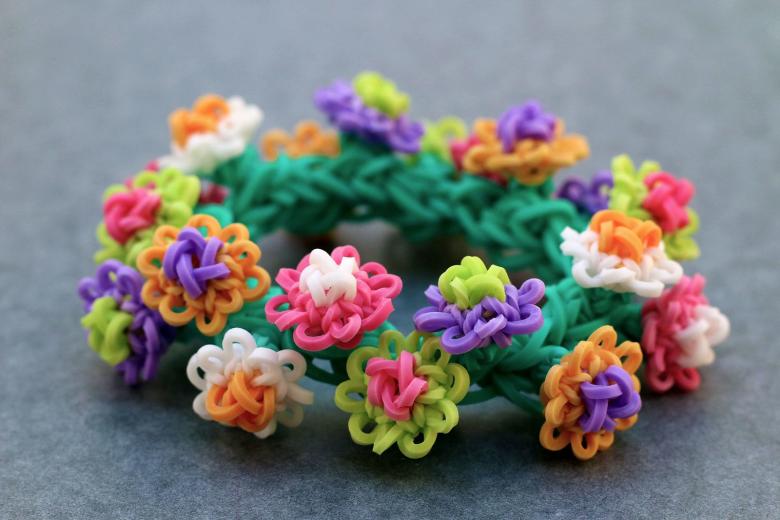
Braiding a beautiful braid on a fork
Now let's try to perform the product on a cutlery.
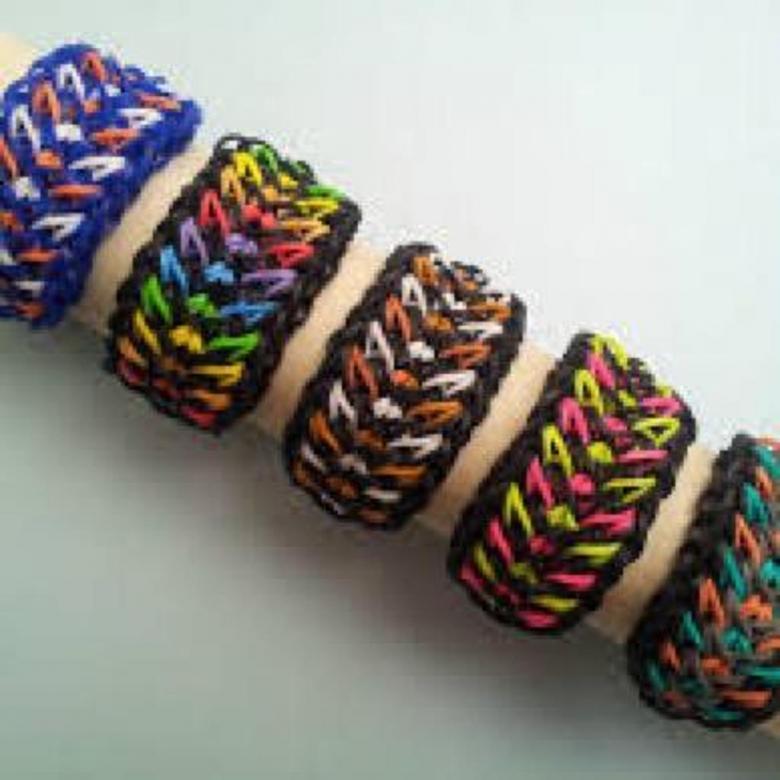
For this process we need only a cutlery and multicolored rubber rings. The way of doing it is not so complicated, and having learned the previous lesson, it will be easier and more pleasant to work. Let's begin: You need to take three rubber rings and put them on a fork like this:
- first place the rubber band on the left prongs (three), twist it, making it look like the number 8, transfer it to the right side (also three); as a result, the intersection of loops on the middle prongs is formed;
- The next rubber band is placed on the four teeth, pulling its back part through the two middle edges;
- similarly put on the next rubber ring;
- gently pass between the two middle rows of the left ring, removed from the fork by hook; do the same with the next loop;
- then repeat the weaving from the first row to the desired length;
- Pull through the loops alternately on both sides of the fork with a hook.
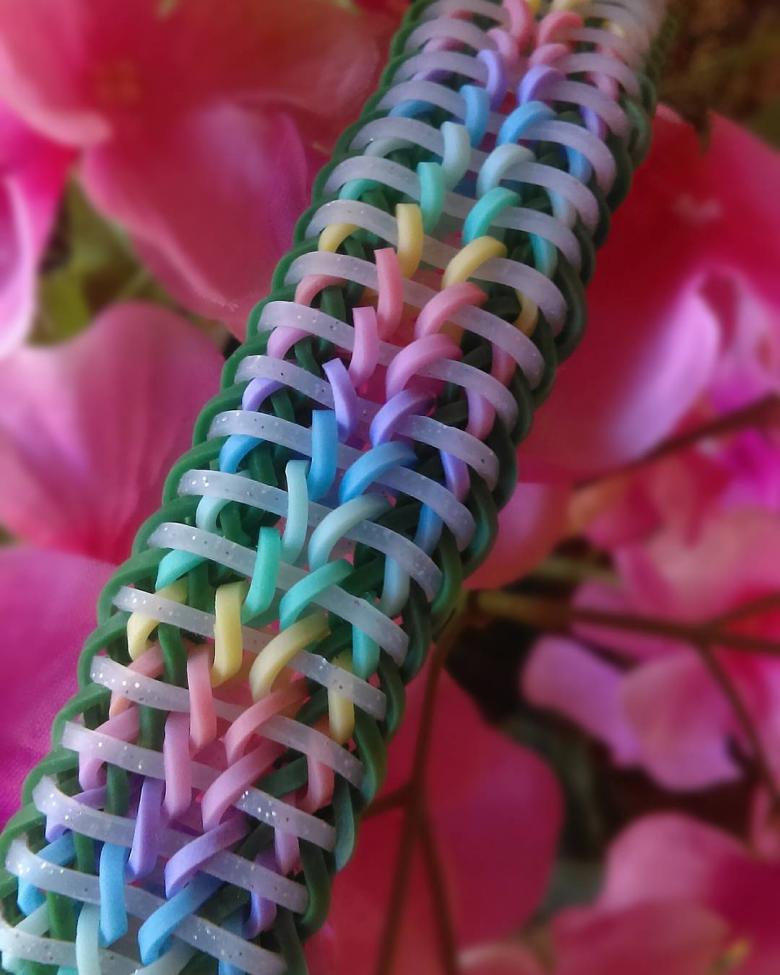
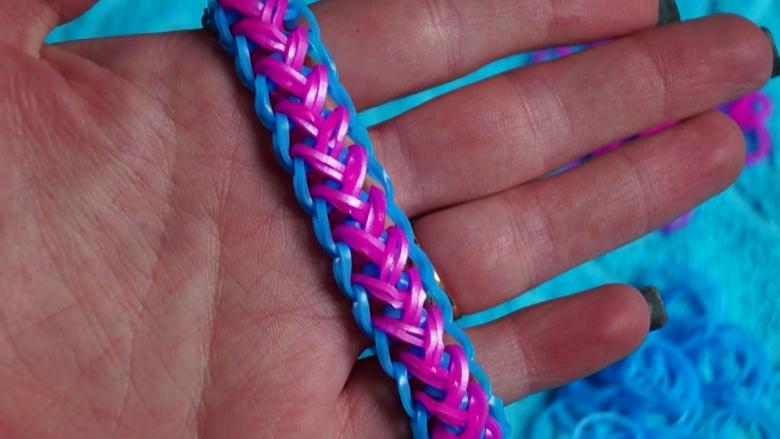
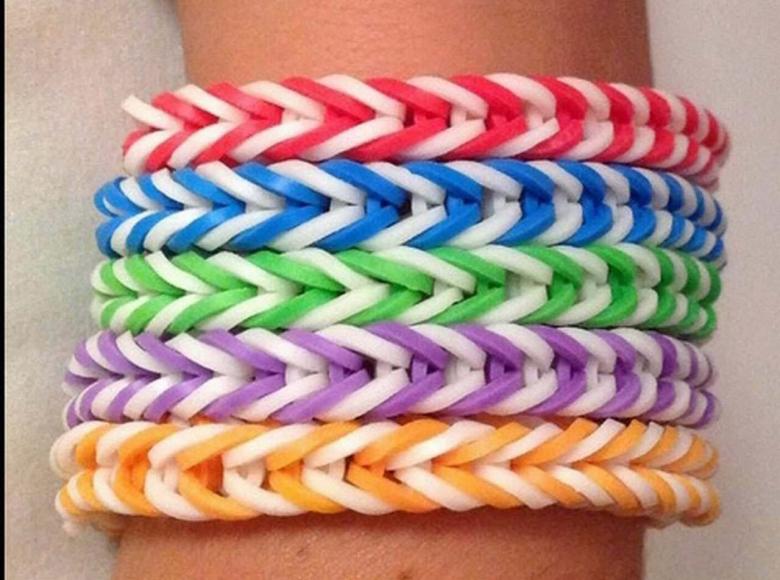
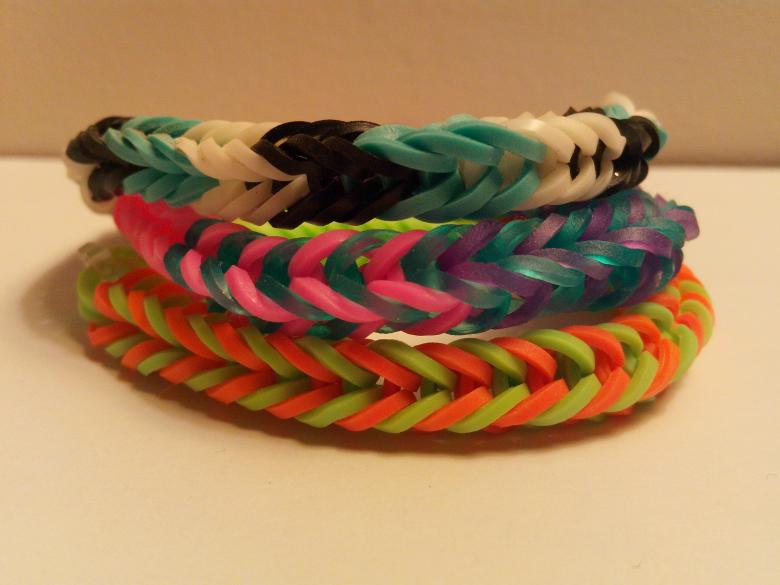
Such a figure among needlewomen is called "Fishtail". This decoration has a certain nuance - when performing it, you need to periodically take it off to determine the length. It is done in this way: take the outermost rubber bands with a hook and then lift them as gently as possible on the prongs of the fork upwards. So you remove the products completely, then putting back the outermost loops, repeat the whole process of weaving again. Form the edges of the product with clasps and wear it to your health.
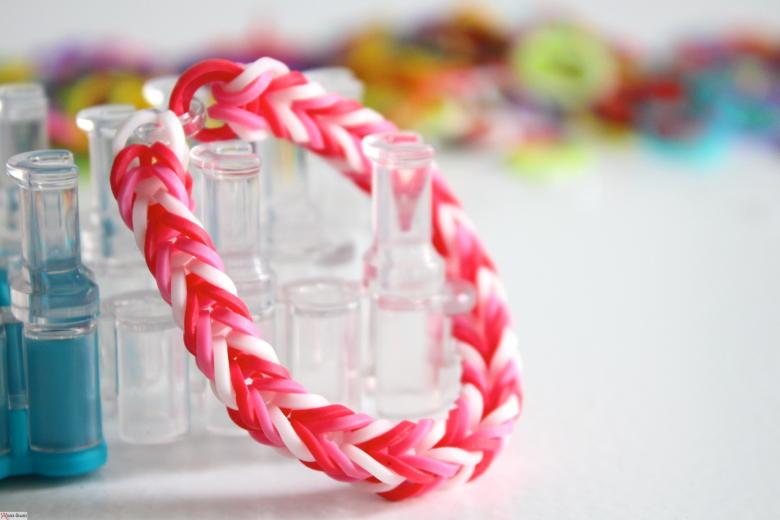
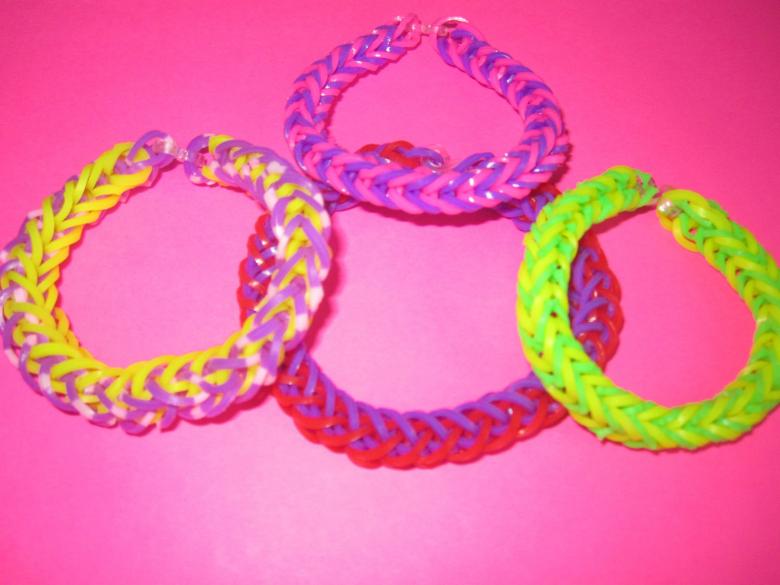
In the weaving kits, in addition to a lot of rubber bands, you will also find a slingshot. Use it to create a personalized friendship bracelet. Consider the steps of making:
- Three rubber bands are put on the edges of the device: the first should have the shape of a figure of eight, the second and third just cling to the edges of the slingshot.
- Poddue the hook right loop of the bottom rubber ring, place it between the columns, passing through the top, repeat the process with the loop that is on the left.
- Put on a new rubber band (it is advisable to use products of different colors, you can stop at a monochrome version). Raise the right bottom loop with the hook, do the same with the left ring.
- Observing the above steps, put on all the subsequent rings. Thus, you will weave a shape of your choice of length.
- Bracelet is decorated with different clasps. Carefully remove the finished wonderful jewelry. The excess ring should be cut off.
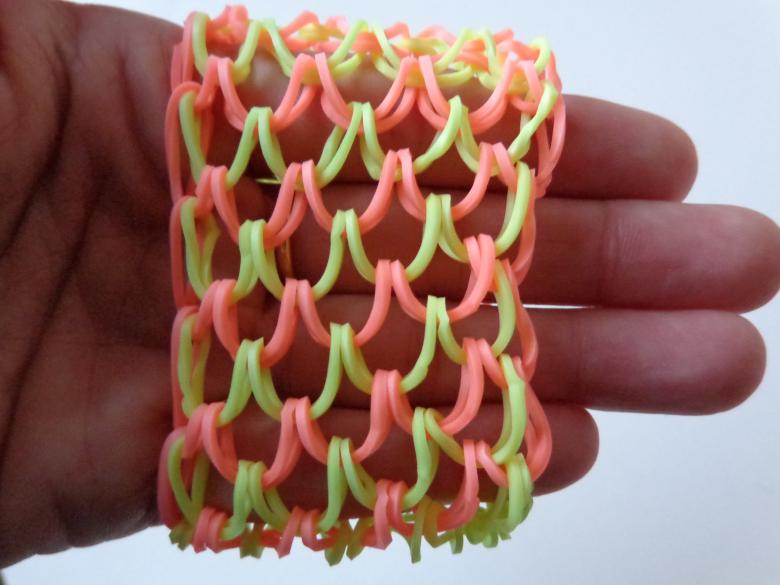
With a little practice, you will create amazing needlework items very quickly.
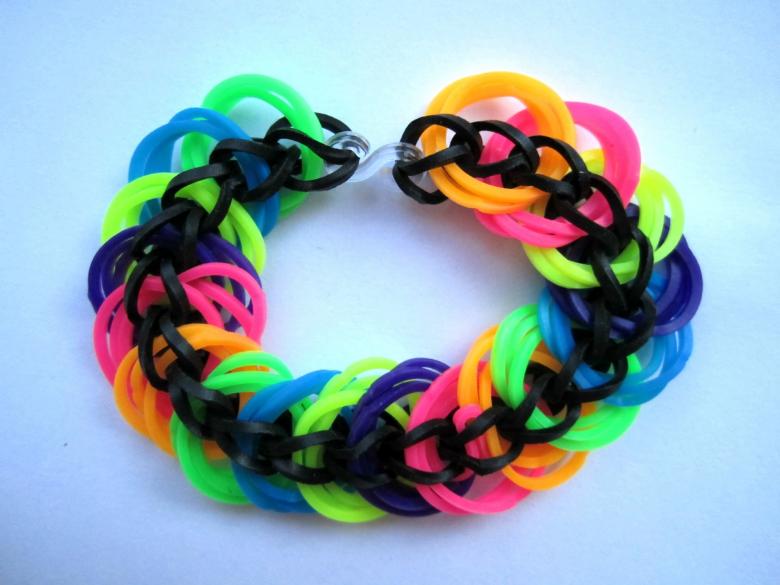
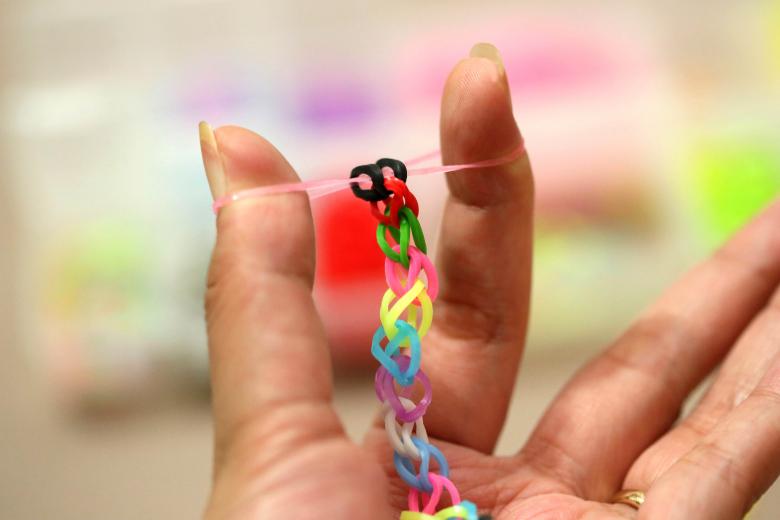
Let's get acquainted with another type of rubber band weaving. This technology uses two fingers of the hand (index and middle). Rubber bands are better to use bright, contrasting colors. Start with the following step: twisting the elastic band in a figure of eight, put it on these fingers. The other two rings simply put them on as they are, without twisting. Next, do this:
- With the bottom loop off to the left, clasp it with two fingers; repeat with the loop on the right as well. Both loops are in the middle.
- Put on a new ring, doing the same with the lower rings.
- When weaving the item, you should be able to see all three rubber bands together. Adding rubber bands, repeat the same process and weave the desired length of the future bracelet.
- Do not panic if you suddenly found irregularities in the weaving, after the end of the work the object will take the desired shape.
- At the end of the process, without putting on a new loop, leave two elastic bands, carefully removed from your fingers. Use a clasp.
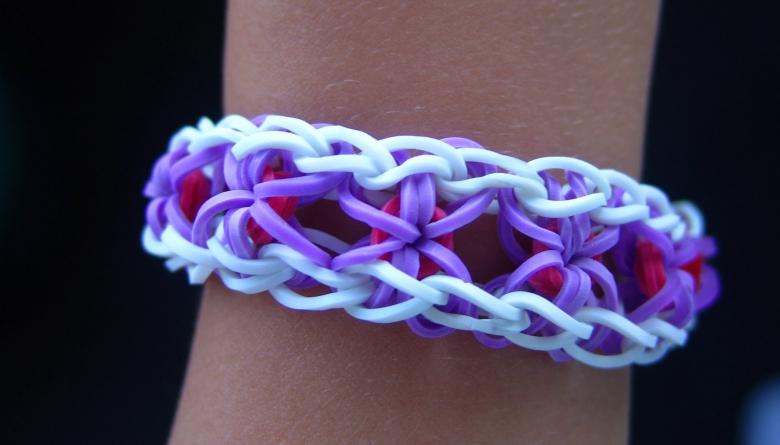
It is not for nothing they say that it is better to see once than to read several times. This applies to rubber band weaving technique. On special sites on needlework you can view many videos not only for those who want to learn this craft, but also for experienced craftswomen. Here you can choose from a huge range of photos with great patterns, and the attached schemes for their implementation.
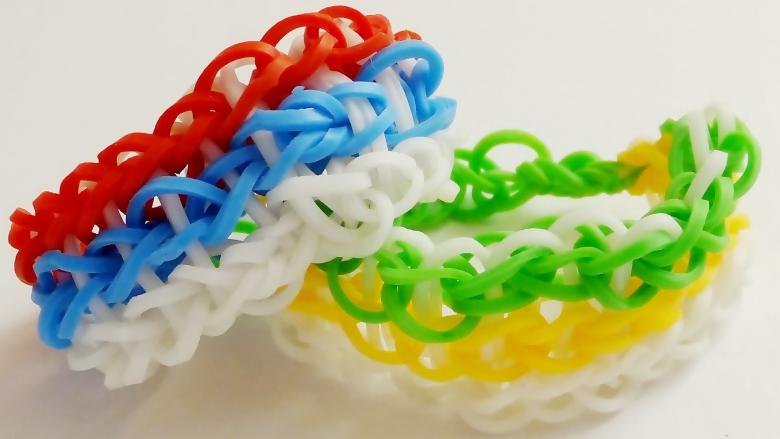
Weaving variations
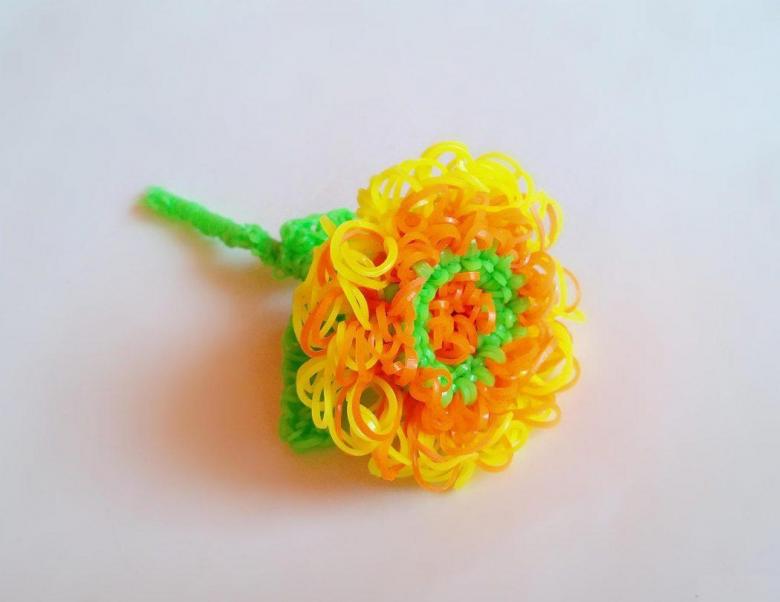
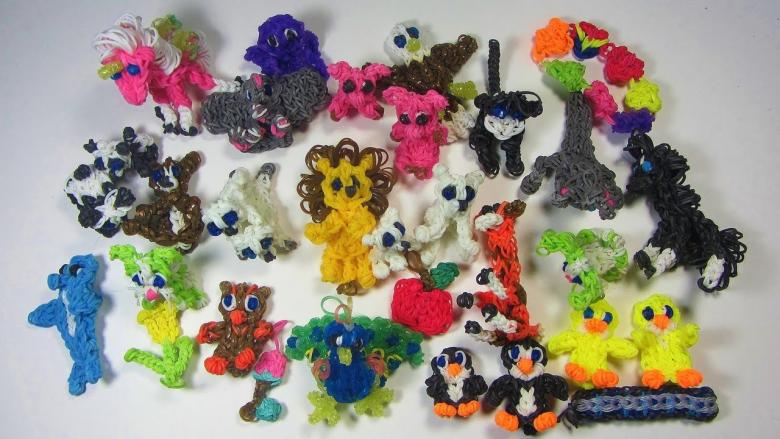
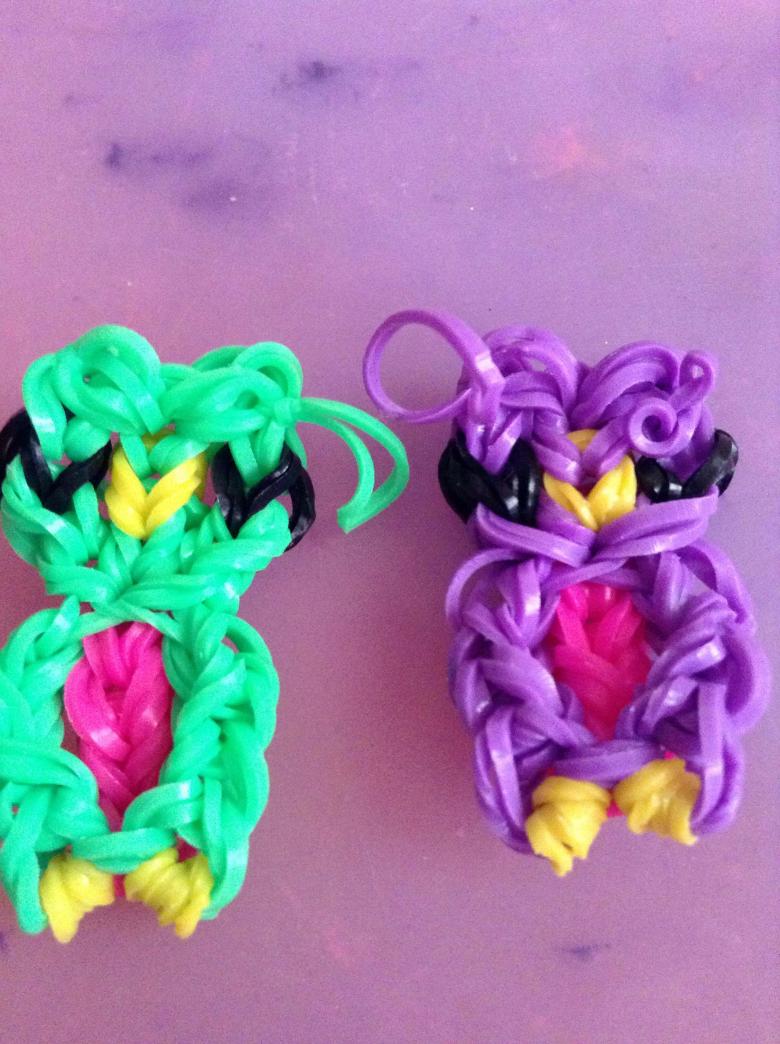
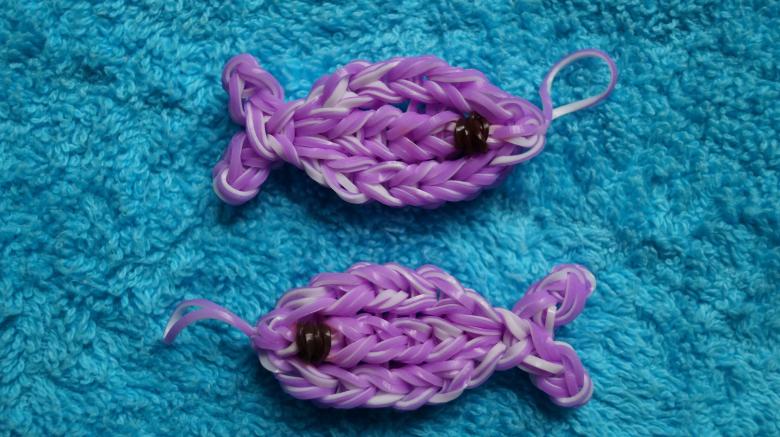
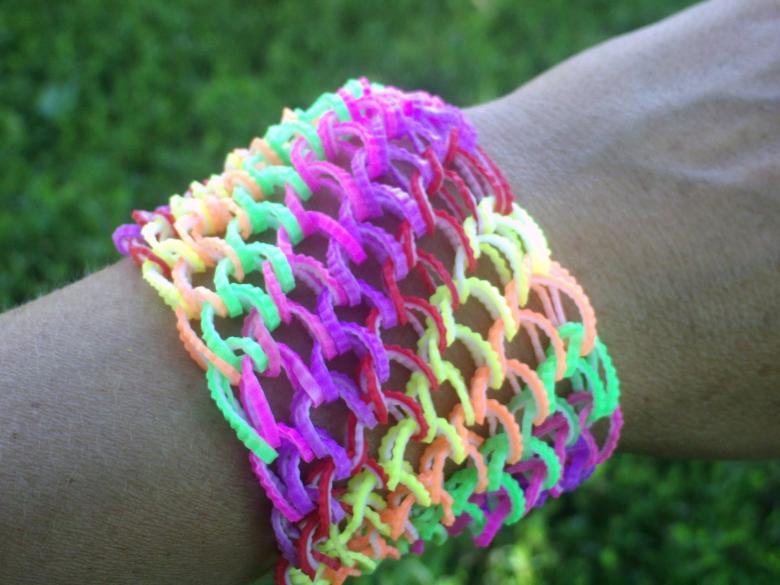
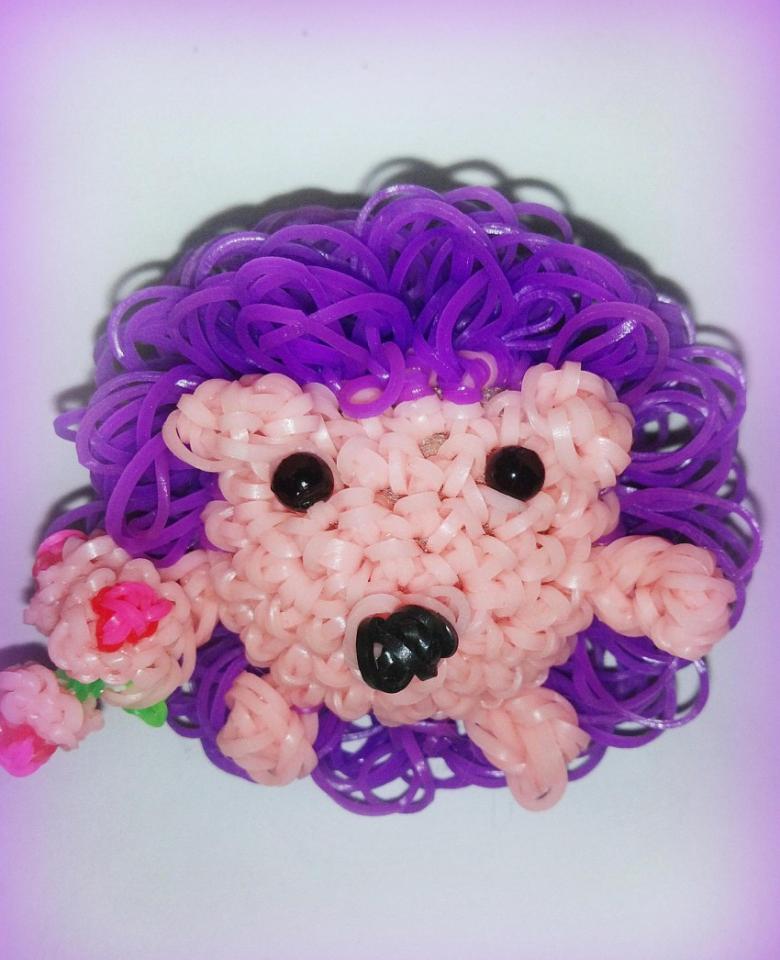
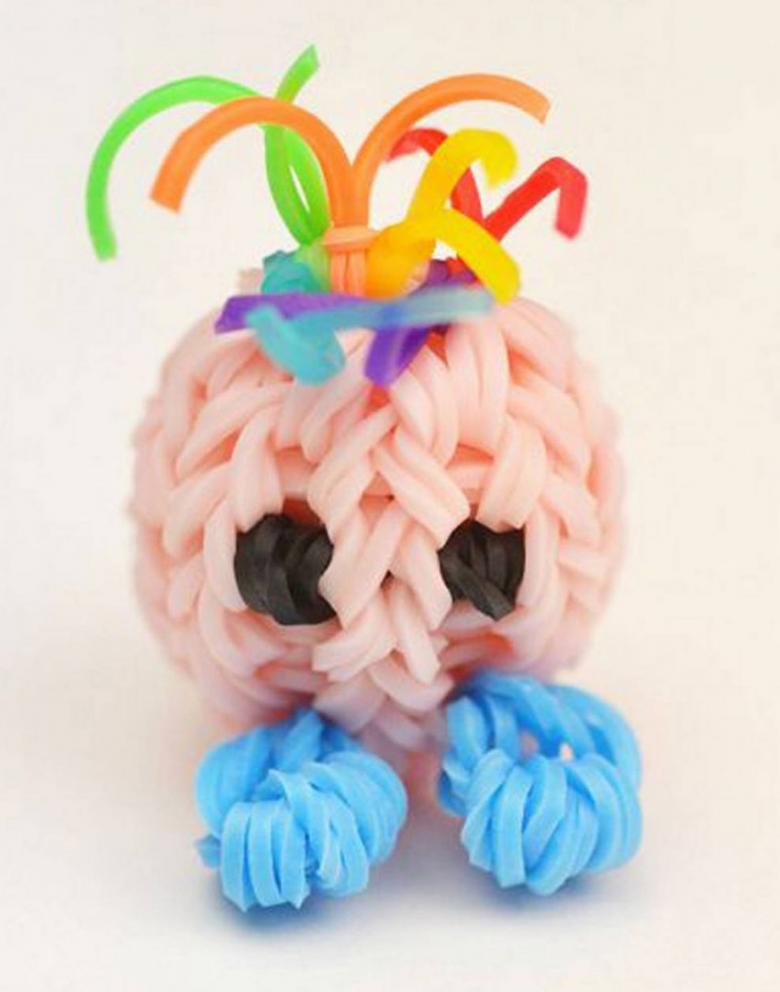
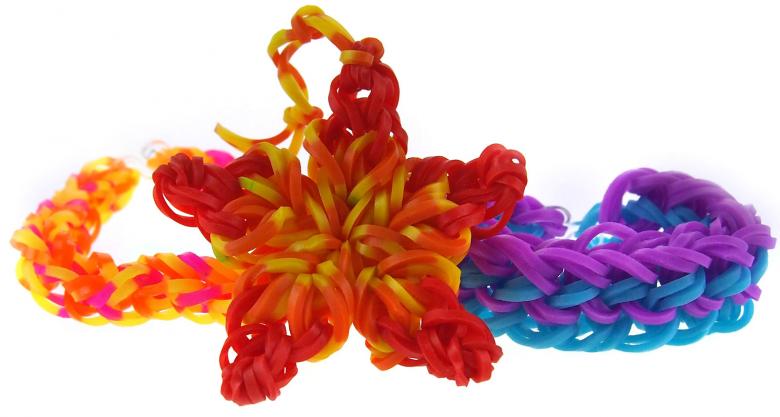
The rainbowloom technique allows you to make your image a unique and unique style. After all, not only bracelets can be braided out of rubber bands. Collections are much more than it seems. So you can make brooches, earrings, various necklaces, even rings.
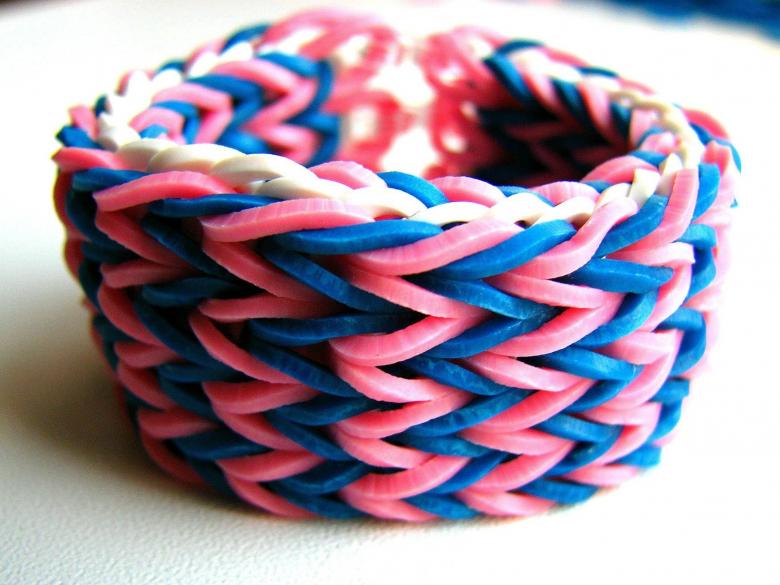
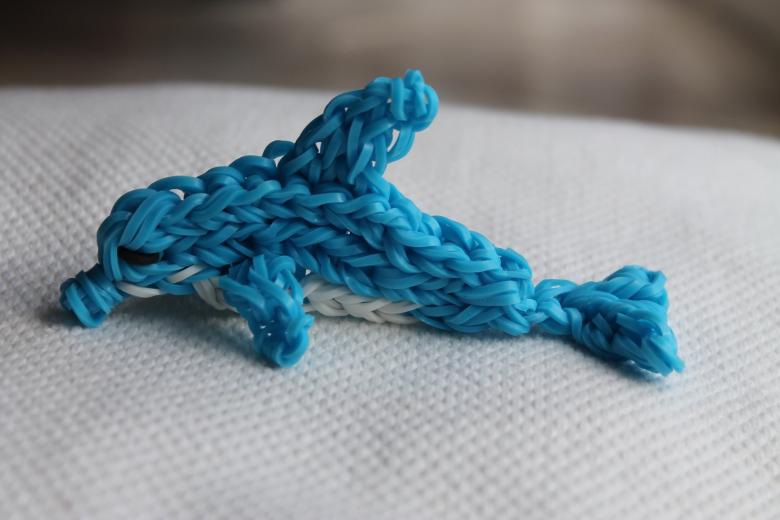
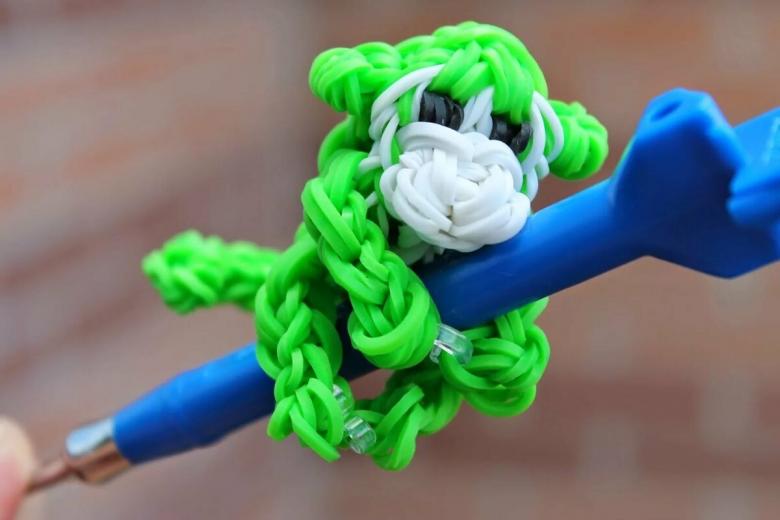
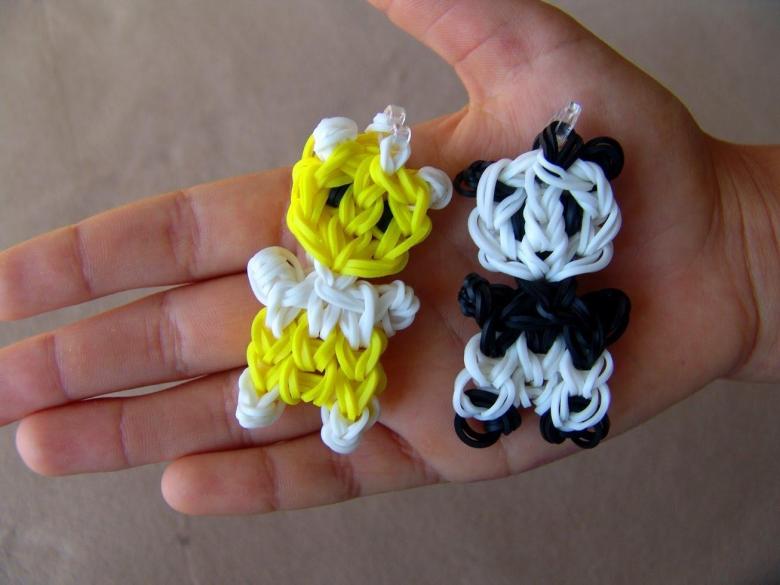
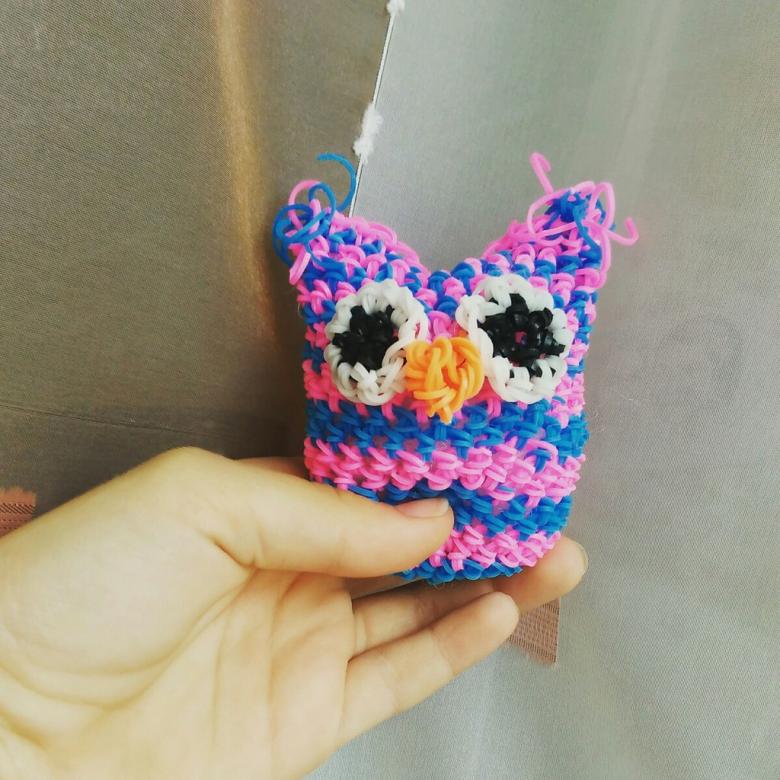
Beautifully look braided headbands, hairpins or hairbands. By practicing on smaller items, learning all the basics, you can get more capacious items, from handbags and hats, ending with an exclusive dress, or a unique swimsuit, as well as various figurines-souvenirs. In this kind of needlework you can implement any ideas and fantasy into reality.

Rhumb rubber weaving will bring great joy to you, your friends and relatives.

