Easter egg crafts with their own hands - practical tips in the work, a selection of master classes from different materials, photo ideas
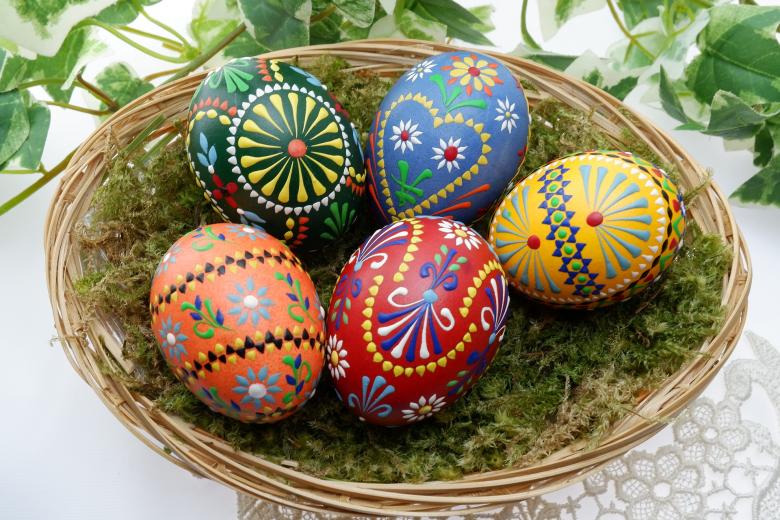
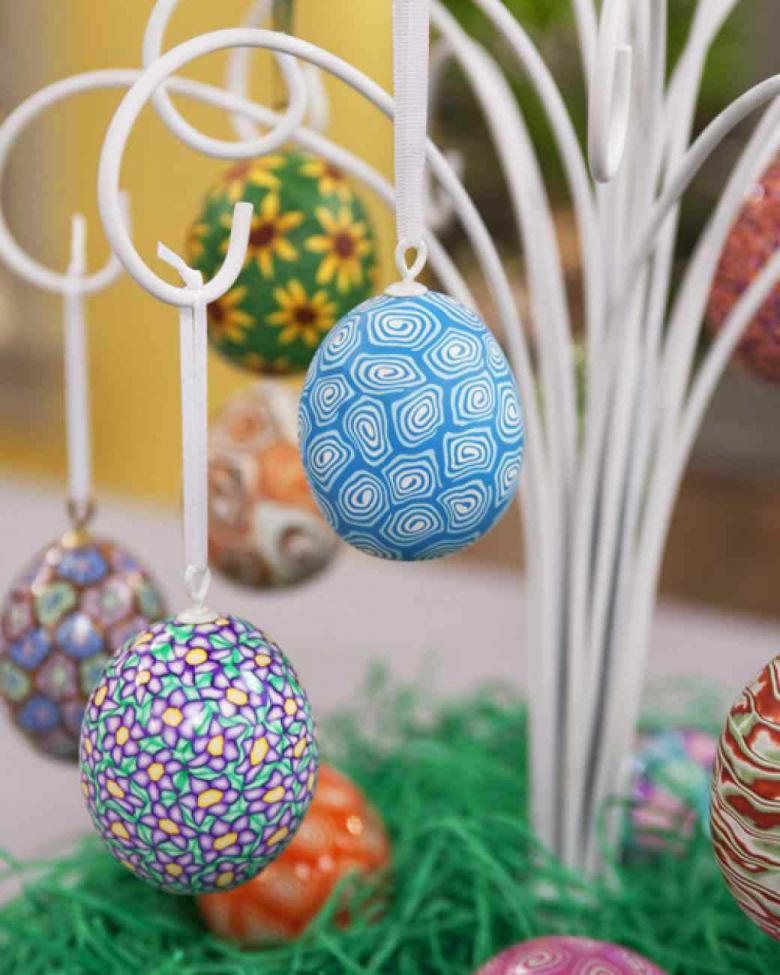
Today, Easter is celebrated in almost every family, and eggs are an indispensable symbol of this holiday. Most often they are painted, but there are quite a few other decorating techniques - from quite simple to the most complex. Regardless of the labor intensity of the process, Easter eggs will turn out original and are well suited as a gift.
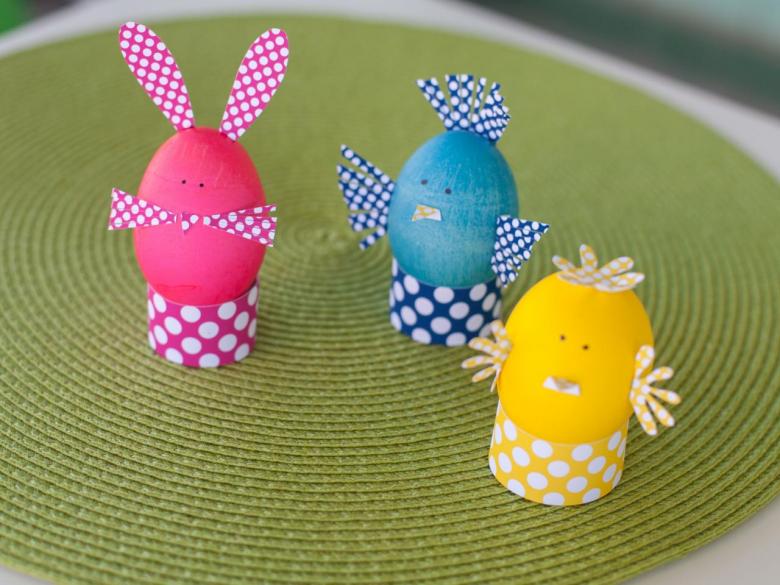
The following decorating techniques are used:
- napkins;
- beads;
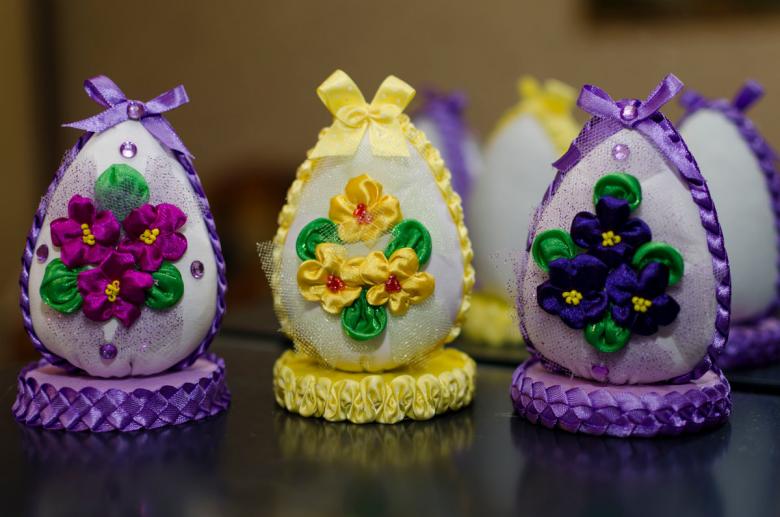
- ribbons;
- threads;
- lace;
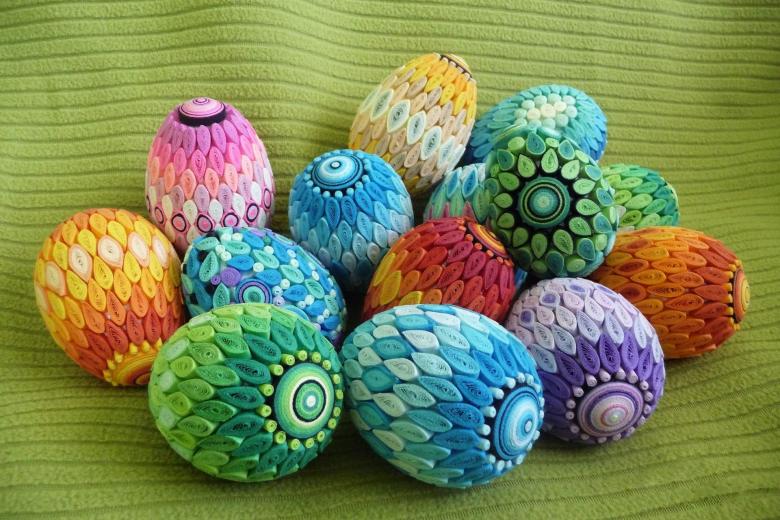
- quilling;
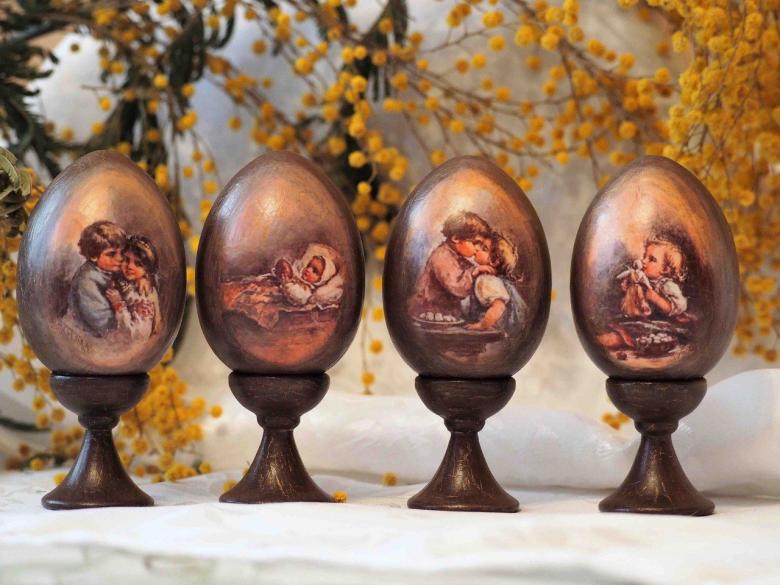
- decoupage;
- origami;
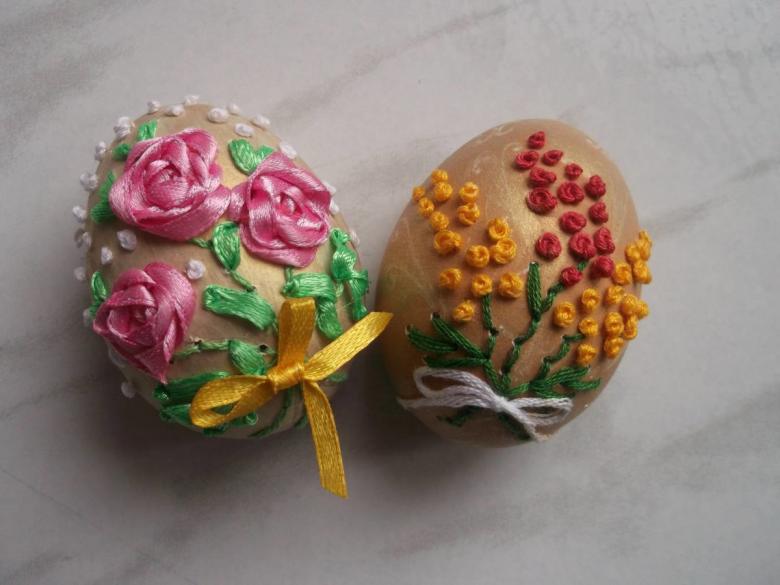
- embroidery;
- knitting.
We will consider the simplest ideas that do not require much skill. You can make these eggs with your own hands during Sunday school lessons or even in kindergarten. In the process of making crafts tell the children about the holiday of Easter and the Resurrection of Christ - the activity will be doubly useful.
As a basis for the craft can be used as real eggs, and models of:
- wood;
- foam plastic;
- cloth.
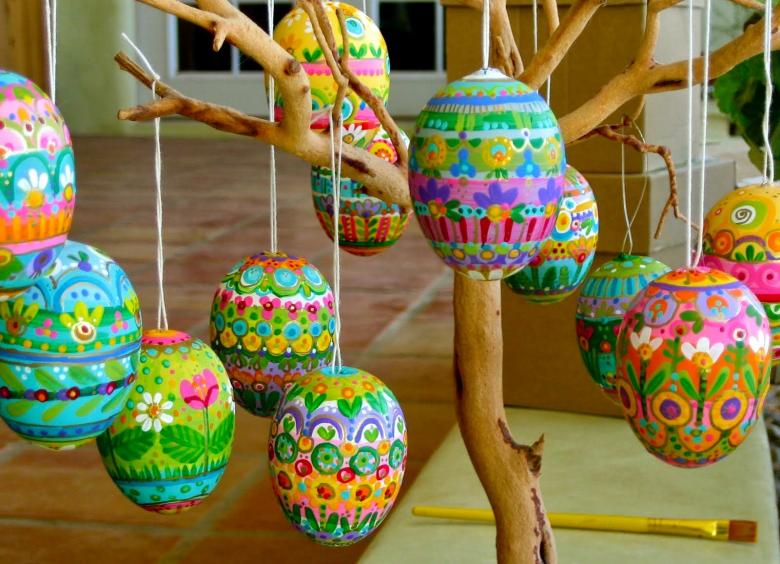
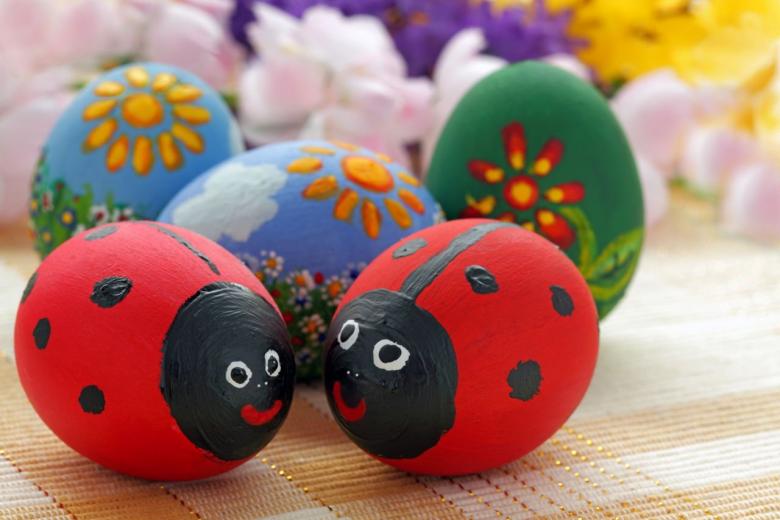
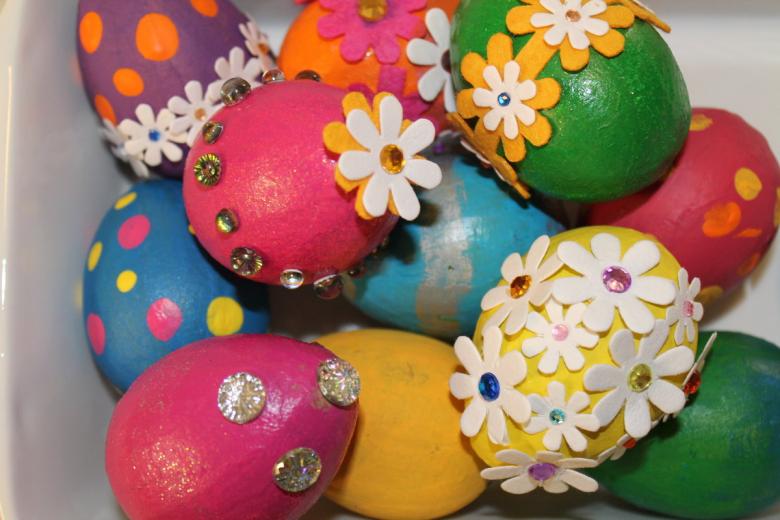
Painting Eggs
Traditionally, it is most common to paint eggs. This is the most popular way of decorating eggs for Easter. Only fresh eggs are suitable for the work, because they are intended for food - even the most beautiful ones.
Variety of options.
Used:
- household dyes such as onion hulls, beets, cherry or oak bark, spinach, saffron. Choose according to the color you want. See pictures online to see how they turn out;
- Industrial dyes, which are on sale in large quantities shortly before the holiday. Make sure that the dyes are labeled "food.
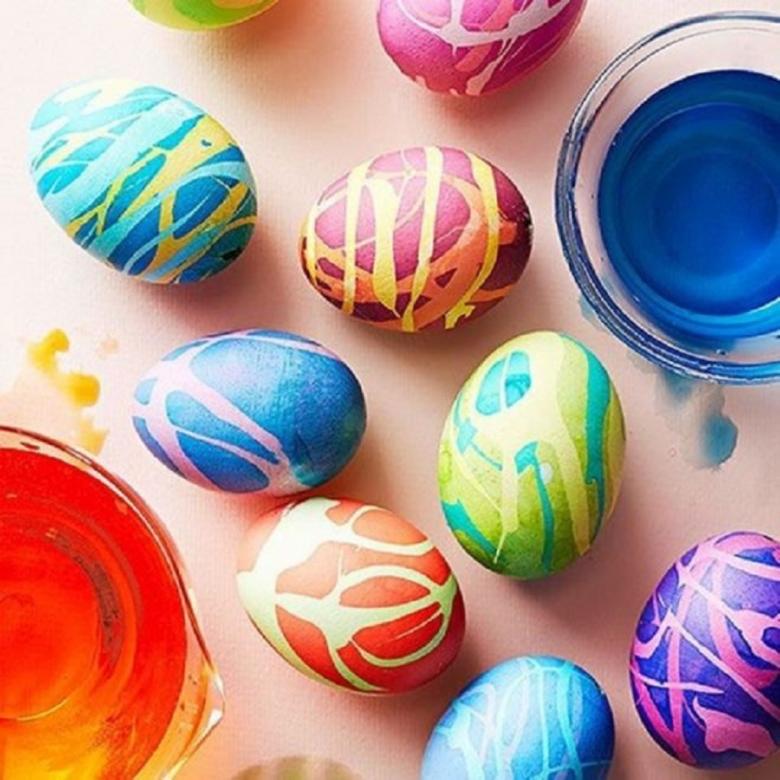
There are different ways to make the eggs not evenly monochrome, but more interesting:
- boiling with rice. The egg will turn out in speckles. To do this, wet eggs should be dipped in rice, preferably long-grain rice, tied with gauze and boiled in a solution of dye;
- "mask". This can be a glued leaf of a houseplant (a young fern looks great), rubber bands, strips of duct tape or duct tape. After the eggs have boiled and cooled, the elements of the "mask" must be removed;
- boiling with vegetable oil. It is added to the water with the dye. Eggs cooked in this recipe turn out with "marbled" stains.
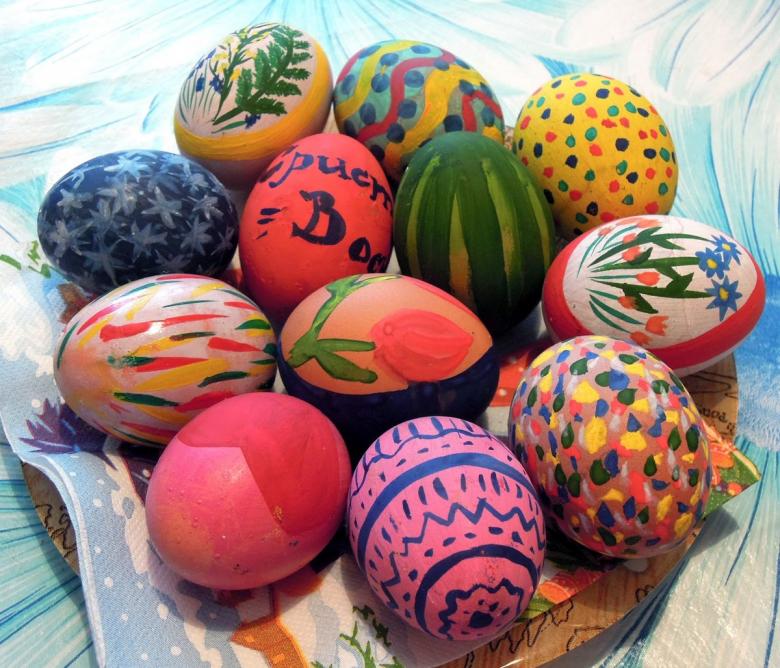
Master Class: Gradient Egg
Eggs are made by using different shades of the same color. This technique is called "ombré". Here is how to get a gradient egg in three different shades of the same color, smoothly transitioning from one to the other.
- Dilute food coloring according to the instructions.
- Place the eggs in the container with the dye. Place them tightly, with the sharp end facing up. They should be covered with colored water only by one third.
- Dye according to the technique indicated on the package.
- Add water to the dye so that it now covers the eggs by two-thirds. The solution has become less saturated. Dye it.
- You need to add water so that the eggs will be covered. You get the third shade, the most delicate.
Eggs "gradient" ready.
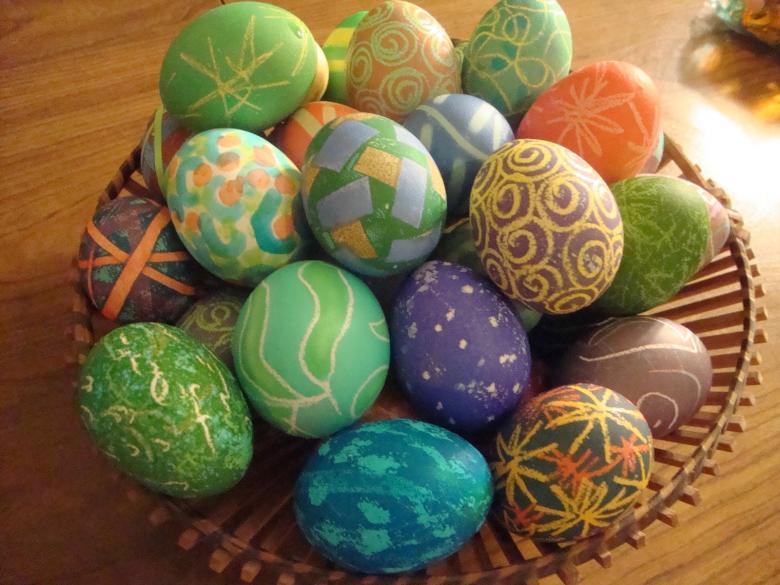
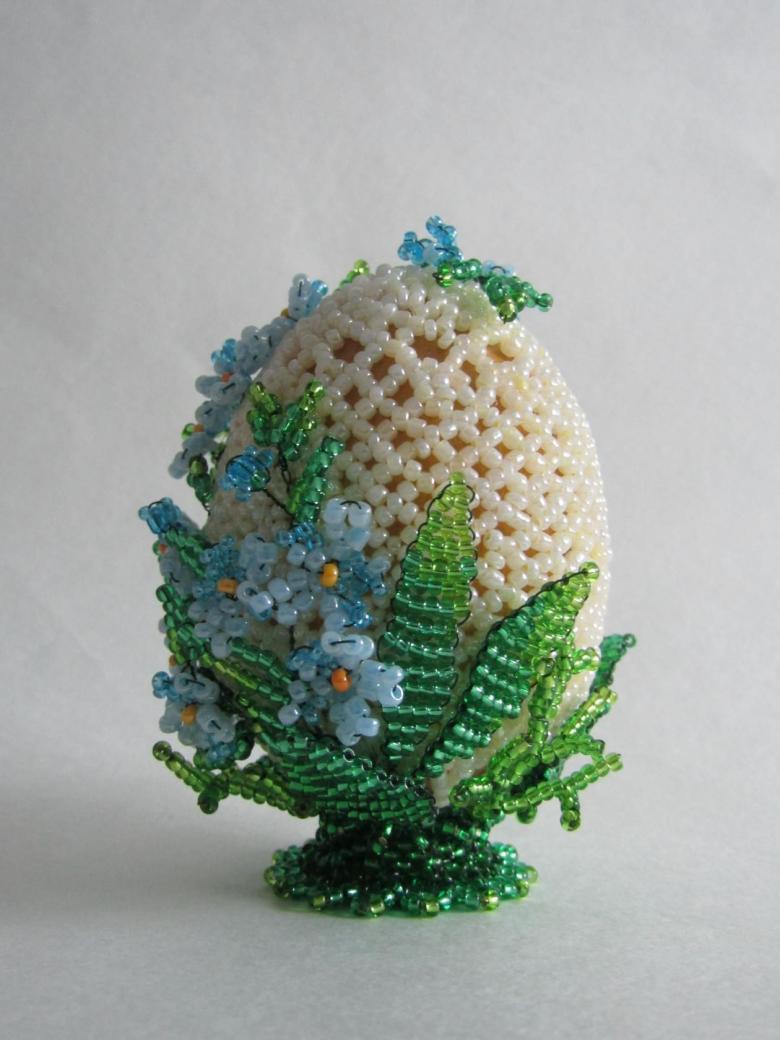
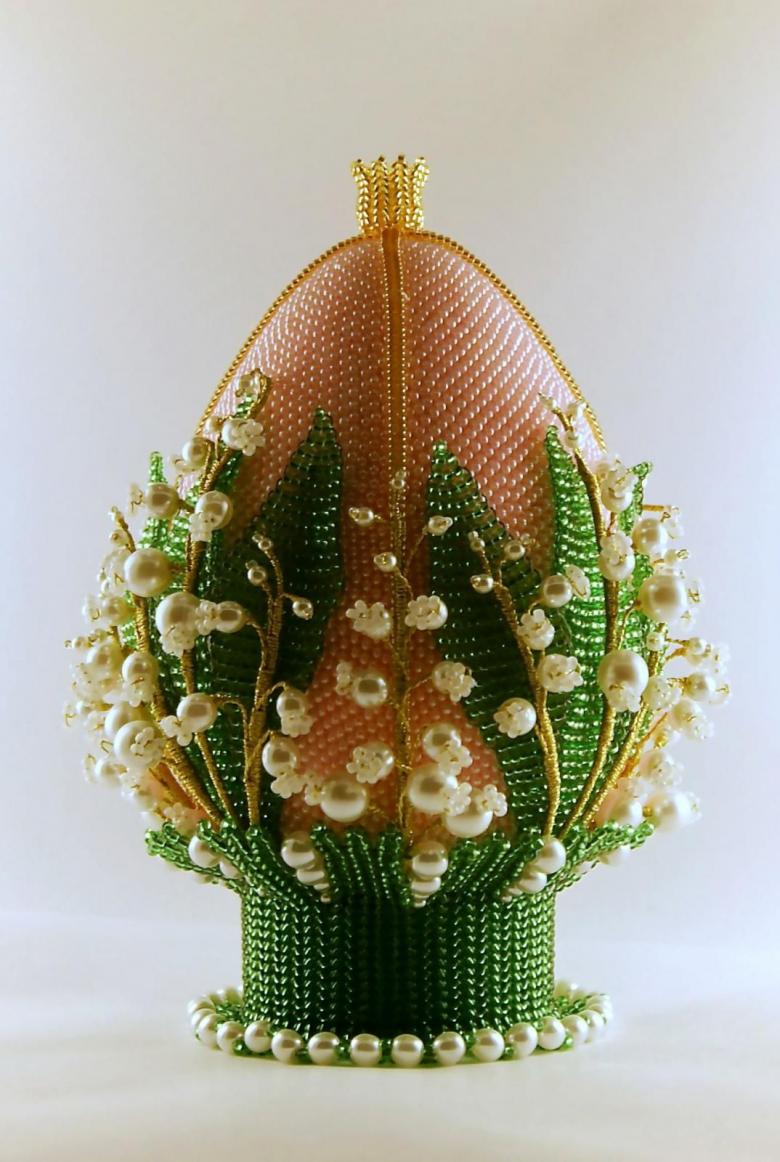
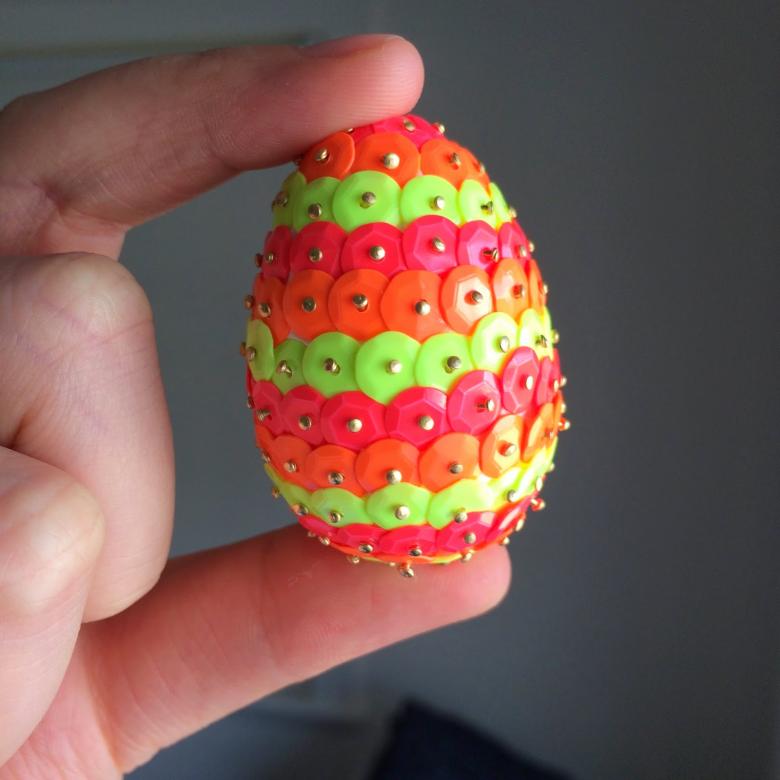
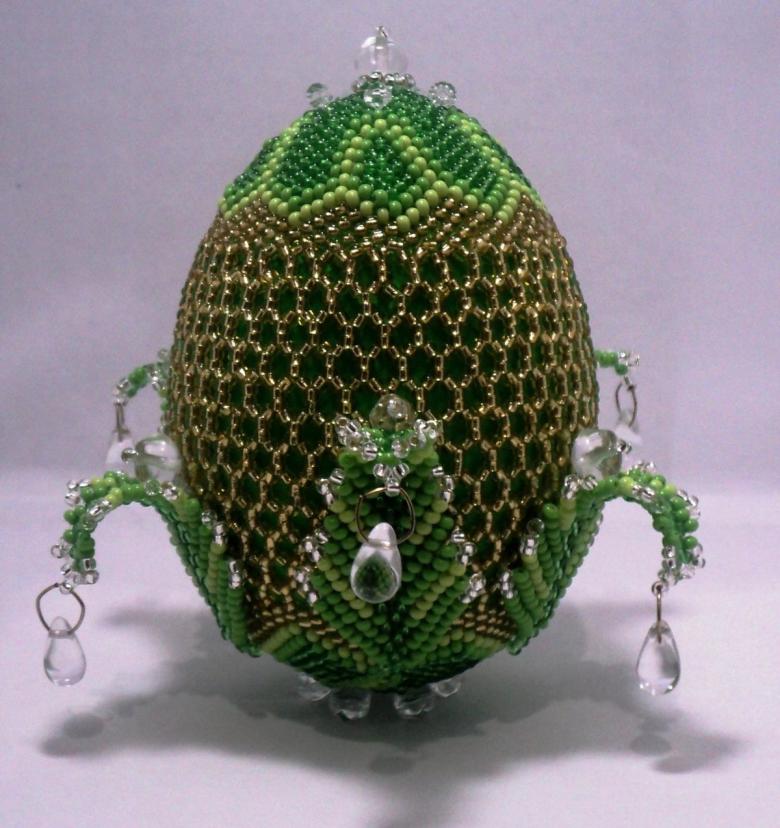
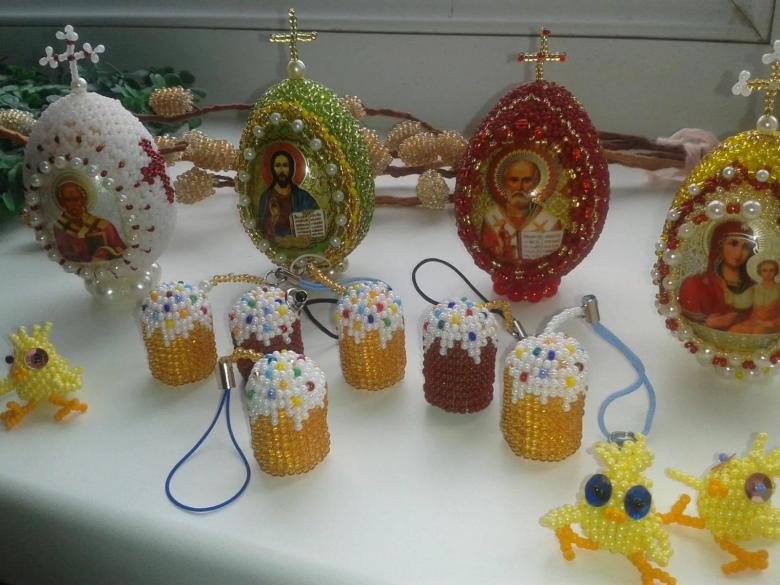
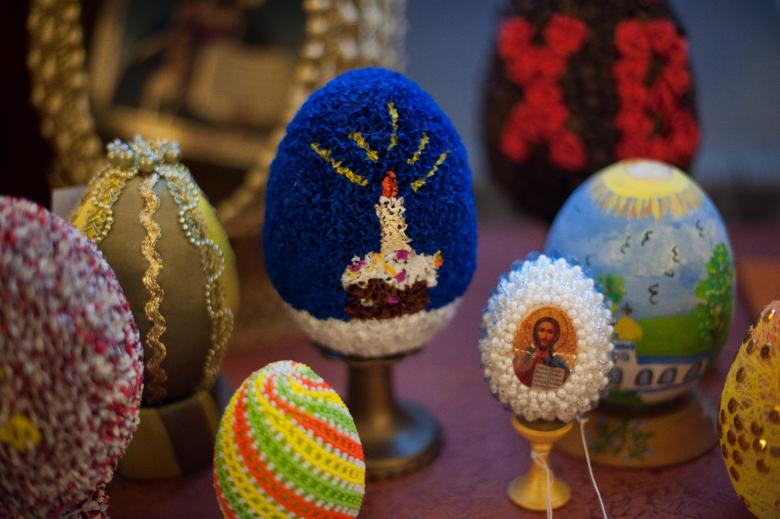
Eggs decorated with beads
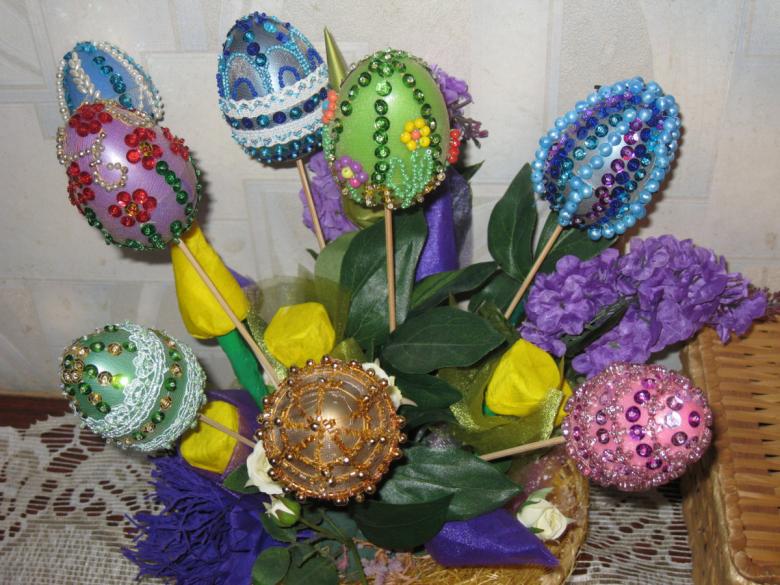
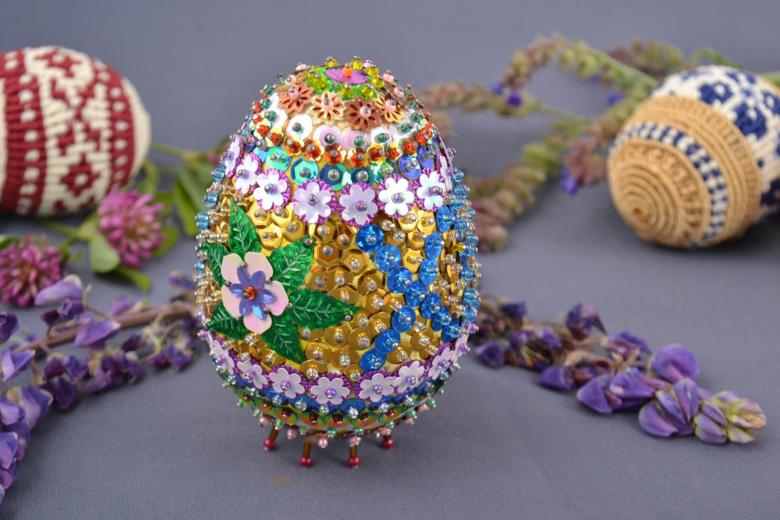
If you use beads, you get very beautiful, but no longer edible products. Experienced craftsmen knit a whole shell for such eggs or separate tracks, which are then fixed.
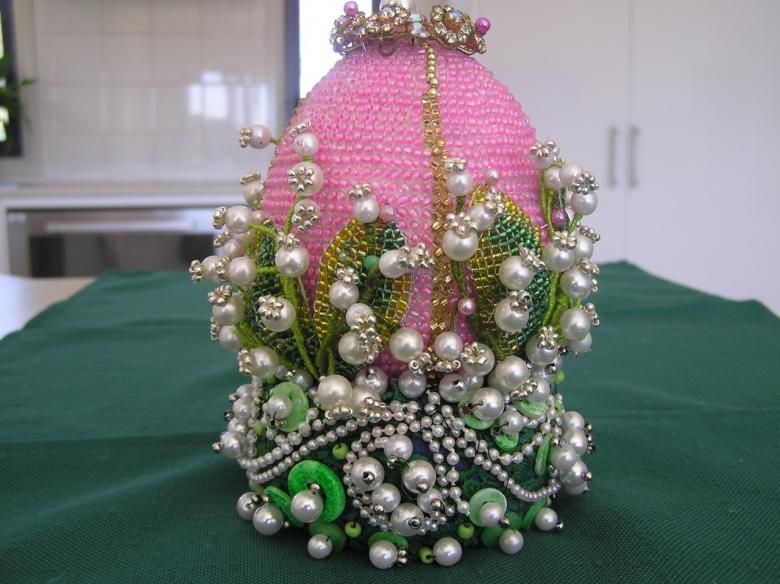
We offer a simple but effective way, with which even a small child can cope.
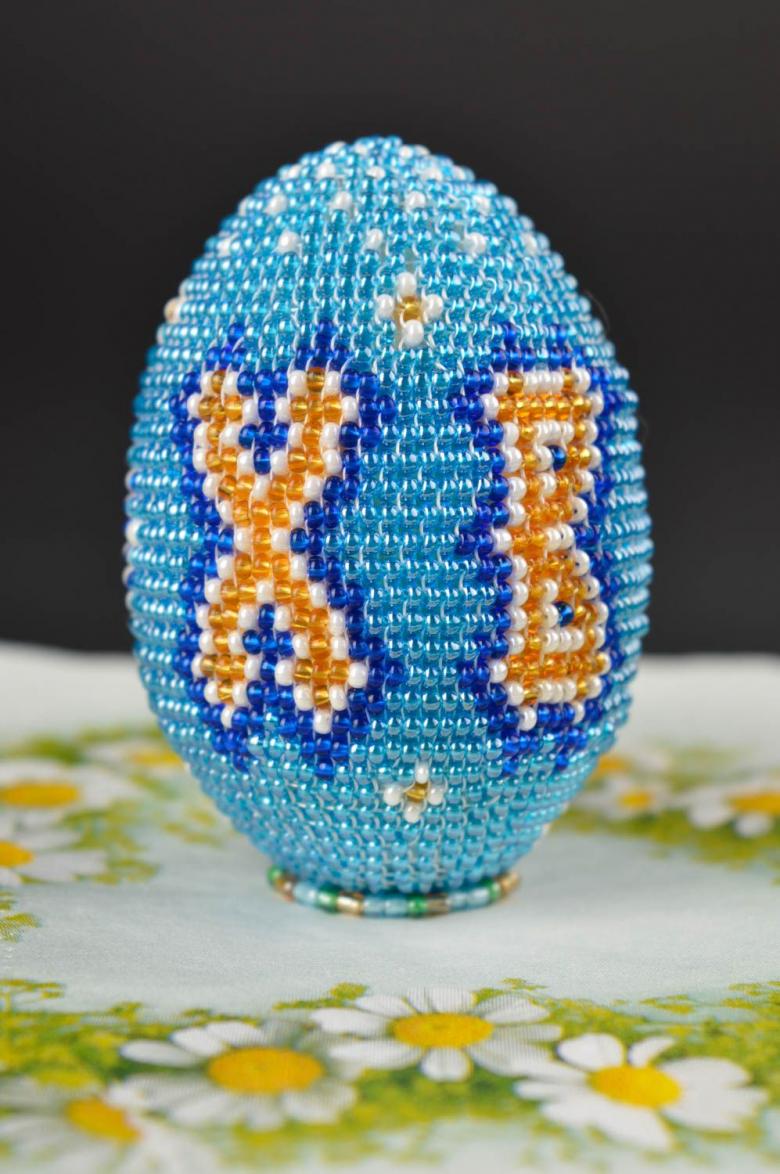
Easter Egg in 7 steps
You will need:
- Egg shell or plastic blank;
- A long thread;
- beads. It is better if it will be two or three different colors. Do not use black - this mournful color does not suit a bright holiday;
- glue;
- brush;
- colored paper;
- scissors.
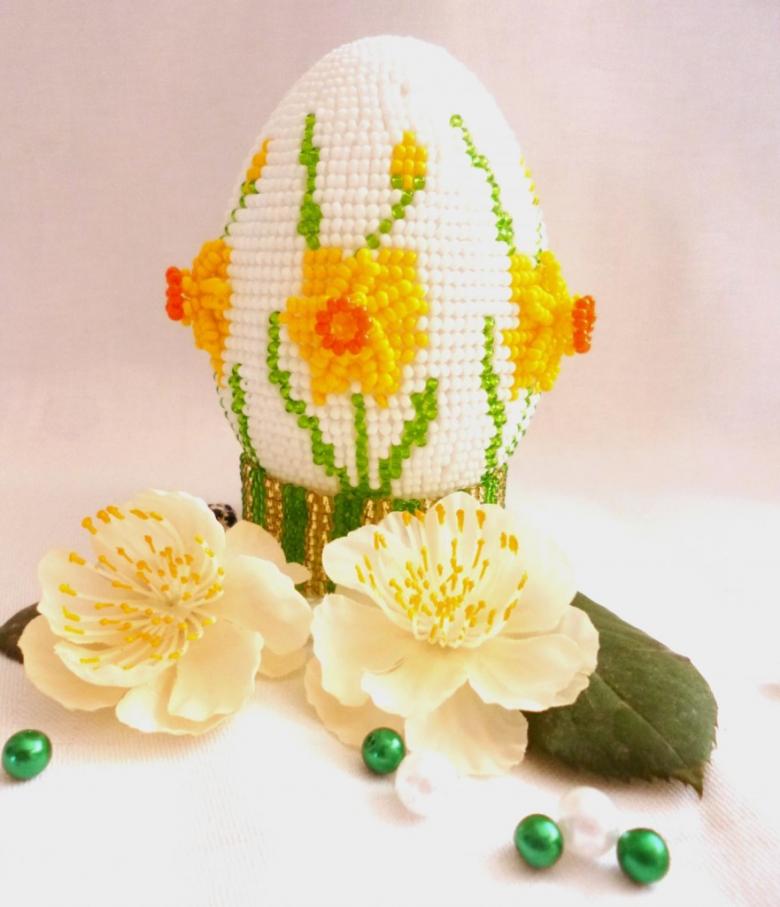
Algorithm:
- If you use an ordinary raw egg as a base, it must first be prepared. Make two holes in it: one at the sharp end and smaller, the other at the blunt end and larger. You put a dish and blow the egg into it.
-
If the yolk doesn't want to flow out, pierce it.
- When the shell is empty, carefully rinse it, blow out the water. From here on, handle the resulting base of the handicraft very carefully - it is fragile. If you have an industrial wood or plastic blank, this step is skipped.
- Take a thread and thread the beads onto it. Think about the color scheme in advance: you can do it in one tone, you can alternate beads of different shades.
- First close the pierced tops. Cut out small circles of colored paper and glue them to the "poles" of the egg.
- Using a brush, spread glue on the top half of the egg.
- Immediately, before the glue begins to set, begin wrapping the egg with the string and beads as close as possible to the "top," along the border of the paper circle. Stack the coils close together.
- Wait until the egg is dry.
- Overlap the egg, spread glue on the bottom half and also wrap the thread all the way around the circle covering the bottom end.
You have an original gift.
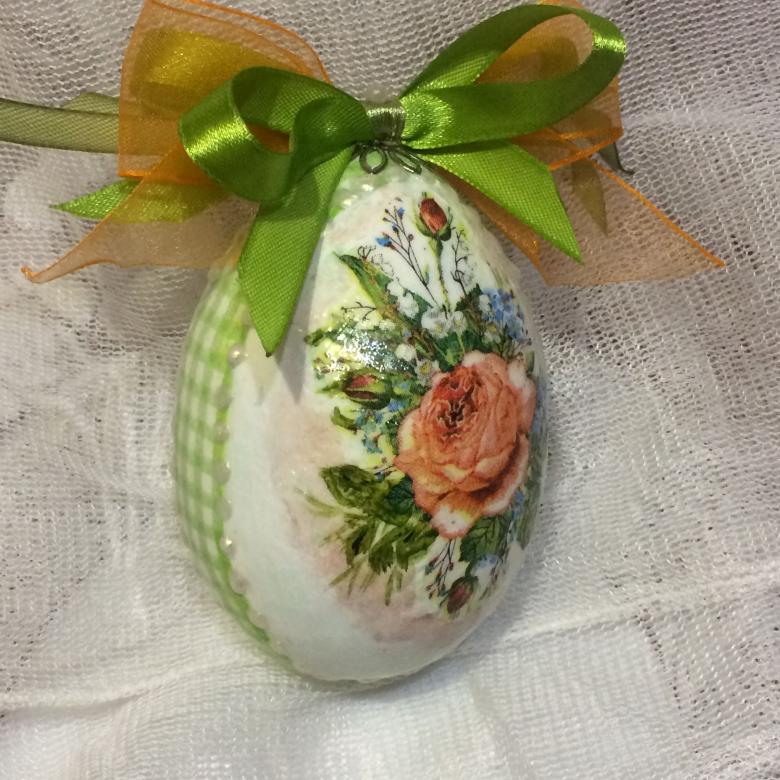
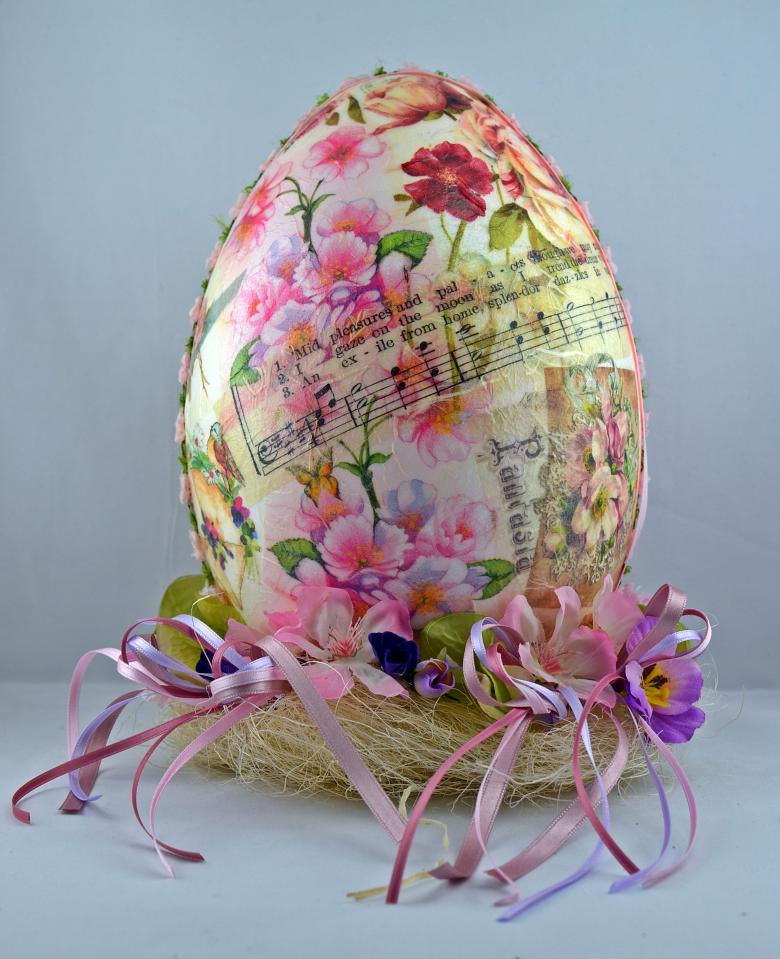
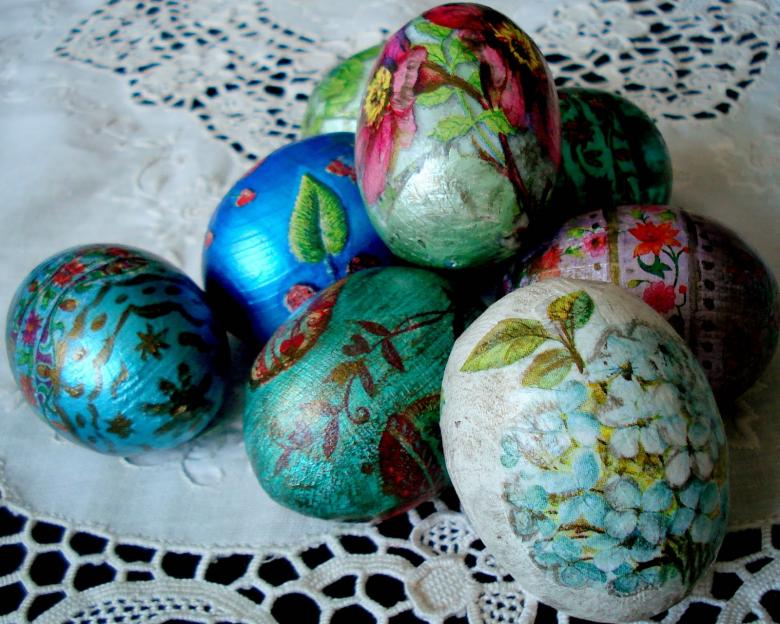
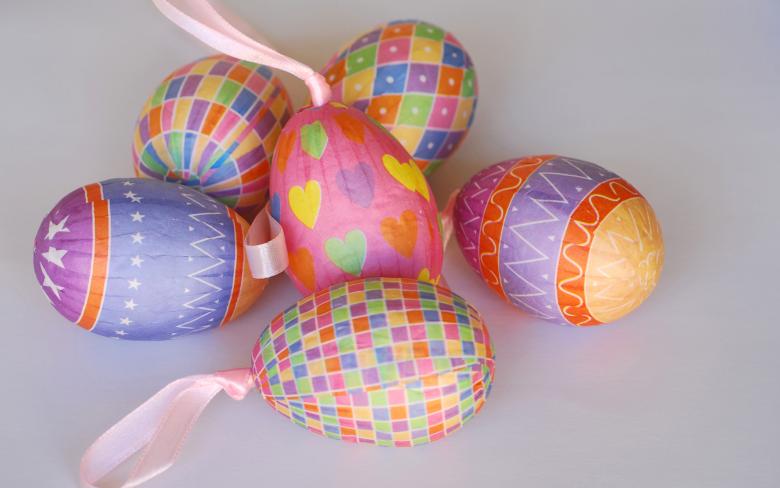
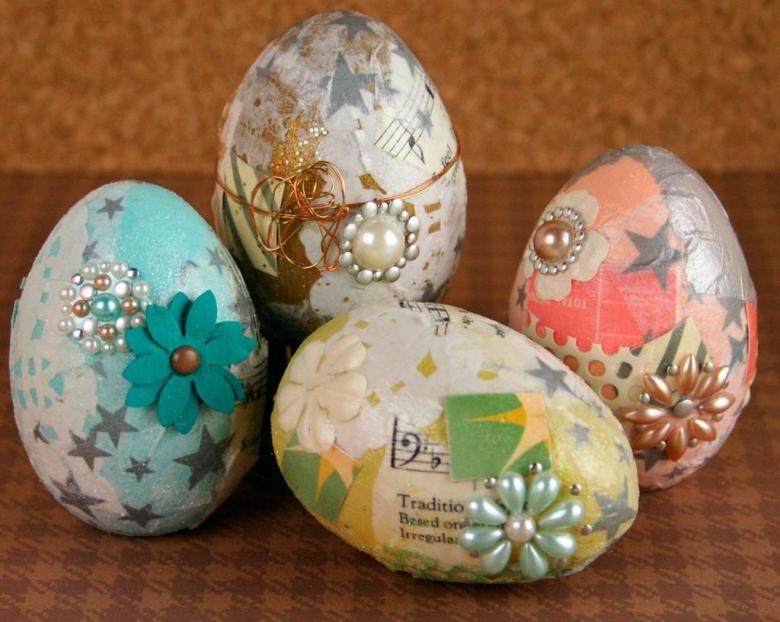
Decoupage with napkins
A very simple way to decorate Easter eggs, allowing you to get a variety of products. The main thing is to find beautiful paper napkins with a pattern, for example, with flowers.
You will need:
- eggs;
- cup;
- a pin;
- Beautiful napkins;
- scissors;
- PVA glue;
- brush.
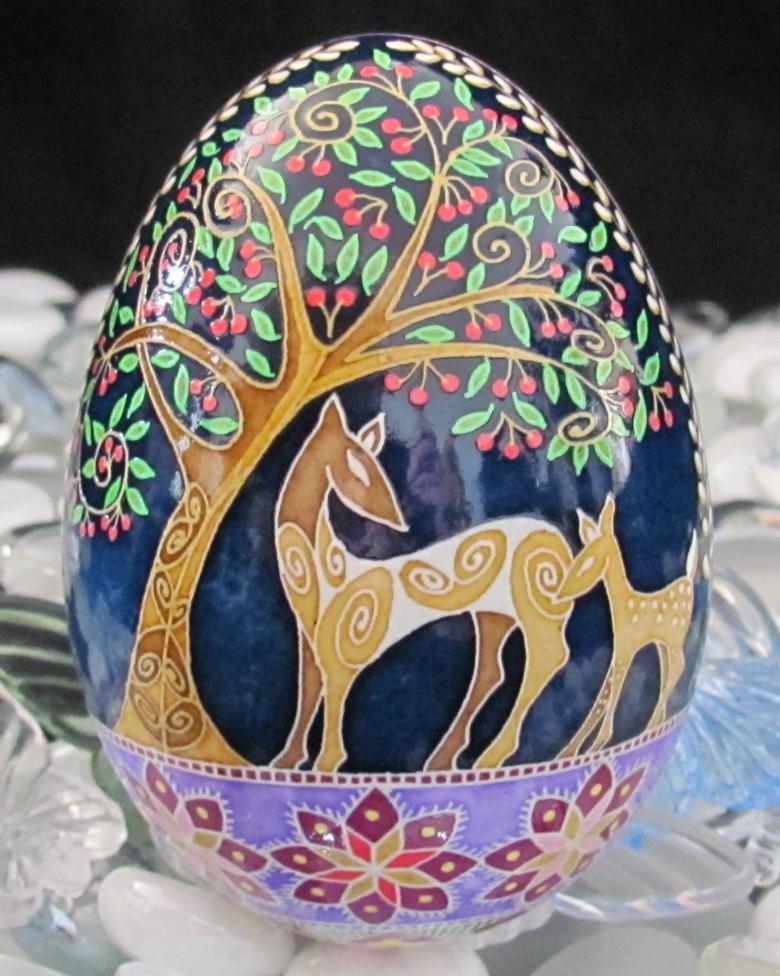
Algorithm:
- Remove the contents of the egg as we described above. Use a pin.
- Cut out the patterns from the napkins. If they are large, two will suffice. You can even do with one.
- Smear the shell with glue, attach the images cut out of napkins to it. Smooth thoroughly, but without pressure - remember: the shell is very fragile.
- Apply another layer of glue on top of the images and wait until it dries.
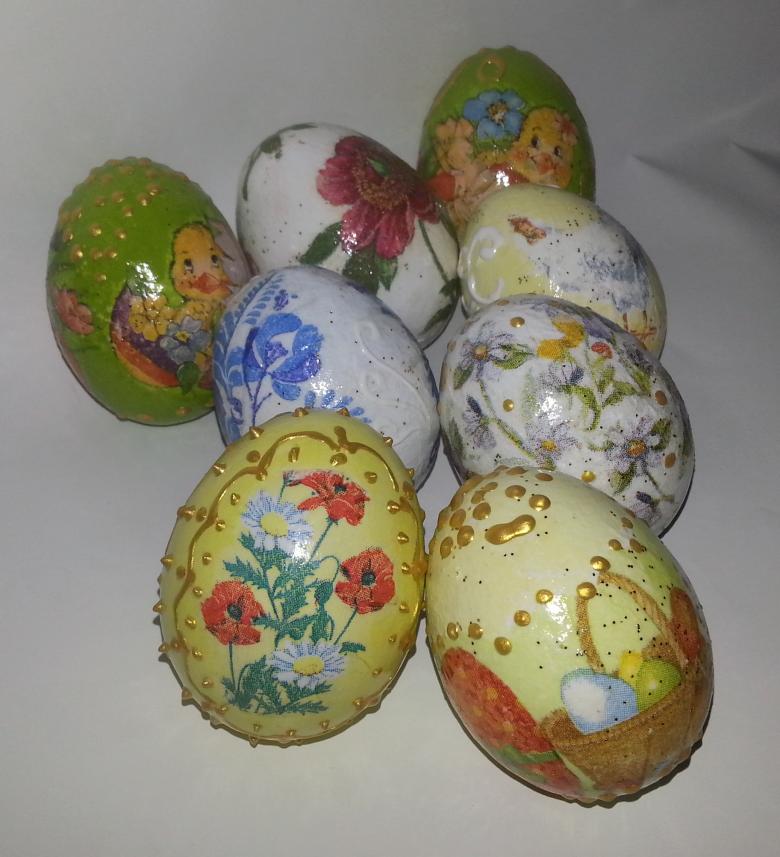
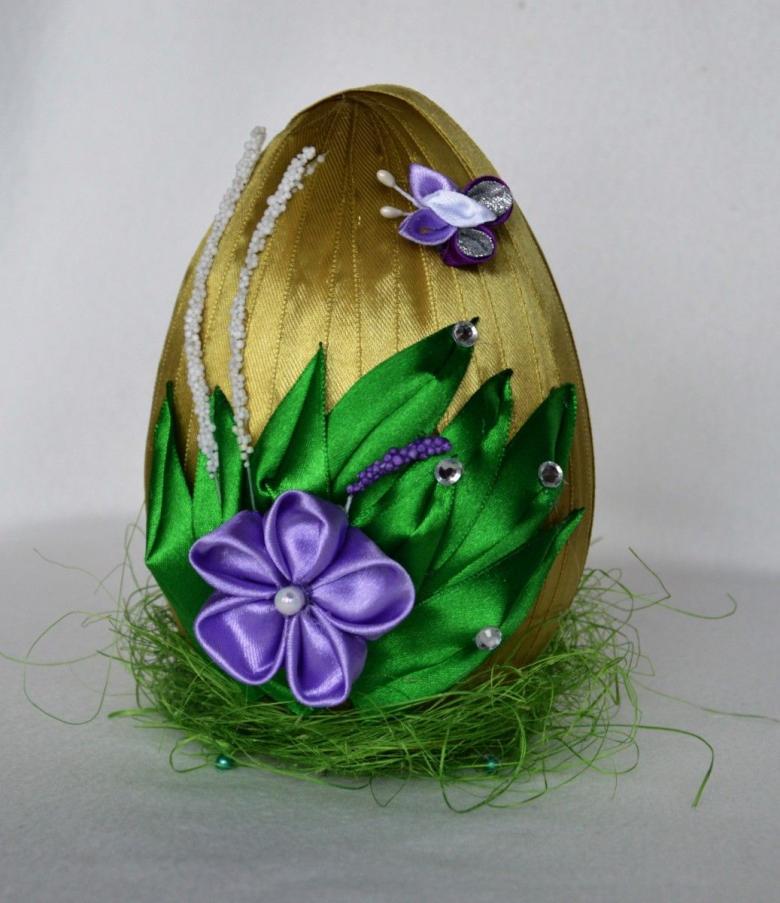
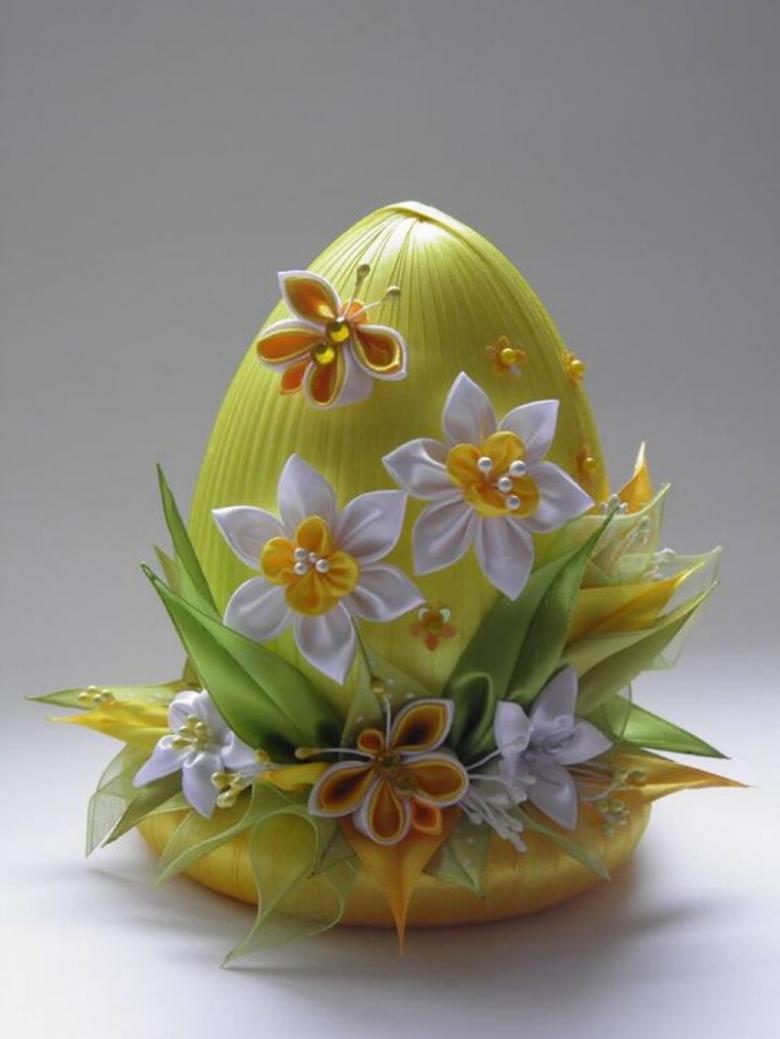
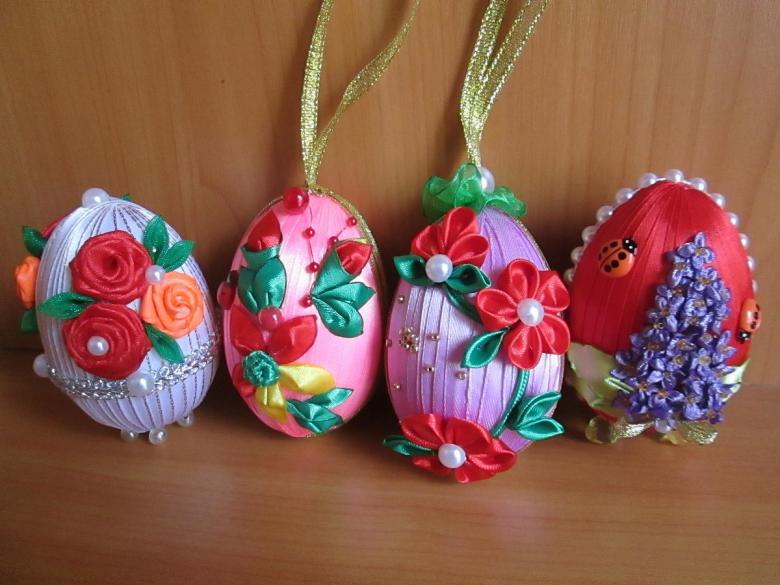
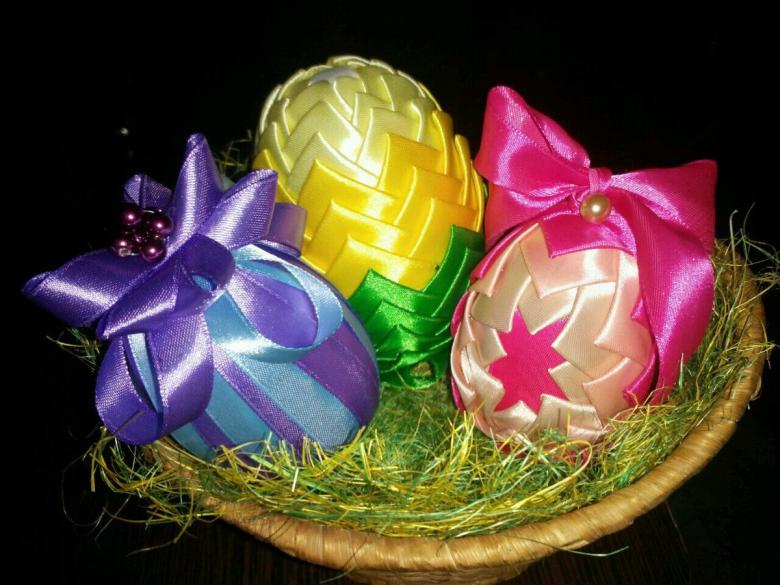
Decorating Easter eggs with ribbons
We bring to your attention two ways - easier and more complicated. Regardless of the complexity, the result is very beautiful.
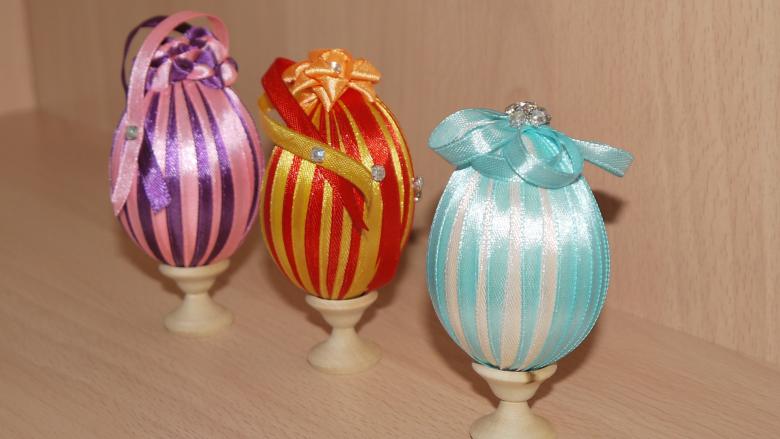
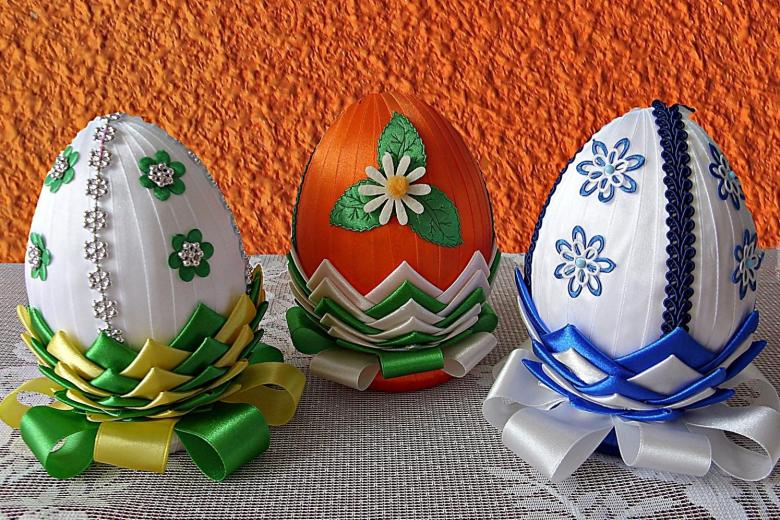
In both cases, you will need blanks (preferably plastic), satin ribbons of two colors, glue (in a more complicated version, you can use pins), scissors, a brush, if desired - crystals.
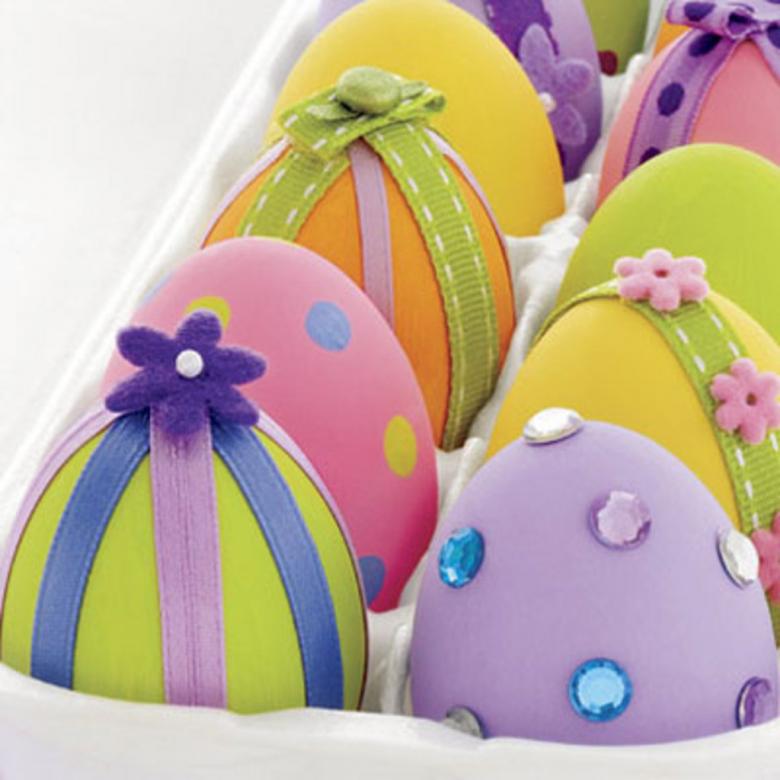
A simple variation: a ribbon-covered egg
- Glue both ribbons to the sharp end of the egg, overlapping each other.
- Stretch them out to the blunt part and glue them crosswise.
- Step back a little and pull the ribbons up again, cross over and glue.
- Go over the entire surface of the egg this way.
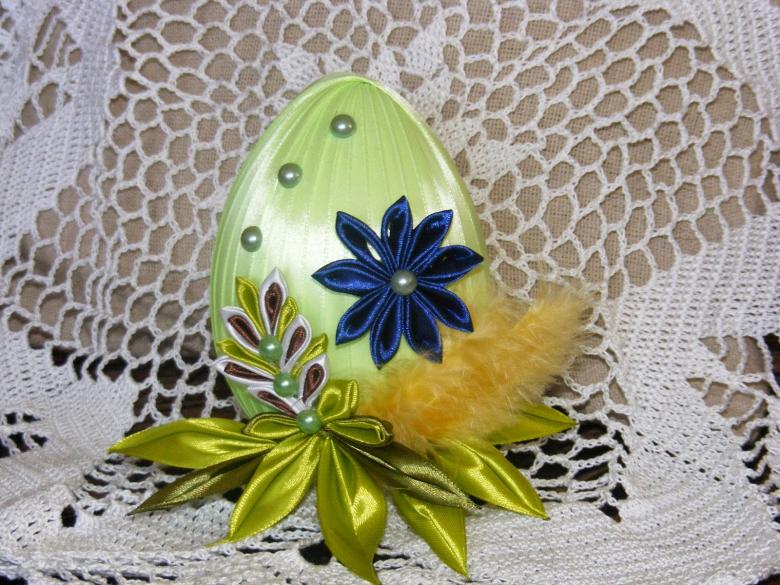
As a finishing touch, you can decorate the egg over the ribbons with rhinestones. Glue them on, but carefully.
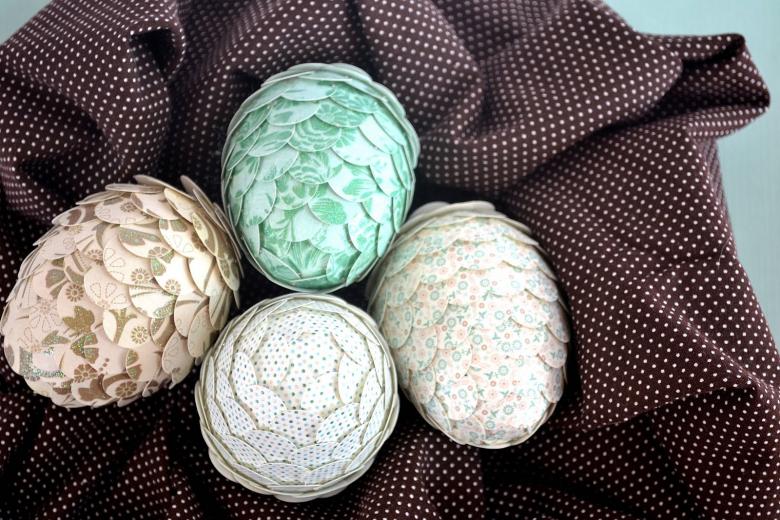
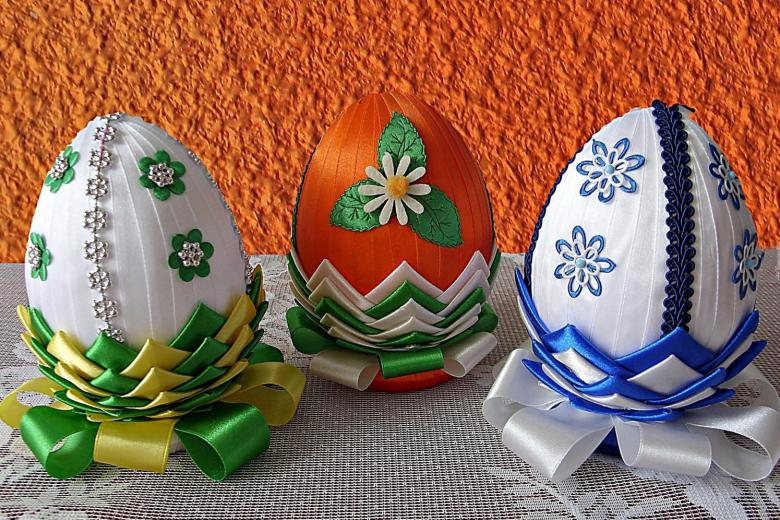
A tricky variation: "artichoke."
This technique is also called "cone".
- Cut the ribbons into 2.5 cm sized pieces.
- Fold each piece with a corner.
- Cut a square centimeter sized piece of ribbon and attach it to one end of the egg. If you have a plastic base, use pins. If the egg is wooden, attach the pieces of ribbon with nails.
- Take 4 corners and attach them long side down closely to the square piece of ribbon.
- Lay them layer by layer all the way to the top. Each previous corner should peek out from behind the next.
- Cover the top with another square piece of ribbon.
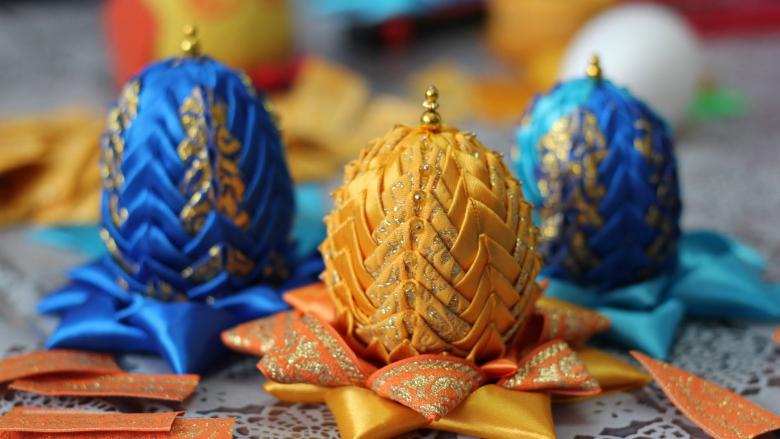
If you want your handicraft to be able to hang, before closing the top, cut a narrow strip of ribbon, put the ends under the square (a loop is formed) and glue it.
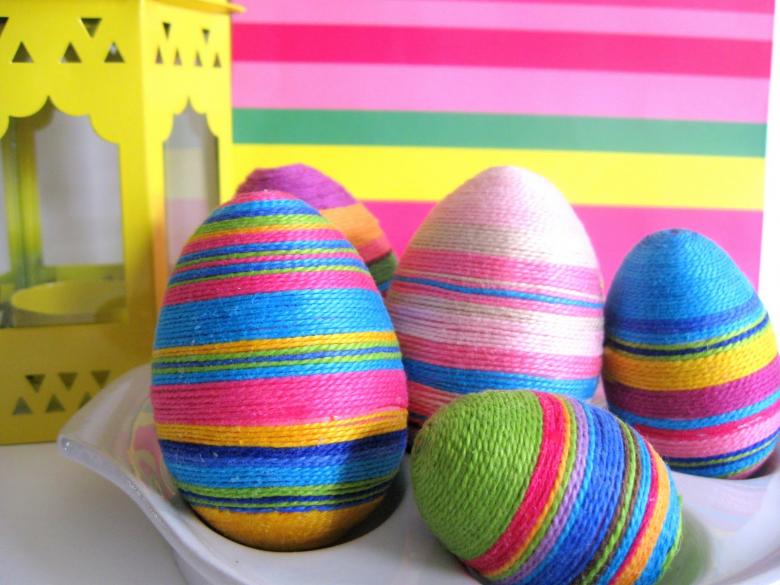
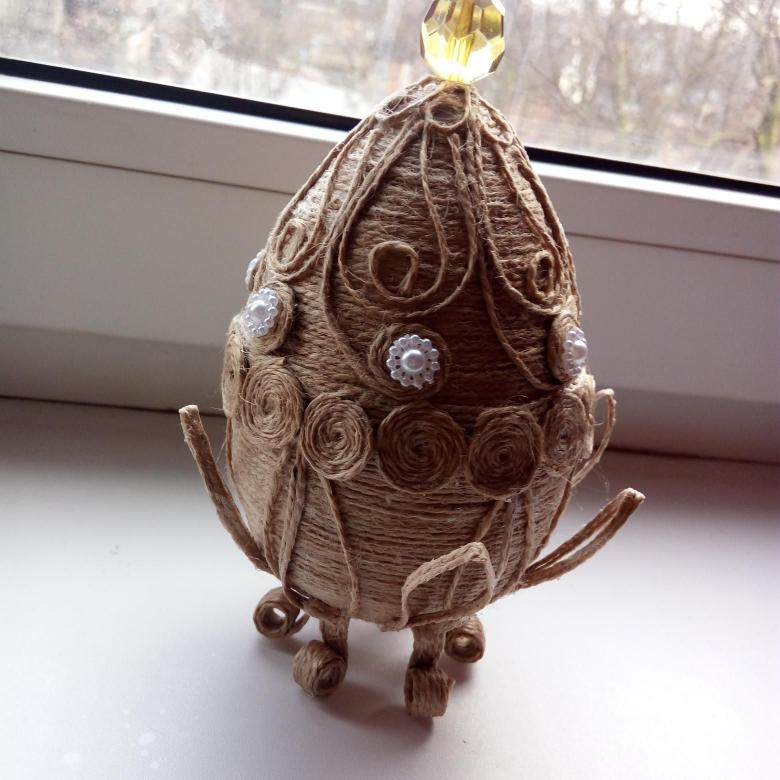
Thread Decoration
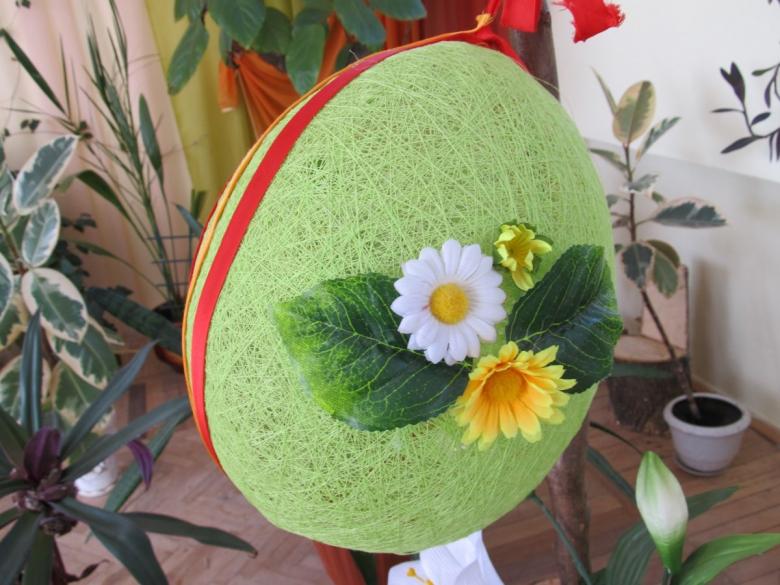
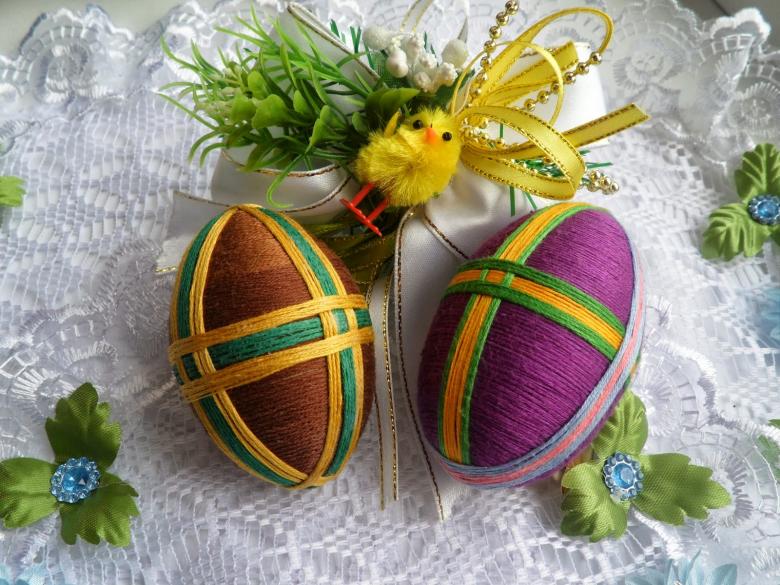
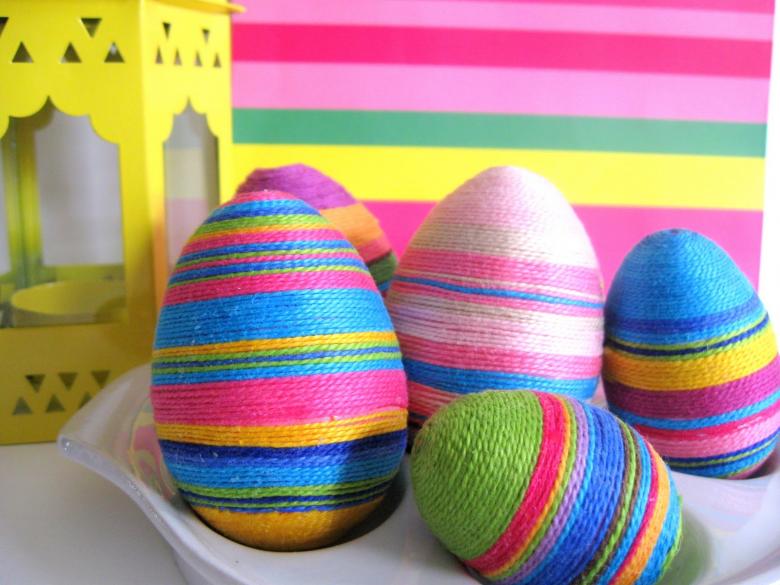
This is a very simple but elegant handicraft. In addition to the blank, you will need colored thread, glue and lace for decoration.
- Glue the egg and wind the thread layer by layer in the middle. Make sure that the layers are straight and that they are flush.
- When in the middle, flip the piece and do the same on the other side.
- It remains to attach the decor. Cut strips of lace - two small, one longer. Glue the two short strips around the tops of the egg, and the long one around its "waist".
Embroidered Easter Eggs
Many mistresses love to embroider. As the material is used a special canvas, linen, other suitable fabric, in which the weave is visible. Volumetric Easter eggs are beautiful, but flat ones also look decent. It is not difficult to make them, it is enough to master the technique of embroidering a cross. The master class is about this:
- Draw an oval outline on the canvass, resembling the shape of an egg;
- Choose a suitable pattern and a scheme for its embroidery (there are lots of photos on the internet);
- Embroider the pattern on the canvass inside the outline;
- Step back 3 mm from the outline and cut out;
- Make another billet in the likeness of the first;
- A small piece of satin ribbon (no more than 20 cm), fold in half and place the ends between the embroidered blanks;
- Put an oval-shaped cardboard between the blanks and stitch them along the outer edge with a connecting stitch.
The original egg-shaped pendant is ready. It decorates the interior of the house in anticipation of the holiday, give it to friends, relatives.
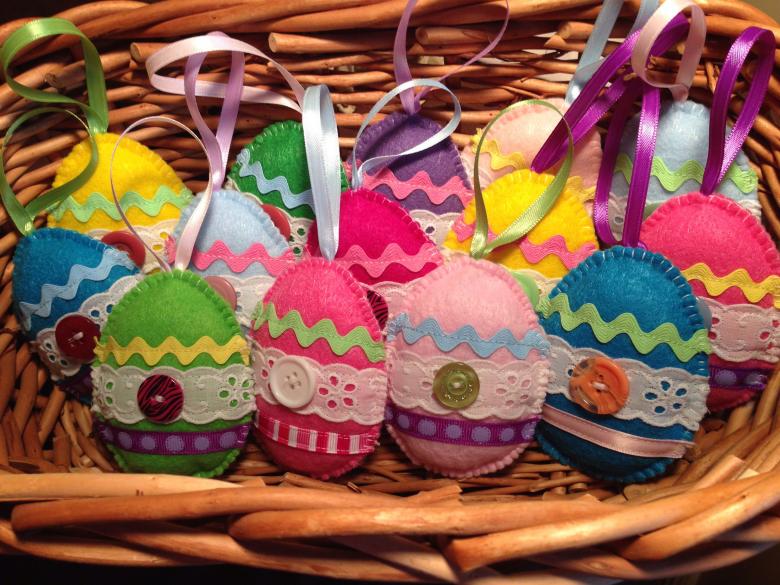
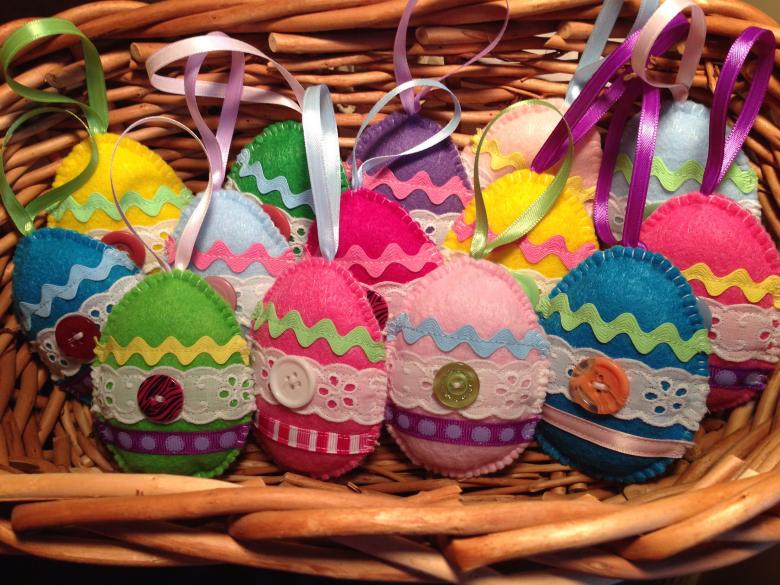
Easter eggs made of felt
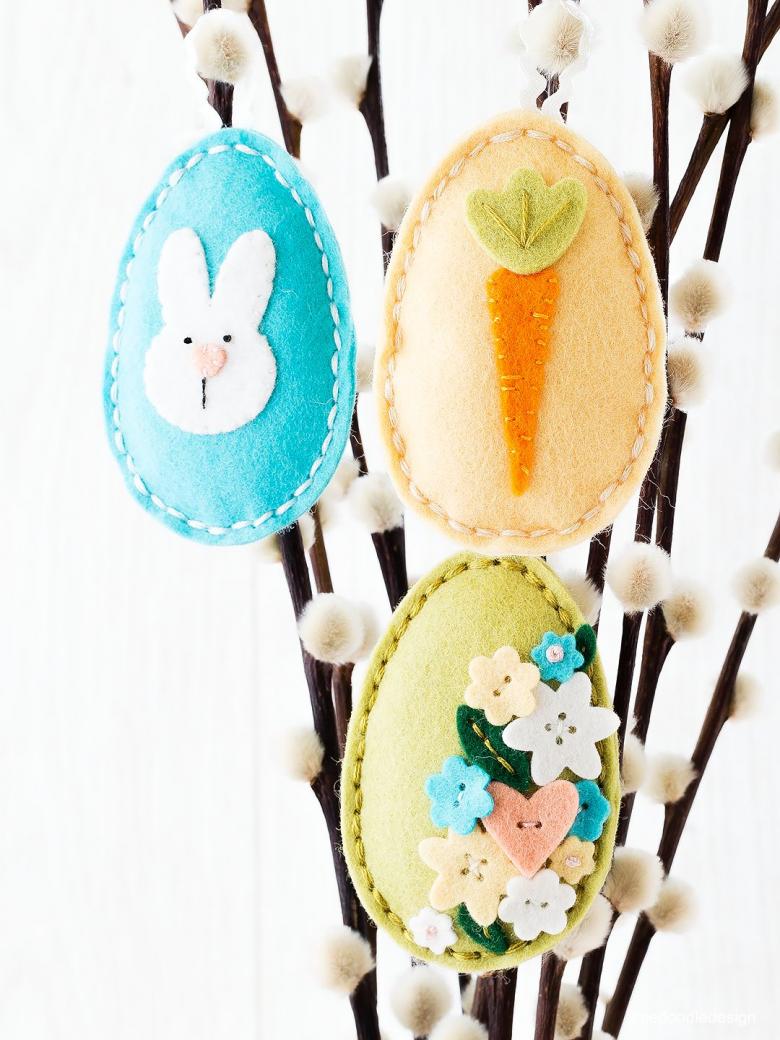
Felt is considered a suitable material for children's creativity. It has a soft structure, is easy to cut with scissors, can be glued and sewn on, it can be crumpled, twisted, without fear of injury. Felt is made by felting rabbits and goats down with the addition of small amounts of synthetic fibers.
Children of younger preschool age can be entrusted with creating an Easter egg garland. For this, you will need:
- sheets of colored felt;
- PVA glue;
- satin ribbon with a diameter of up to 1 cm.
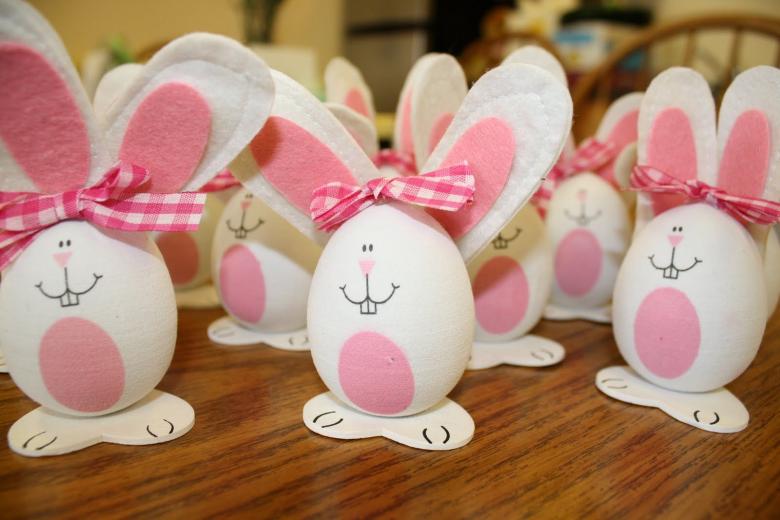
Adult helps a child cut out of felt a few pre-cut egg-shaped pieces, in each of them he makes two holes in the upper (narrowed) part. Also from the adult need to cut out of felt a few circles, strips and other small elements.
The task of the child is to decorate the eggs. He glues small elements on each blank, choosing colors, location, quantity, at his discretion. The work looks like a game, children are really into decorating.
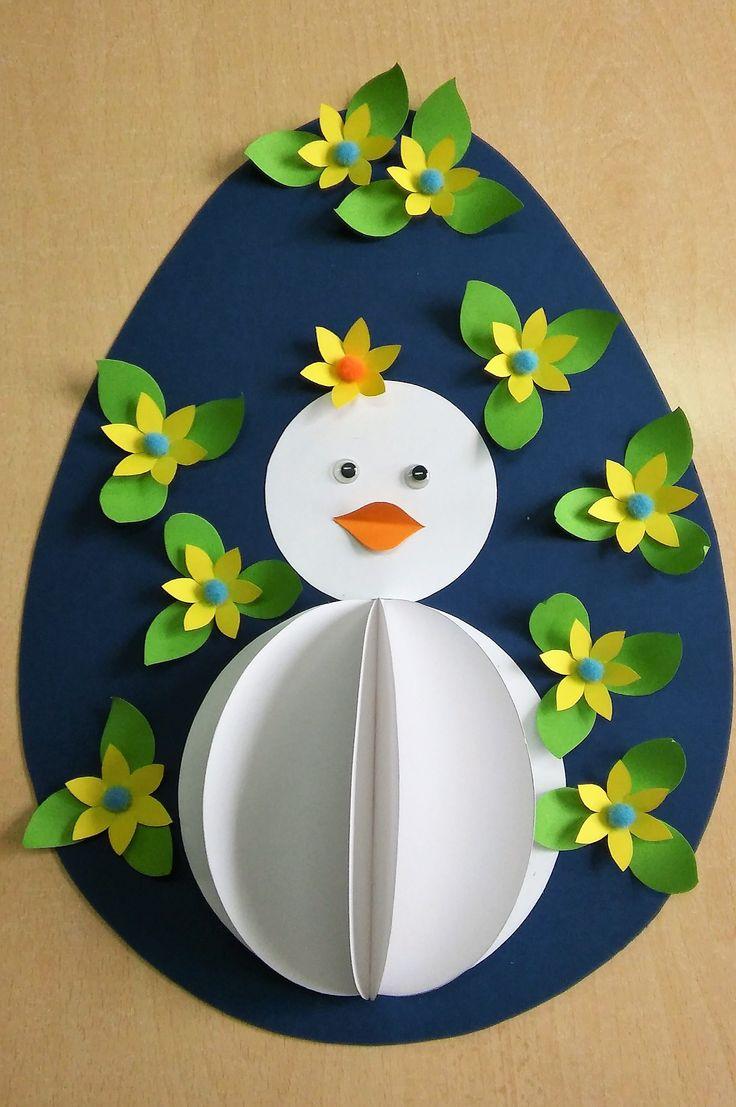
Then the felt eggs are strung on a ribbon and the resulting garland decorates the room. The handicraft admires the brightness and evokes good emotions.
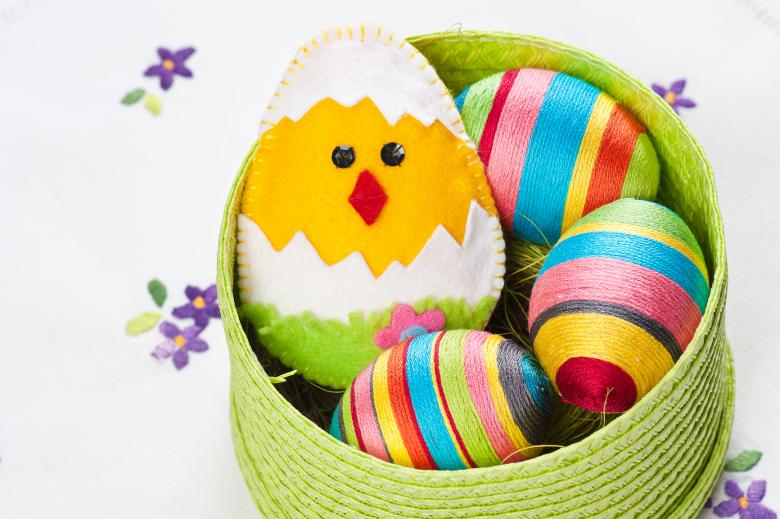
Felt eggs, not attached to the ribbon, look good as independent souvenirs. A child can give them to friends from kindergarten or school, relatives and friends.
Knitted Easter eggs
Knitted products radiate coziness and originality. It is enough to master the no stitch column, and even an inexperienced craftswoman will be able to knit an egg. To work take a yarn of bright colors, changing the yarn and forming multicolored stripes. On the knitted surface looks beautifully embroidered letters.
It is interesting to look at the eggs, tied with a filigree grid. They are decorated with beads, ribbons, flowers.
To knit an egg in the technique of amigurumi, you will need acrylic yarn and crochet. Step by step procedure:
- Dial in the ring amigurumi 6 columns without a stitch;
- In the second row, from each stitch, do two no-quilts;
- Knit subsequent rows in a spiral, adding 6 stitches, distributing the additions evenly;
- In the sixth row there should be 36 sts;
- 5 rows knit 36 sts;
- From row 12 to 20 rows make equal amounts of yields;
- Fill the cavity with synthetic material;
- Tighten the thread, closing the hole;
- The tip of the thread to hide.
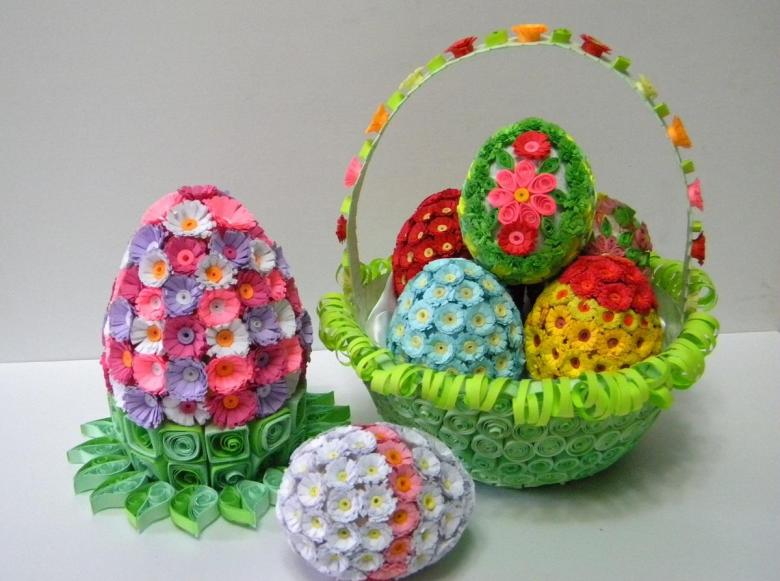
Knitted eggs are prepared in advance, as it takes time to work. This souvenir is great as a gift for friends and family, it looks beautiful as an element of decor in the interior.
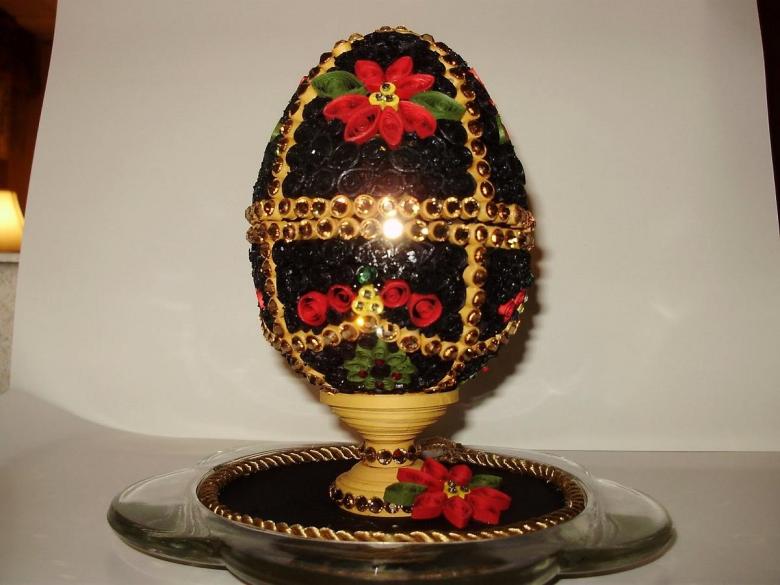
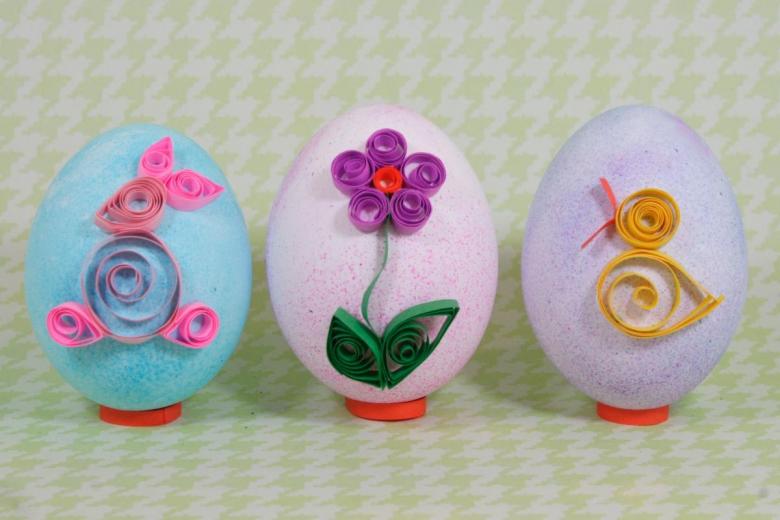
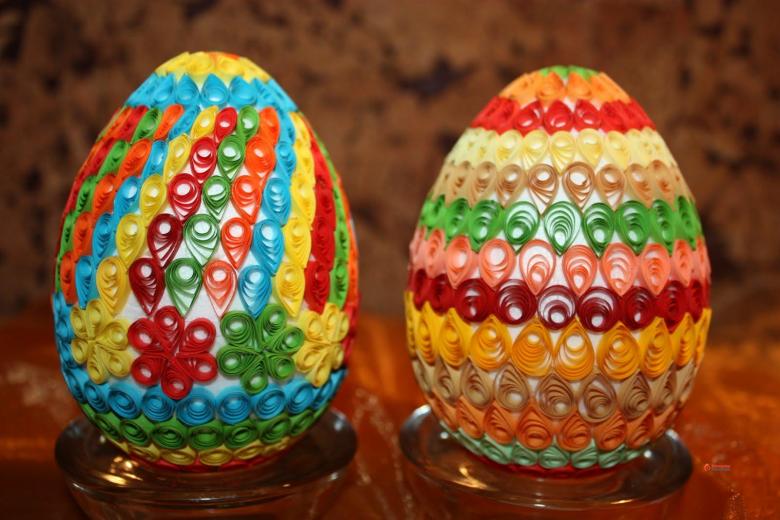
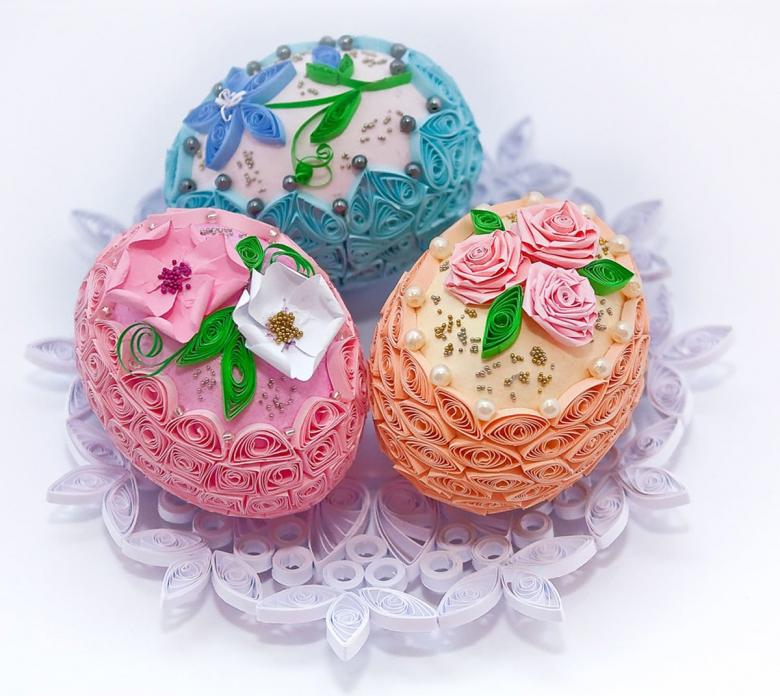
Easter eggs in the technique of quilling
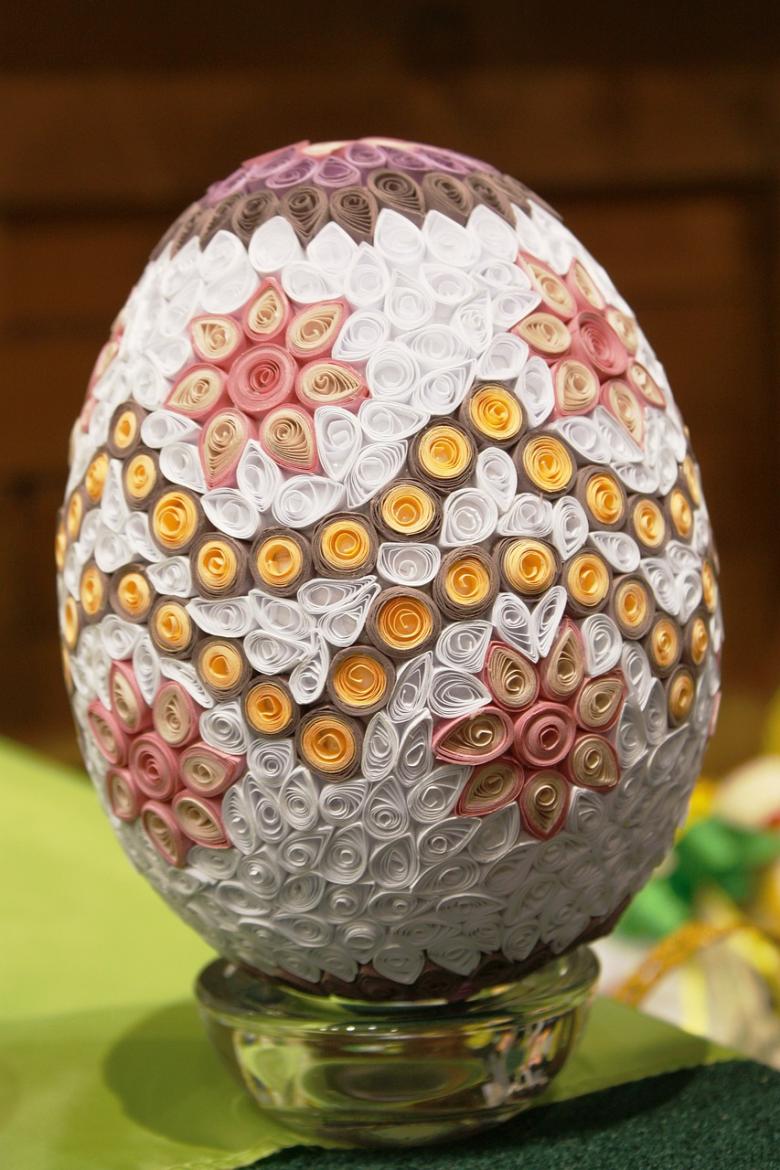
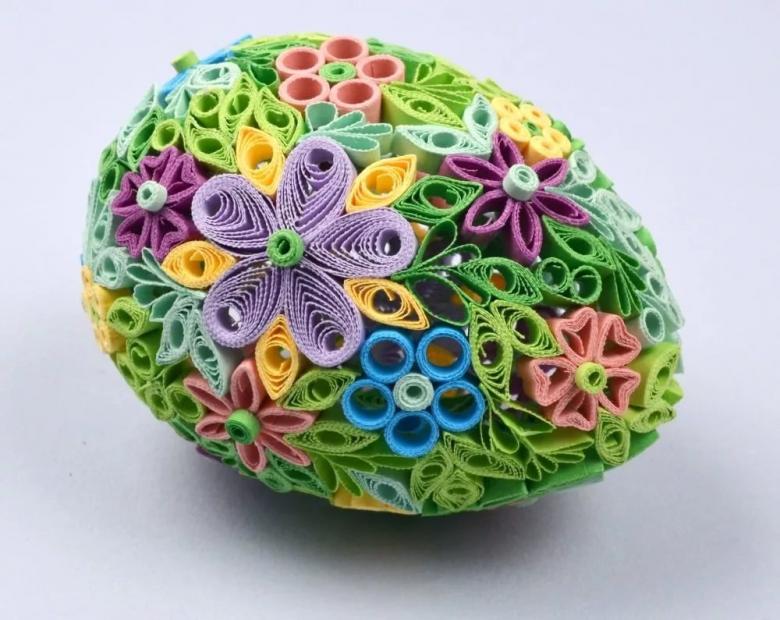
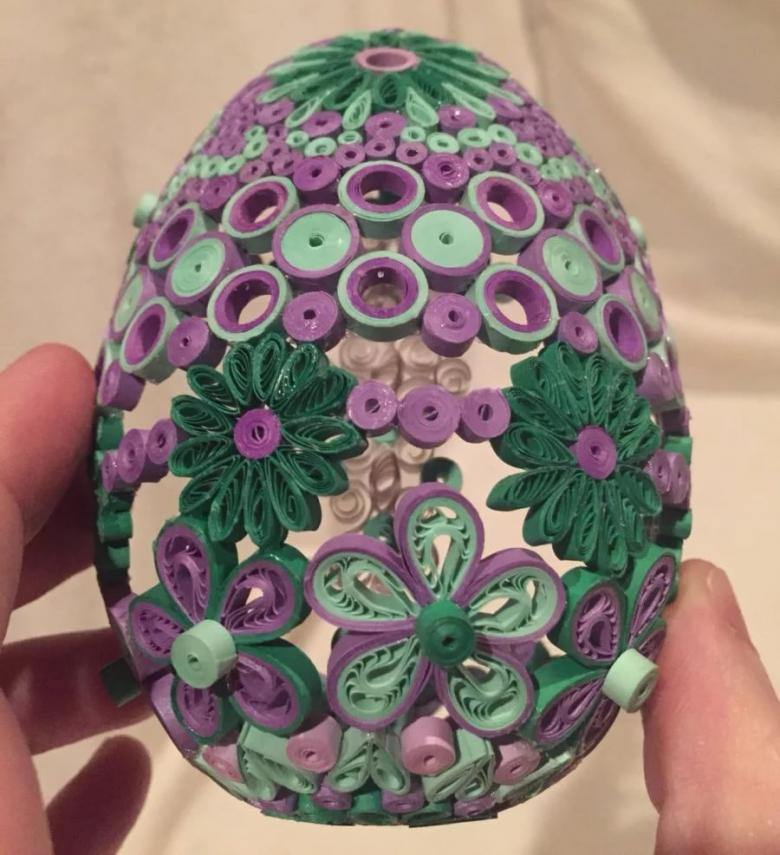
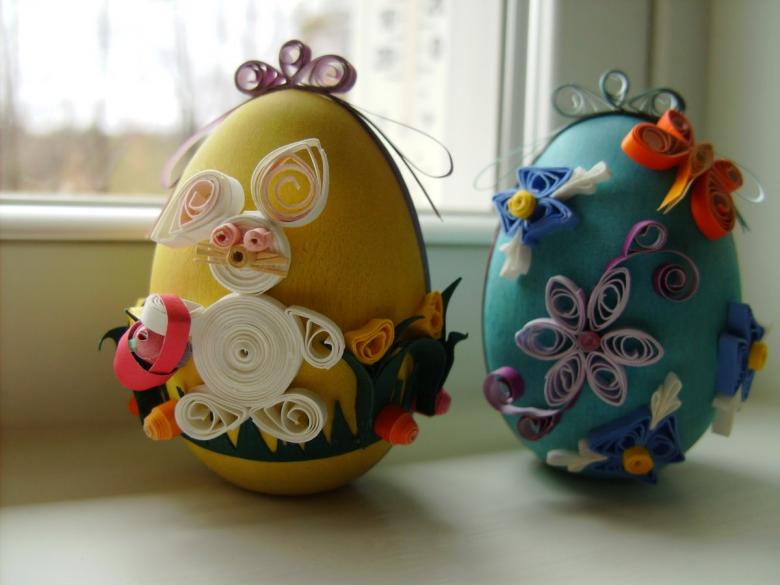
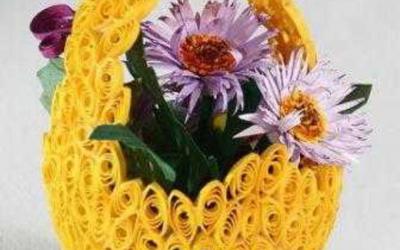
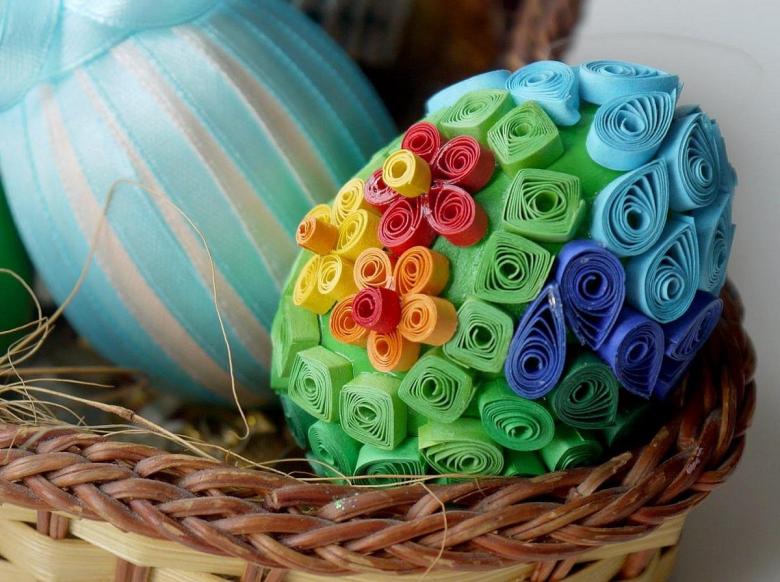
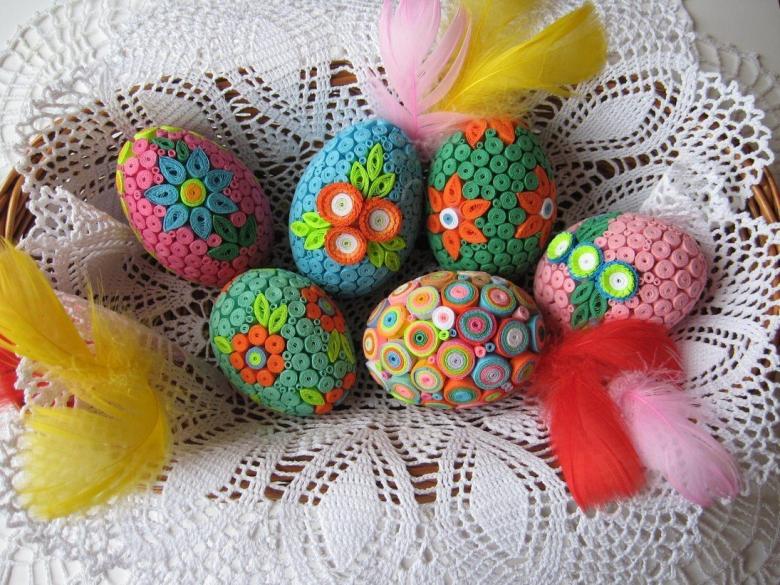
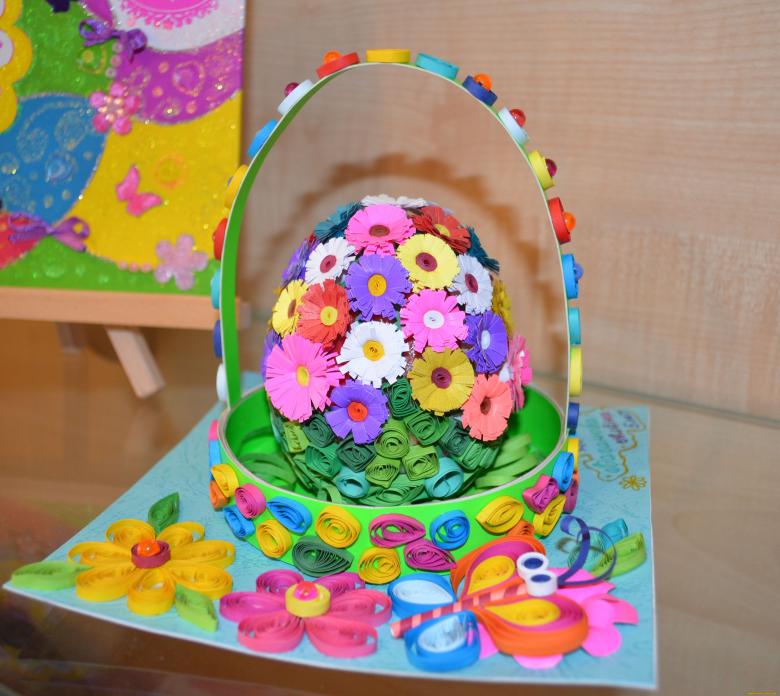
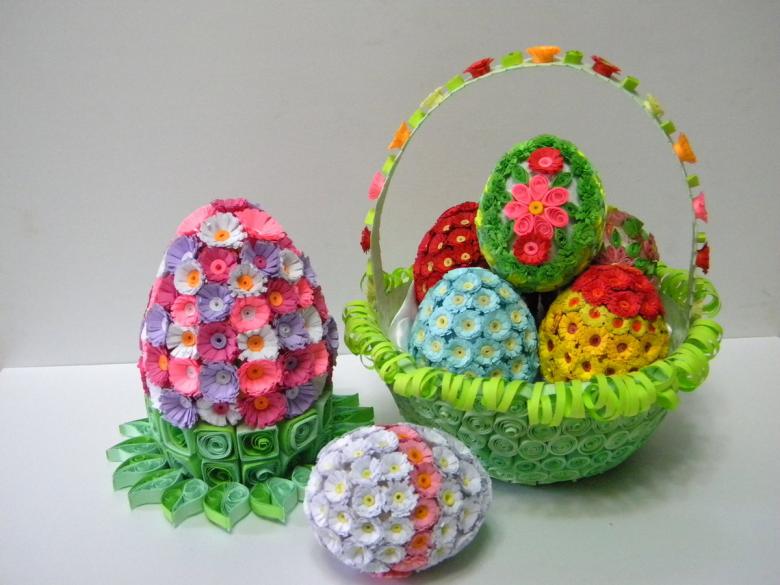
If the idea requires creating an airy effect in products, it is worth using the technique of quilling. Quilling is based on paper twisting. This technique allows you to create flat and volumetric compositions of twisted paper spirals. Oval egg is no exception. In the style of quilling it looks elegant and original.
For work we will need:
- Any sturdy egg blank;
- hardware pins;
- PVA glue;
- varnish;
- quilling strips;
- paper pins.
Before working, you need to think about what the egg will be like. The twisted elements are glued directly to the workpiece. Quilling in its essence resembles a Lego constructor. The composition is formed from twisted "bricks". The basic elements of quilling are:
- A tight roll, the paper strip is twisted into a tight spiral;
- an untwisted roll, obtained by loosening a tight roll;
- eye, the loose roll is flattened with the fingers to form two sharp corners;
- droplet, flatten the loose roll on one side only;
- square, tight roll flatten on four sides.
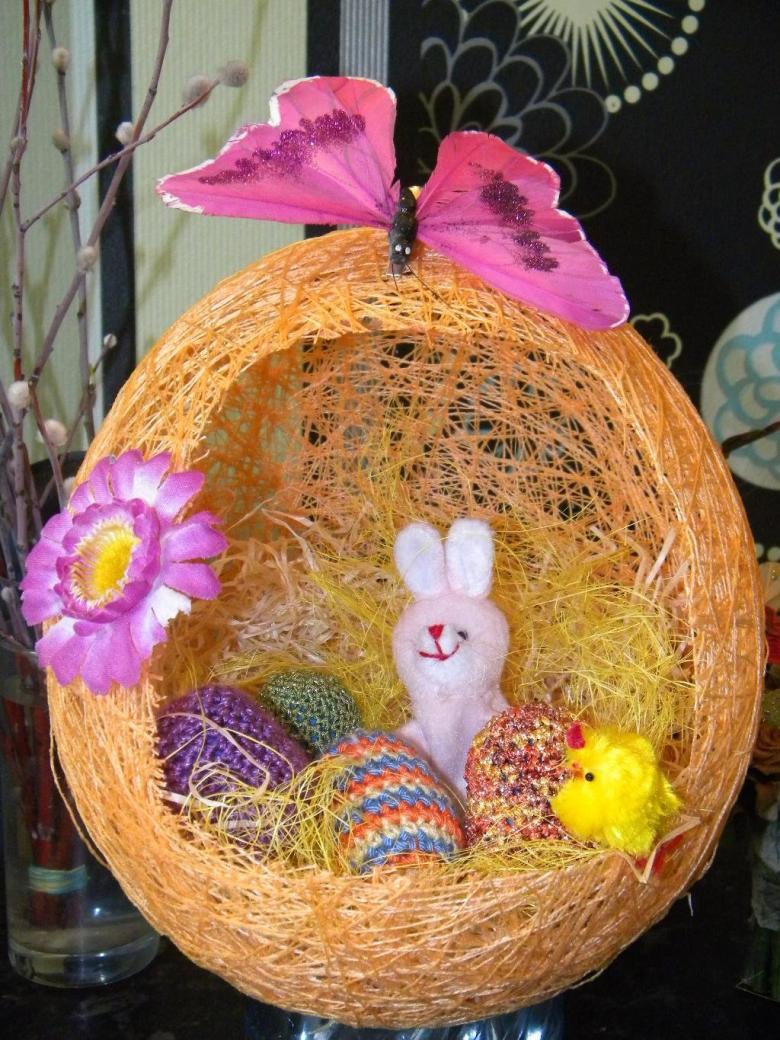
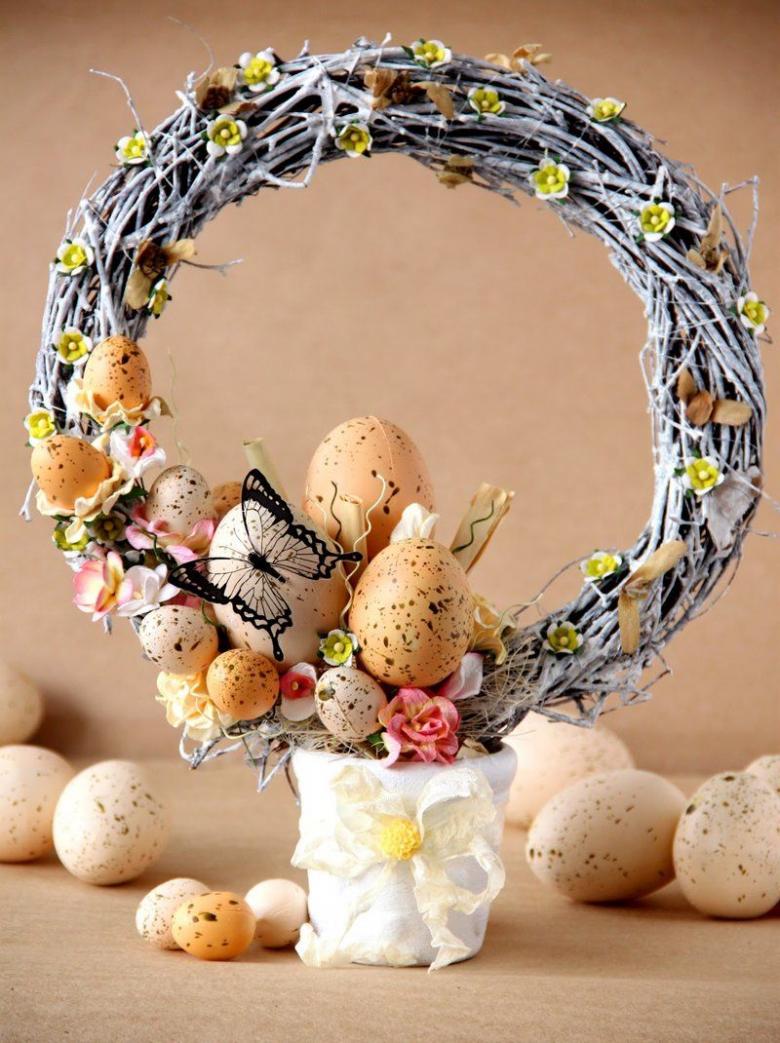
Basket for eggs
From Easter eggs you can put together an entire composition. To do this, you need to make a basket, which as well as the eggs themselves, turns out a work of art.
You will need:
- A small flower pot (better plastic, so that it weighs less);
- A roll of twine (or yarn);
- glue gun;
- A piece of white felt;
- A piece of white fabric;
- some lace;
- a piece of satin ribbon;
- wire.
Egg basket in 9 steps:
- Measure the height and diameter of the pot, take a white fabric and draw a trapezoidal pattern on it according to the dimensions. Leave an allowance of 1.5 cm on each side. Cut it out.
- Use a glue gun to glue the pot from the inside out. Fold the top allowance to the outside and also glue.
- From the white felt cut two circles the size of the bottom of the pot and glue one outside, the other inside.
- Turn the pot over - time to decorate the bottom. Glue the surface, attach the end of the twine in the center and wind it around in a circle so that each next coil fits snugly over the previous one. Cover the entire bottom with twine.
- Coat the walls with glue and similarly wrap them with twine almost to the top, leave the white fabric peeking out about a centimeter.
- Take a wire, bend it into the shape of a hand, apply glue and wrap the twine around it.
- Glue the handle to the basket.
- A little away from the top edge, glue the lace. It should cover the joint between the handle and the basket.
- Make a bow from the ribbon and glue it on the basket.
The basket has an elegant article, in which you can put ready-for-Easter eggs and give it to your loved one. Basically, this Easter basket can be used after the holiday. For example, you can put candy on the table in it.

