How to Draw a Child - Instructions for Beginners and Creativity Basics for Beginners
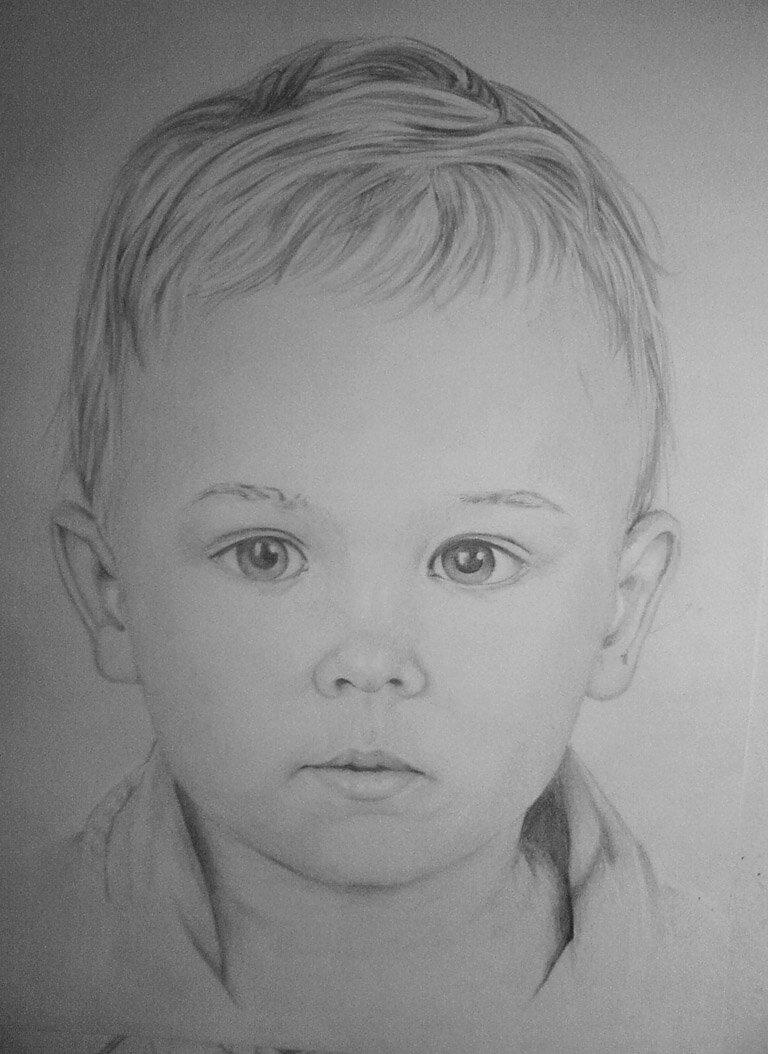
Children are a source of joy, smiles and positive mood for a long time. Drawing a baby in the fine arts is a separate independent step, which is given a lot of attention.

This article contains 5 lessons that reveal the proportions of the child's body at different ages and how to perform a step-by-step portrait of a baby in a sitting position.
Lesson 1 "Basic Rules for Portrait
At first glance, looking at the child's images on boards and canvases, there is a feeling that to draw such a miracle is simple and everything is clear. But studying deeper into the drawing, comes the understanding that learning this skill is quite difficult, constant practice and mastering, the basic rules are important.
Getting down to work, it is necessary to prepare the tools:
- White sheets of paper.
- Hard and soft simple pencils.
- An eraser.

Next, you need to learn that it is necessary to draw a child in the first stages of the abstract, so in your head to form a clear scheme of drawing all the fragments. And in the future it will be much easier to portray the baby.
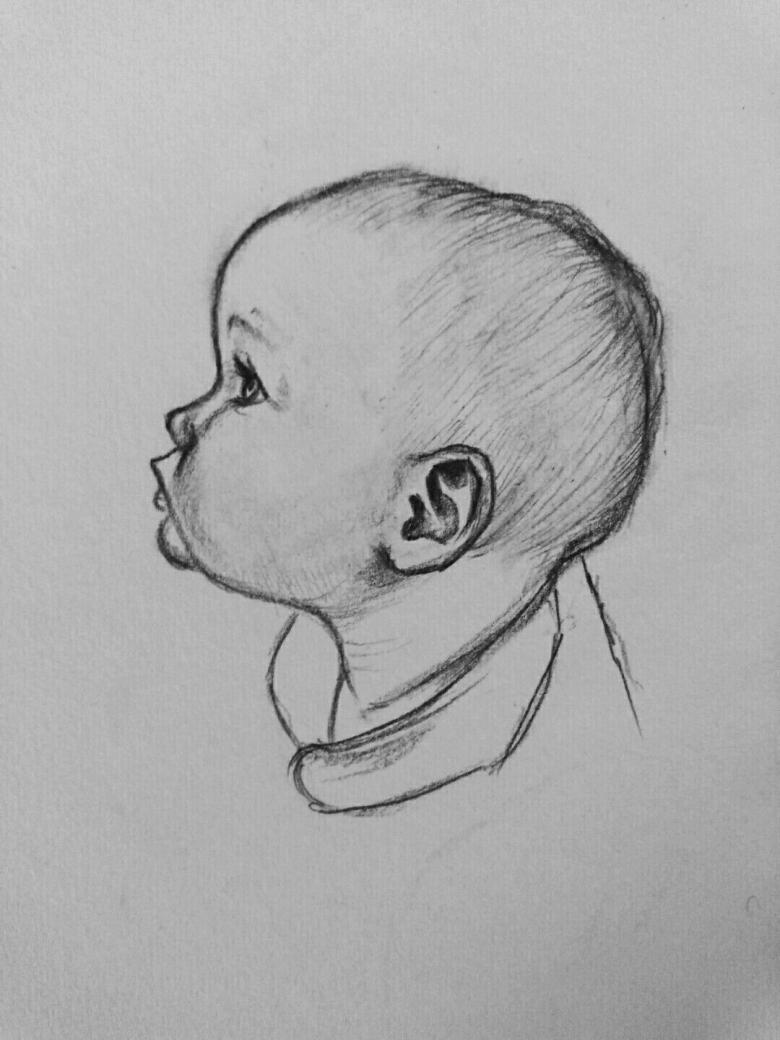
As for the rules for constructing portraits:
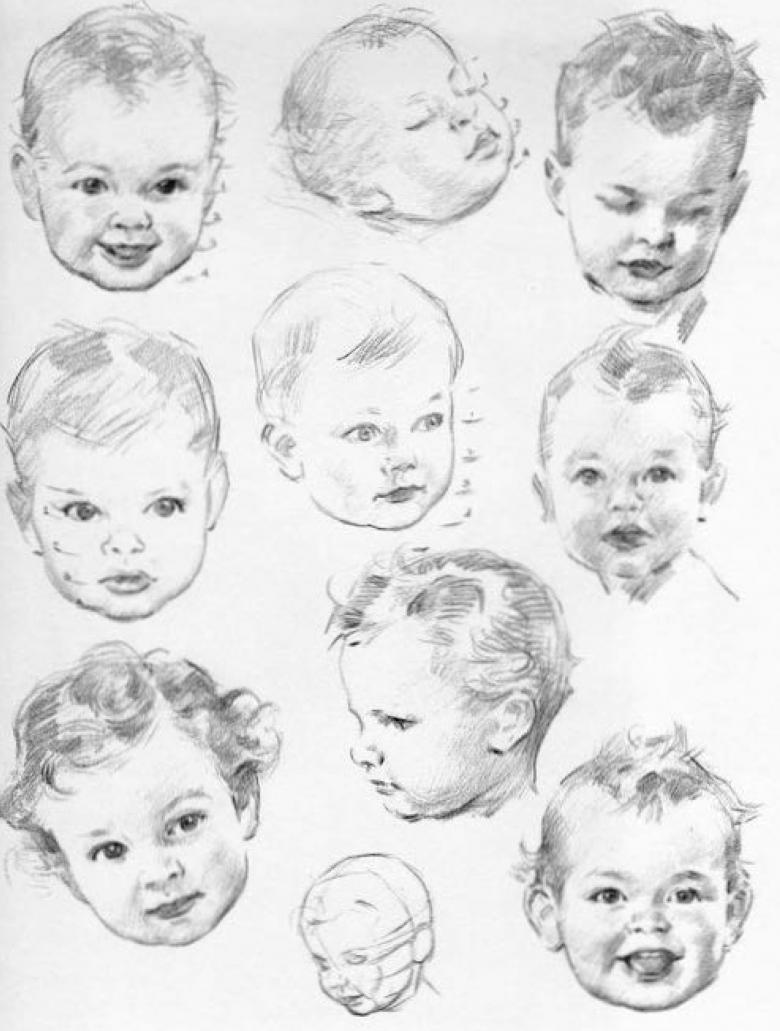
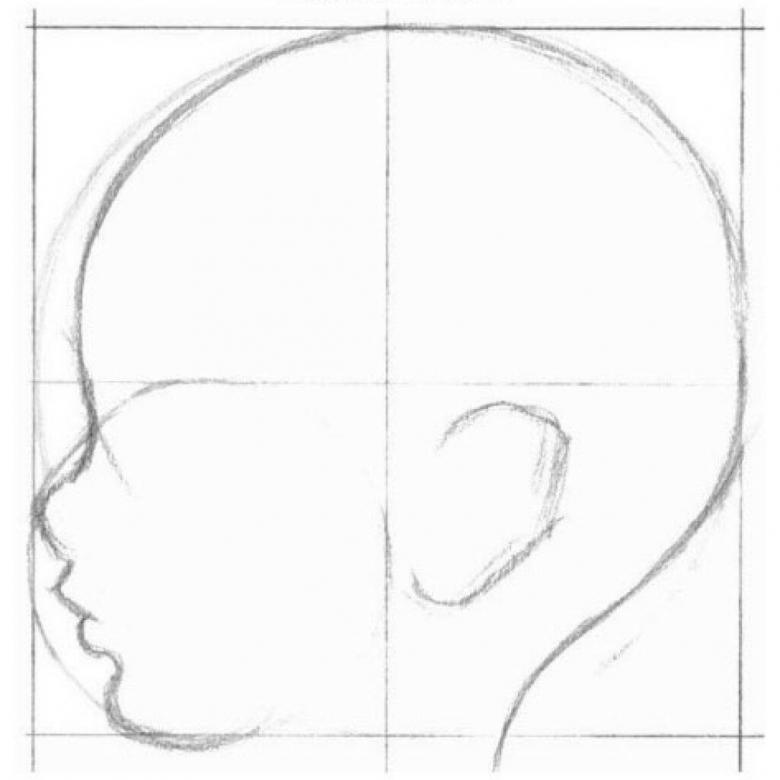
- Study the proportional data of the child's face, as there is a significant difference in relation to the face of an adult. The skull occupies most of the face, the central horizontal line for an adult is marked by the eyes, and for a toddler by the eyebrows. The areas of the cheekbones, bridge of the nose, and chin are just being formed, and the line of the adult face is being highlighted above the line of formation. The ears, eyes and nose are on the same plane.
- Body shape is also subjected to changes during growing up, for this reason to compare portraits of children of different ages and adults.
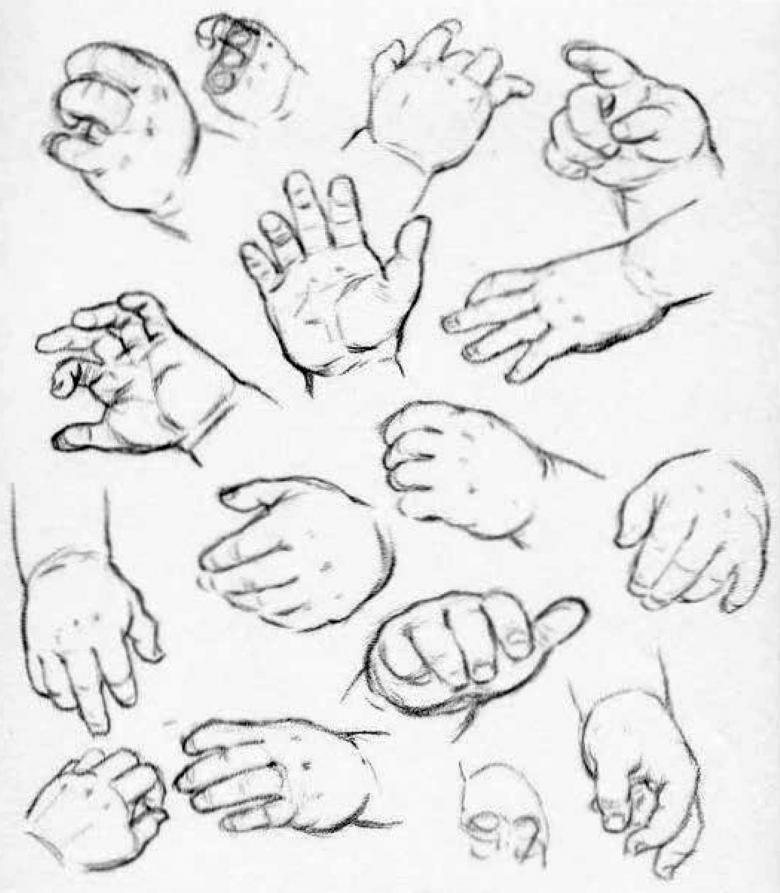
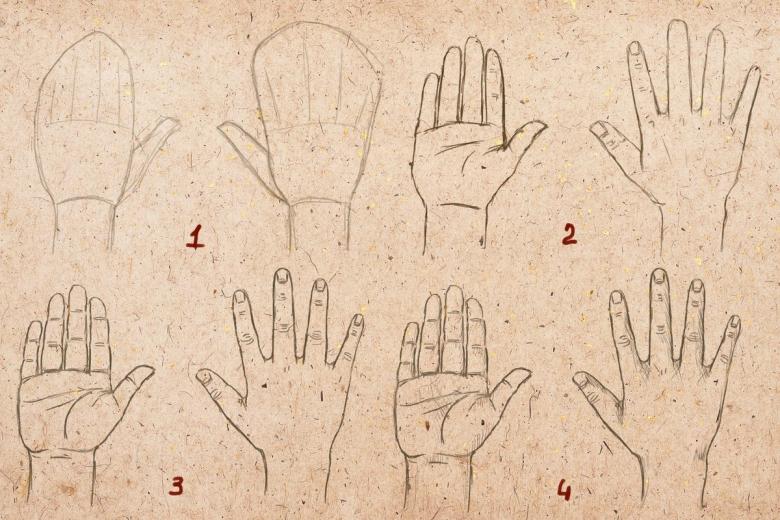
- The next stage is drawing the fingers and toes.
- And at the final stage are the finishing touches, the eyes, lips and oval area of the face.
Only after a detailed study of each rule, you can begin to learn the art of children's portraiture.
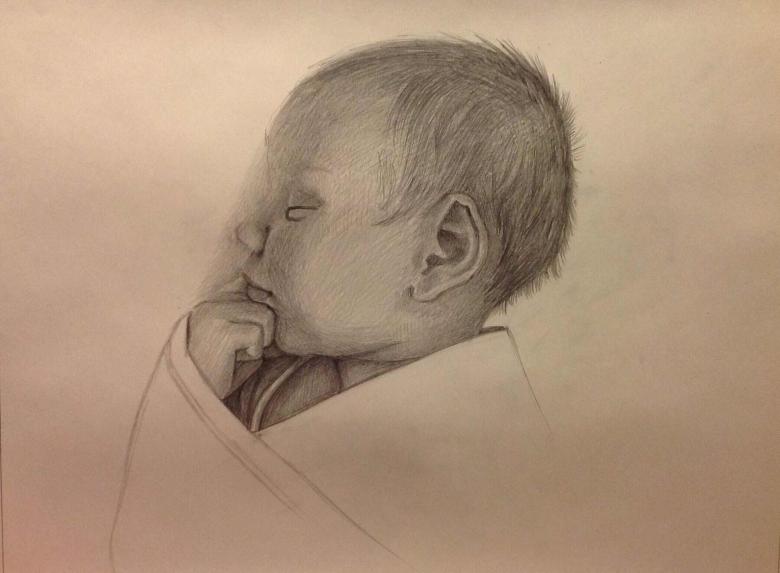
Lesson 2 "Peculiarities of children's faces".
Let's begin the step-by-step depiction of a child on a sheet of paper. And this is the most difficult part. You will need patience and observation as children never sit still and these are the only qualities that will help you to create a perfect image from nature. You should start with the head as this element is very different from adult proportions. It is larger than the whole body, face and legs, equal in width to the shoulders.
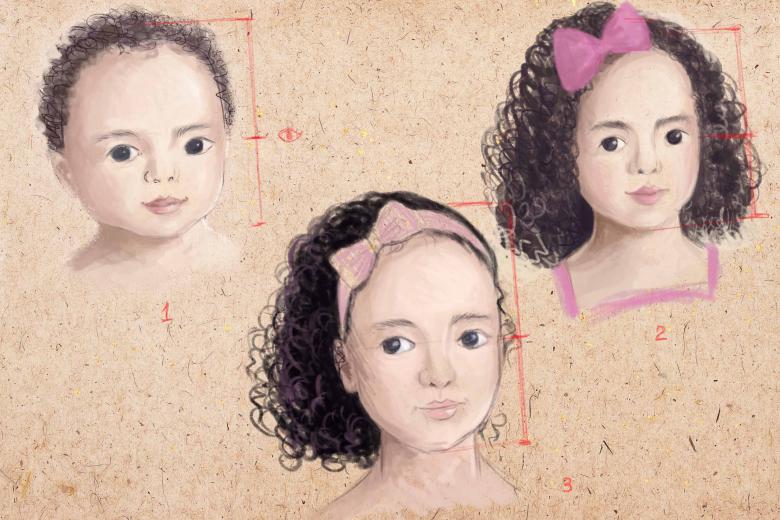
In drawing the face, pay special attention to the chin area, it is still developing, it is important to take this into account when drawing. It is below the level of the upper lip. The eyebrows are closer to the bridge of the nose, due to this face is small and round, fully formed eyes on its background look large and expressive.Also child's face has a wide forehead, which shifts the eyes, nose and lips on the lower tiers and makes the cheeks with facial features large.

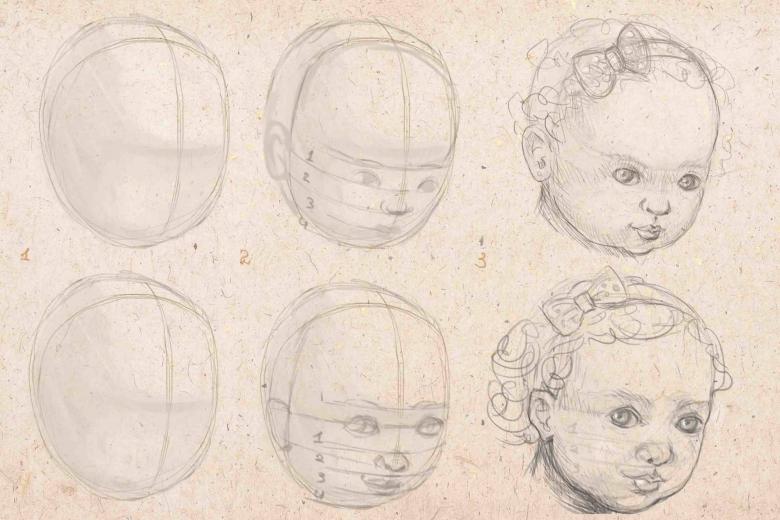
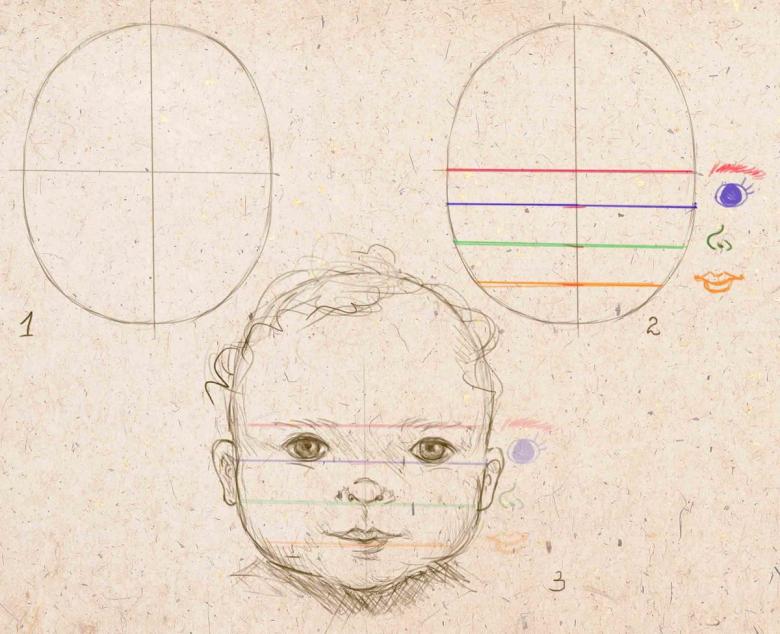
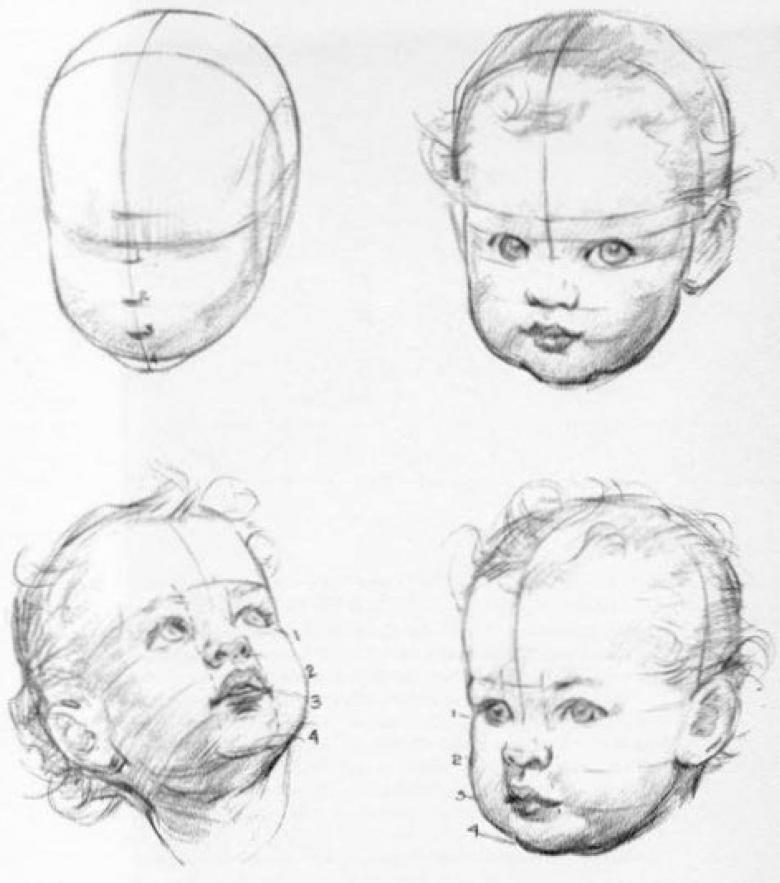
To depict the head will help the following scheme:
- An oval (pina) is drawn, with horizontal and vertical lines running through the center.
- Under the horizontal line, there is a division into 3 more intermediate horizontals - the areas of eyes, nose, lips.
- Drawing all the fragments.

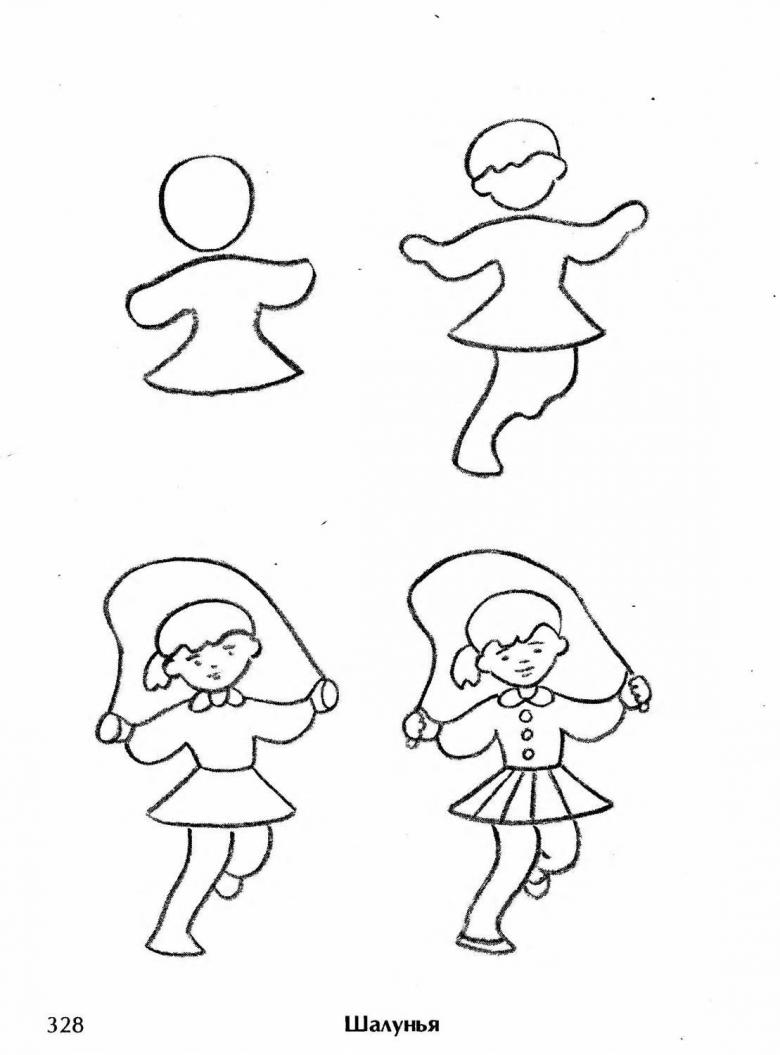
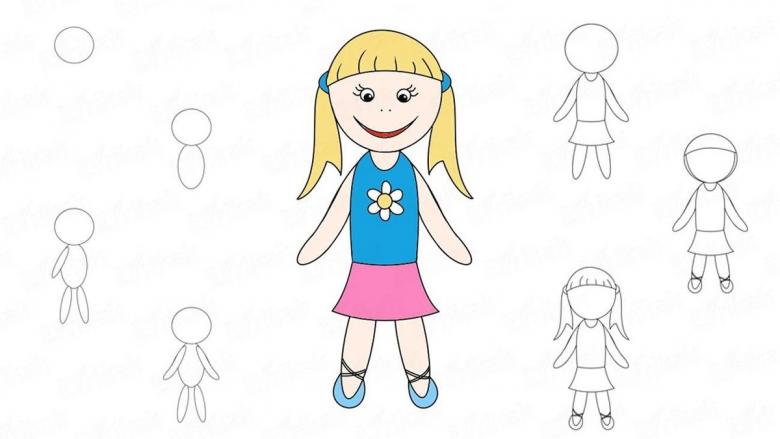
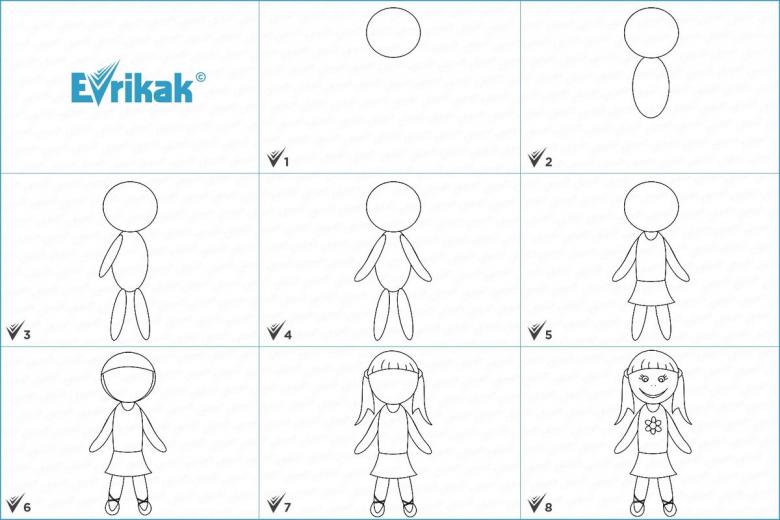
After completing the image of the head, gradually moving on to the drawing of the torso. Tracing figures in coloring books can help in mastering this skill.
Lesson 3 "Children's Body"
The torso looks disproportionate compared to the head. And also small compared to the adult size. The difference here is minimal, but it must be taken into account. The head seems larger in size because of the formation of the neck. It has not yet acquired a familiar look.
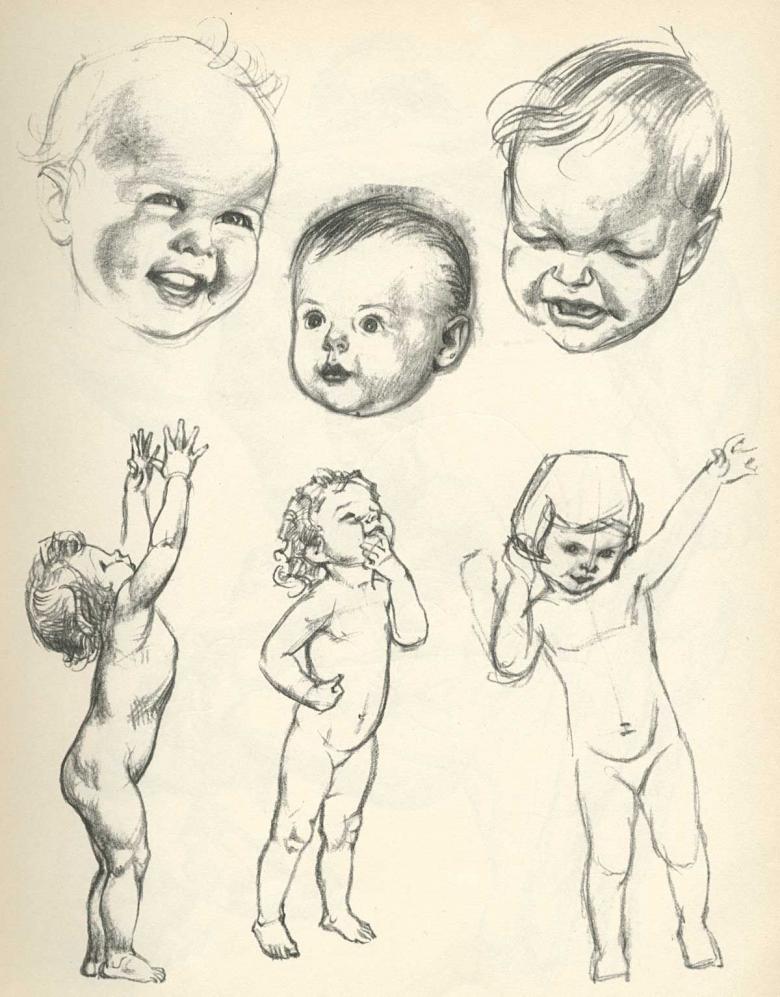
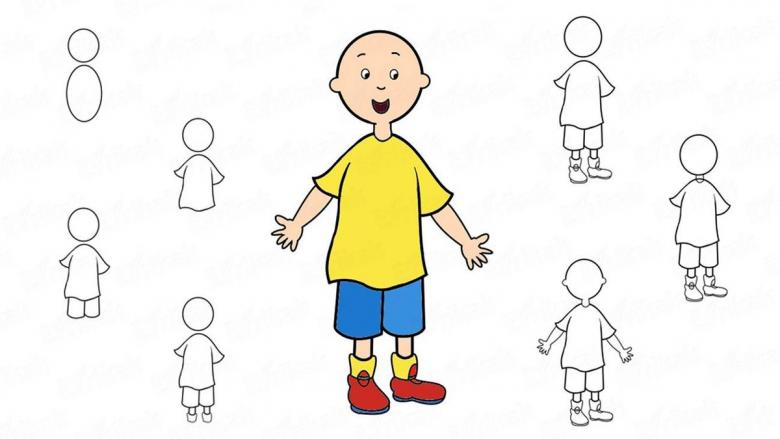
Let's proceed to the creation of the outline of the child's figure:
- The contours of the child's body, head, arms and legs are drawn;
- if the child is sitting, the pose is sketched, with his or her hands resting on the floor;
- all work is performed with light, jerky pencil movements with minimal pressure;
- in the oval of the head, mark the middle with a vertical stripe.
Go back to the first lesson and complete the drawing of the baby's head and face. Only after that do we move on to the third stage, drawing the fingers and toes.
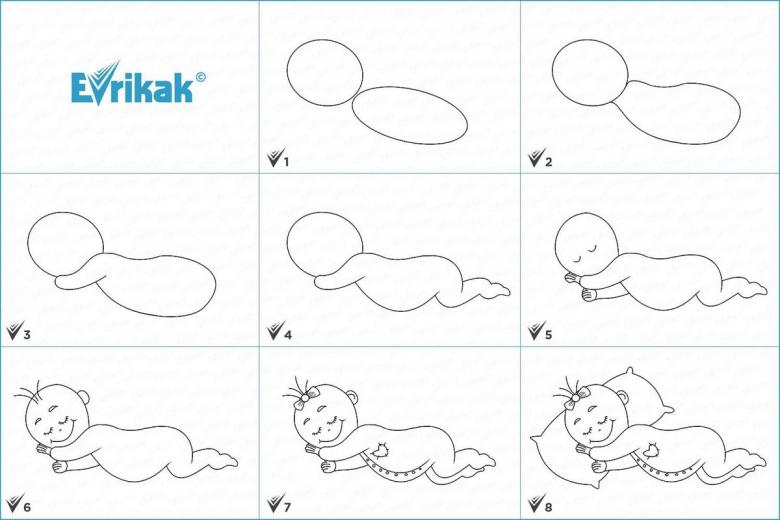
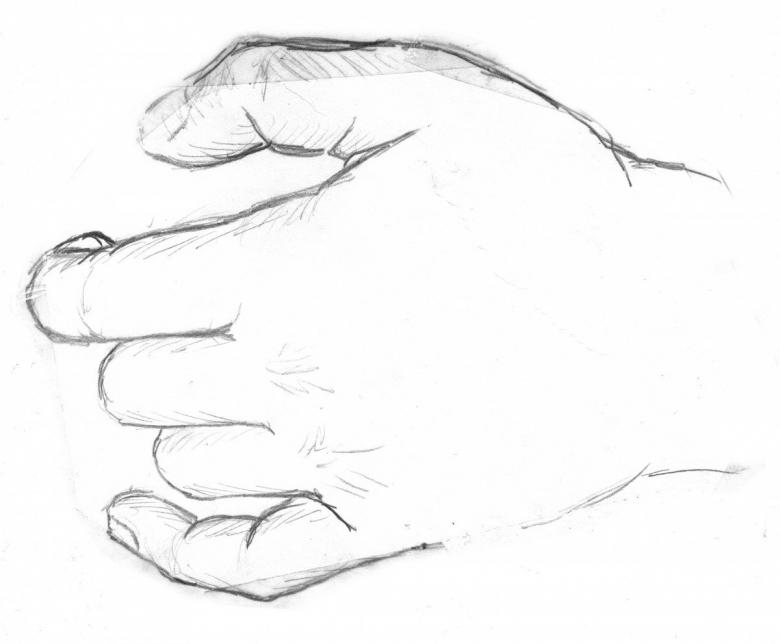
Lesson 4, "Drawing Fingers.
Well, most of the work is done and quite a charming drawing of a puffy-cheeked, ruddy baby, proudly sitting on the floor, is on paper. But the process is still underway. Now let's pay attention to the important little things that complete the masterpiece of your hands.
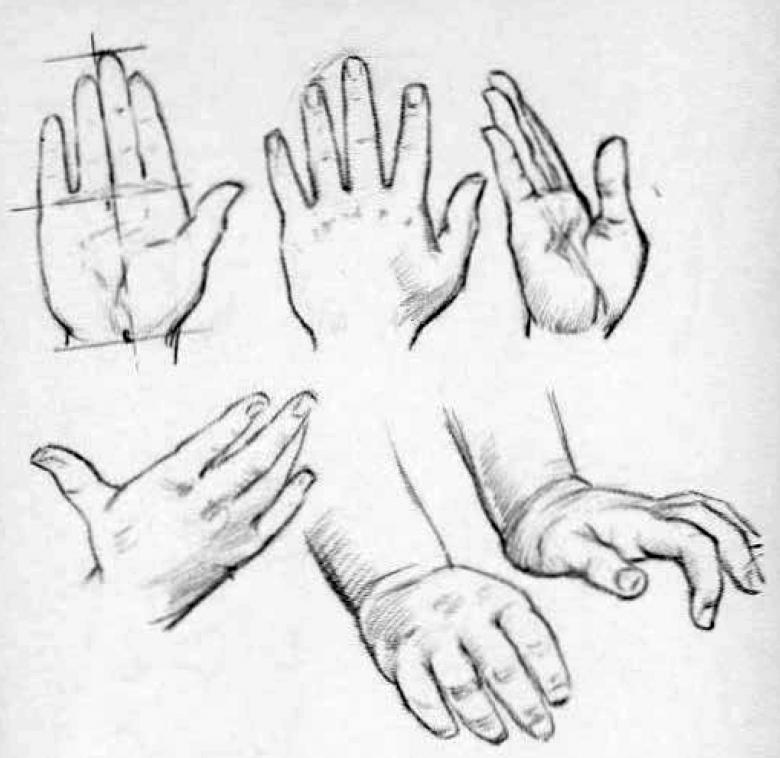
In the head area small ears are finished. Their location is fixed along the eye line. Moving on to the arms and legs. Removed unnecessary details, tweak existing drawing.Since the child is in panties, on the chest two curved lines, on the hands and feet tracing small toes.
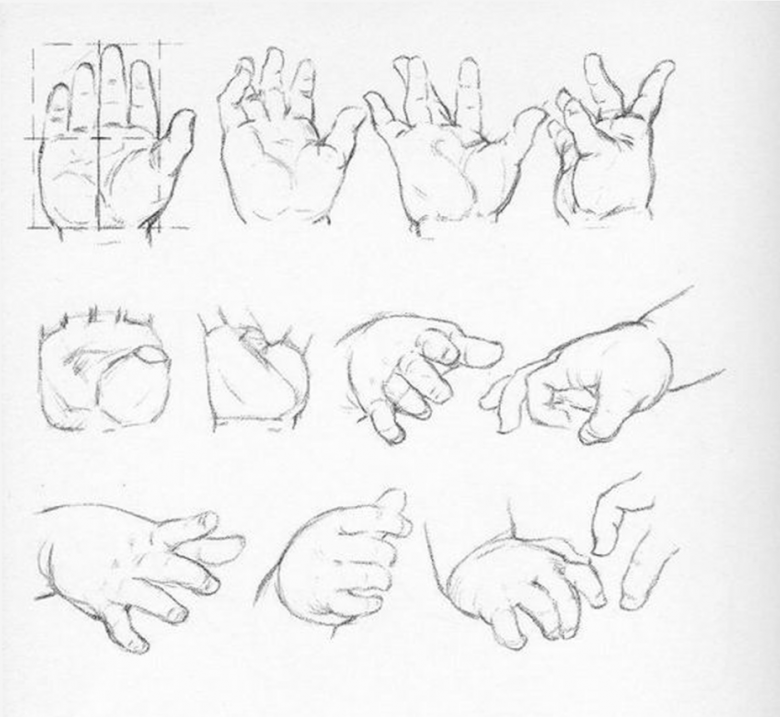
Lesson 5 "Final Stage".
The final stage of the portrait of the child is the introduction of important elements. The eyes are finished and painted in darker colors, and their outline is corrected.

Above the eyes, slightly raised eyebrows are drawn with light interrupted lines. The nose is made snub nose, as it prevails in many babies and looks very cute.
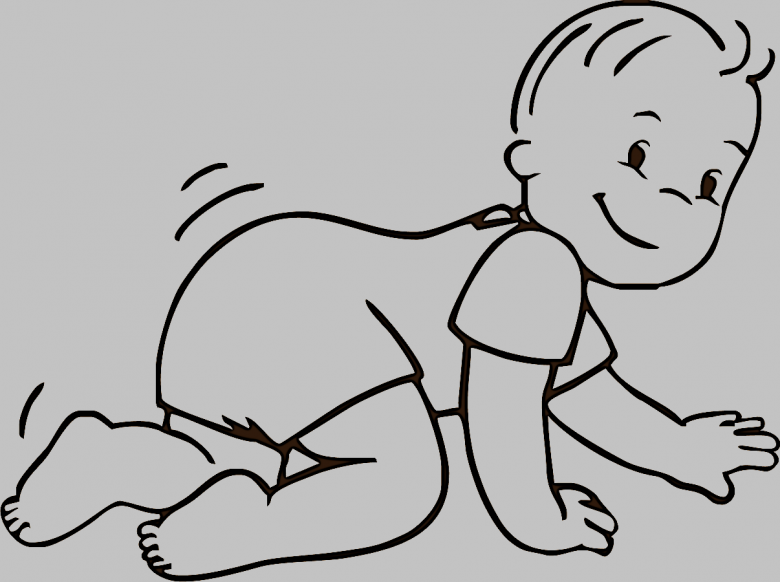
Smiling mouth sincerely gives people a wonderful mood. But the forehead hair curled chubby. Erase unnecessary strokes and outlines, add shadows on the legs. All is fine, the work is complete, the drawing is finished.
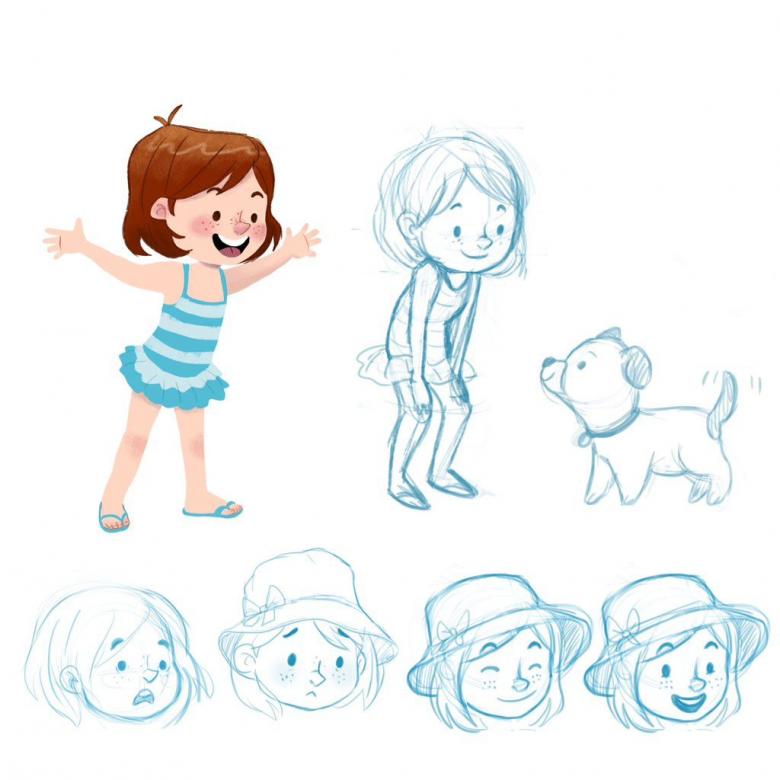
Here are such simple and clear five lessons for drawing with a simple pencil baby. After studying them and conducting the first experience, you have mastered the basics, further development depends on the desire of each participant.

