How to make felt toys with your own hands - master classes for children of all ages (68 photos)
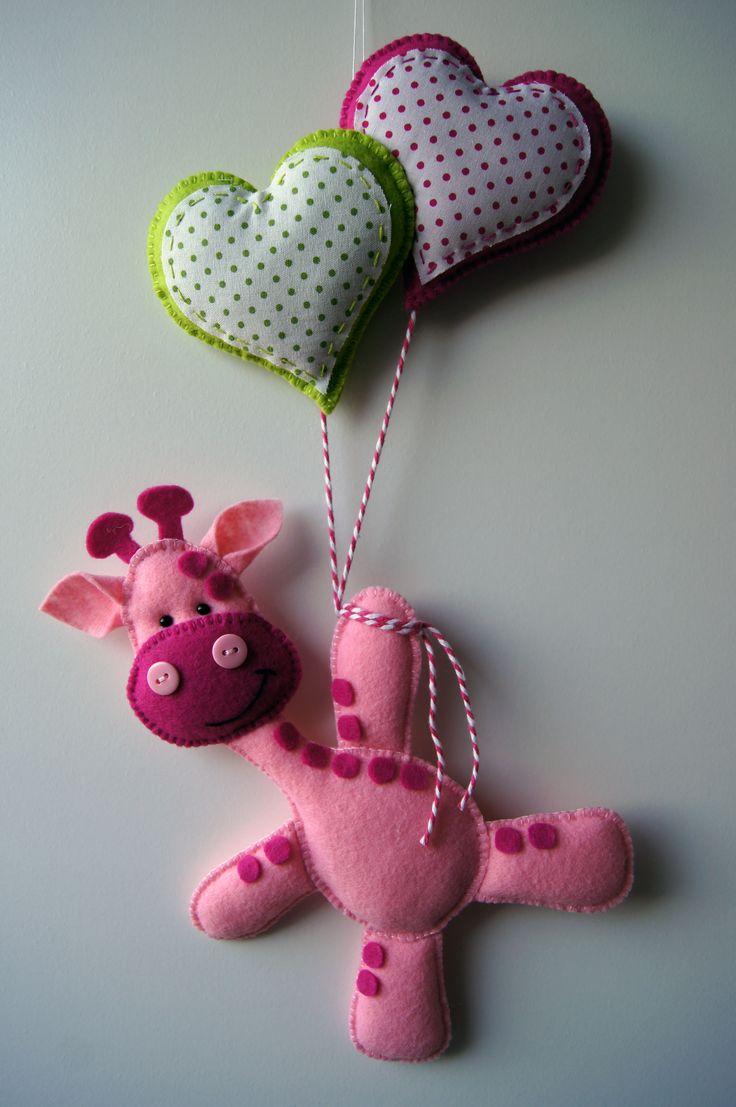
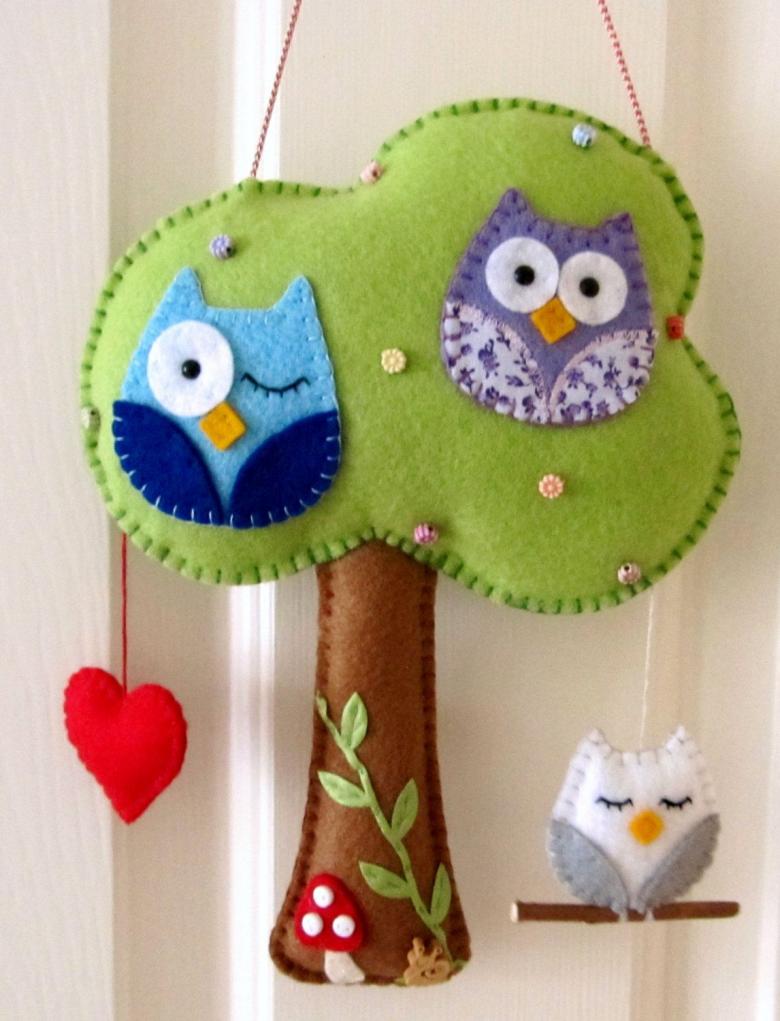
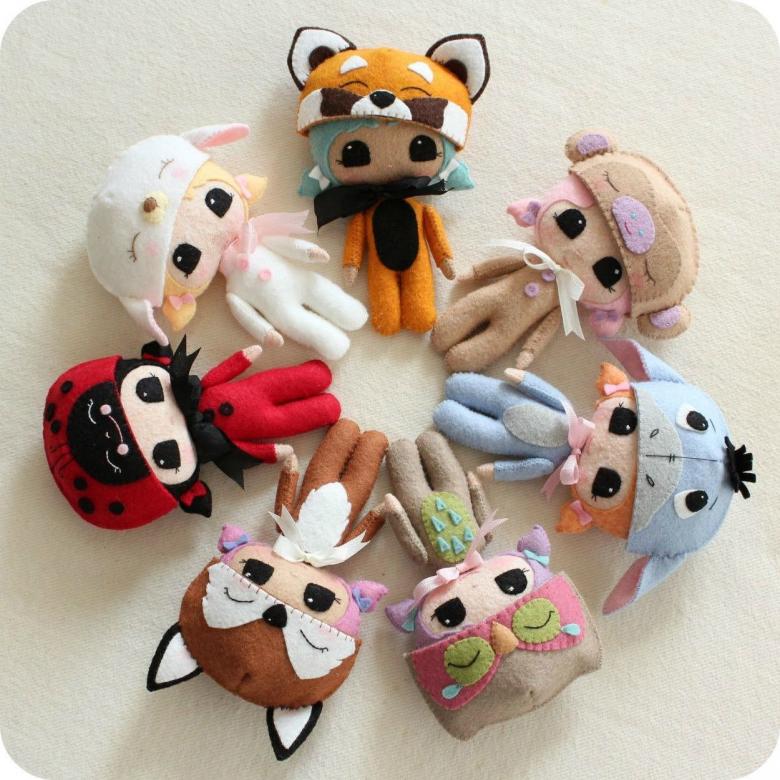
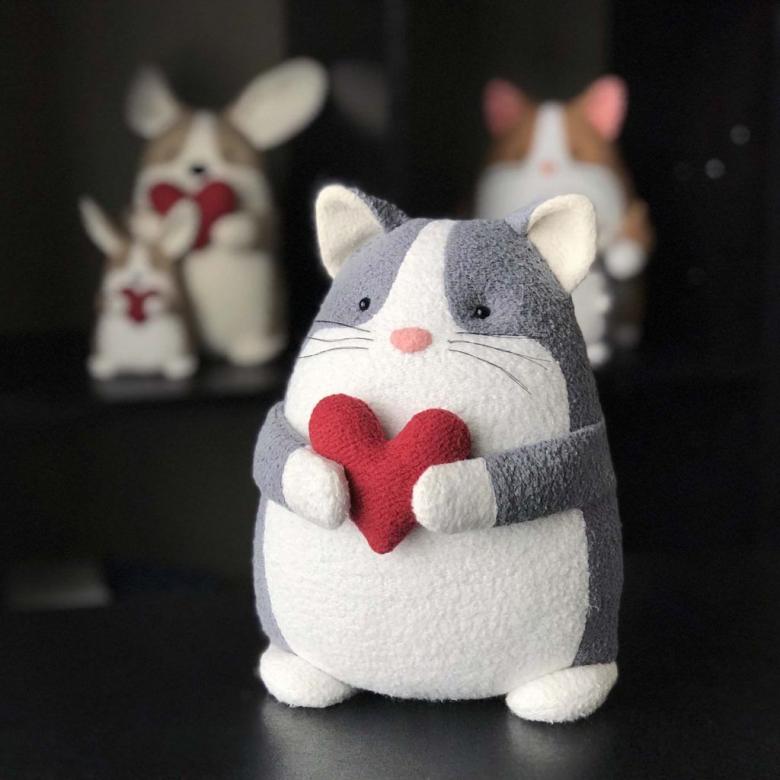
All moms want their children to have the best. And if you are not satisfied with the quality of Chinese toys, take some time and make them yourself. Wonderful help in your case will be felt. Handicrafts from it can be given even to babies. In this case, the baby will not only play, but also develop.
For the smallest kids
Somewhere around 4 months, a child begins to grasp objects with his hands. So it's time to prepare him soft toys from felt. This material is pleasant to the touch, does not cause allergies. With it, the baby will be easier to learn about the world around him.
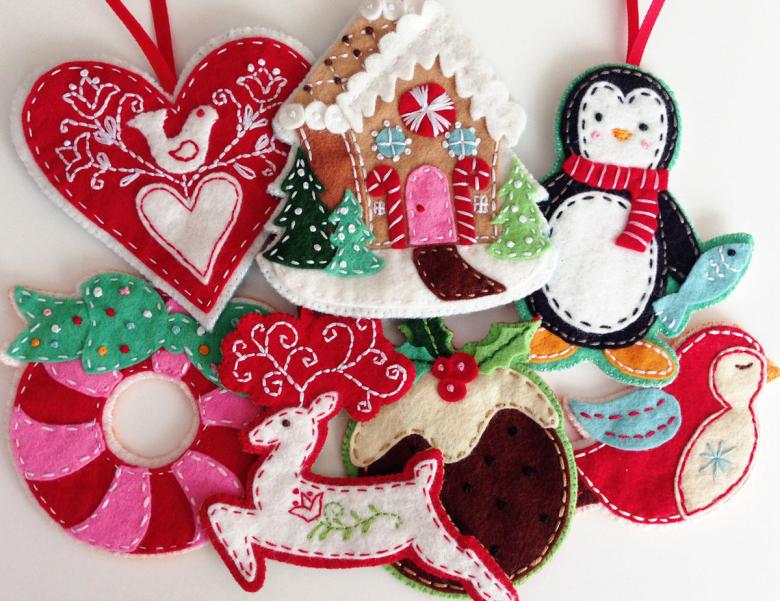
Caterpillar
It's very easy to make this fun craft. Choose pieces of felt in different colors and cut out two identical circles with a diameter of no more than 10 cm. Decide for yourself how many sections the caterpillar will have. The optimal number is 9.
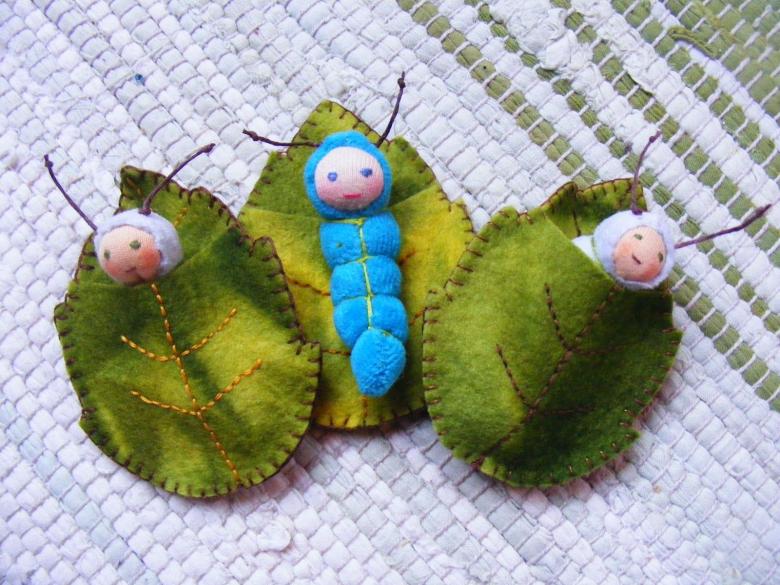
Arrange the circles of the same color in pairs. Inside each pair, insert the padding of foam rubber and start sewing, first sewing on both sides of the "legs". Put the design together by gluing pieces of Velcro in the middle of each part. Only the head and end of the caterpillar velcro glue one side.
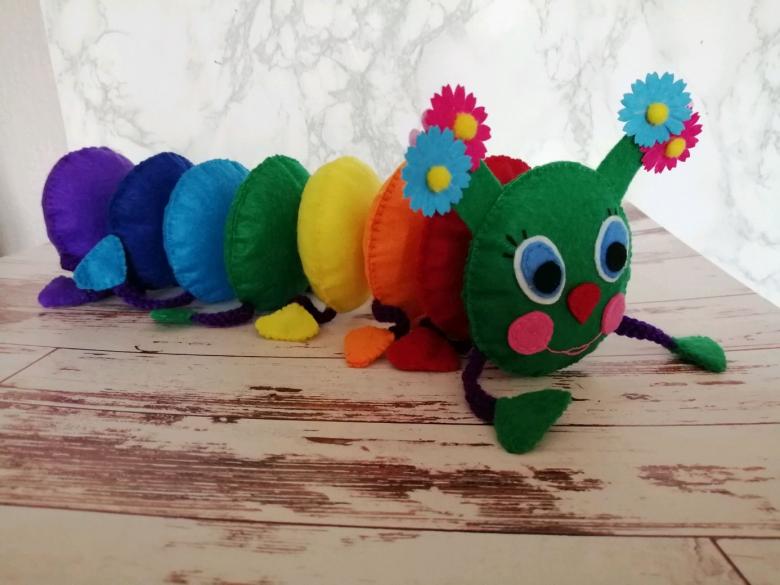
In front of sew or glue the eyes, mouth and nose, as well as two horns, sticking out in different directions. Now all that's left is to connect all nine elements with Velcro. A child with such a bright toy will play with pleasure.
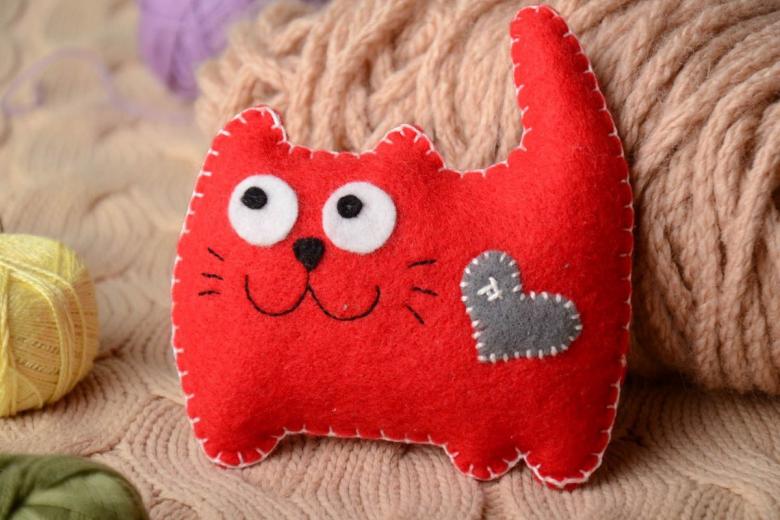
Seven-Petal Flower .
A flower with seven petals with different fillings will be more than just a toy for your 6-7 month old baby. It will also develop tactile senses. The work on the product is very simple. Cut out two circles of felt - the middle of the flower. Make a pattern for the petals and cut out 14 pieces in pairs by color.

On each petal put the fillers:
- foam rubber;
- buttons;
- beads;
- twisted twine;
- crispy bag;
- film with a bubble wrap;
- Tubes from the rod of a pen.
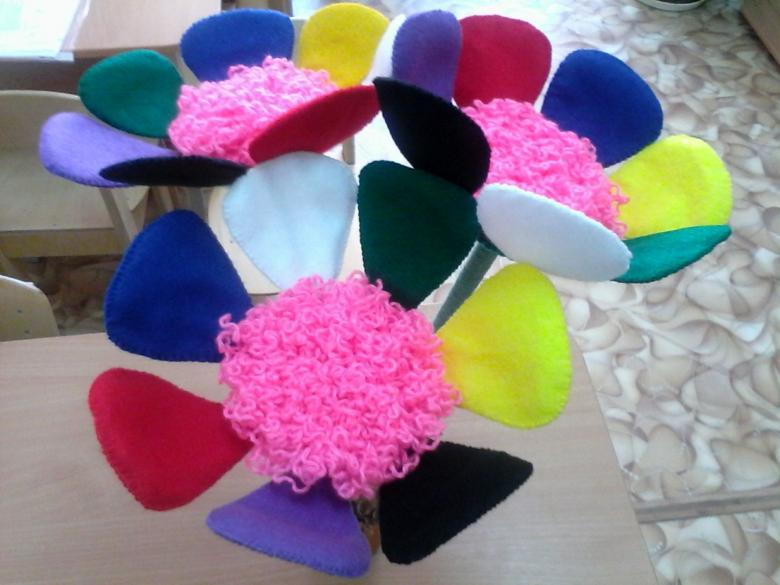
Cover the top with the other half of the petal. Quilt them together with the stuffing in pairs, and then sew them alternately to the circle of felt. Now you have turned the toy into a learning tool.
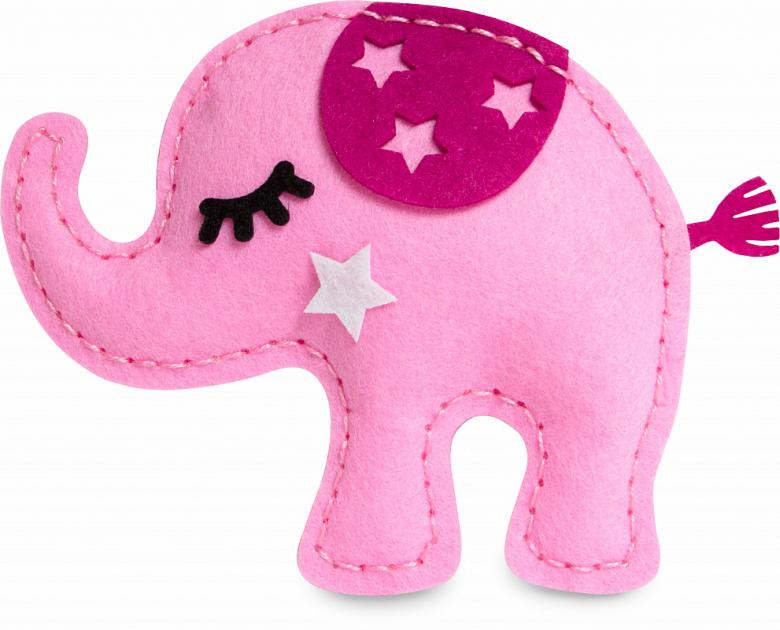
Puzzles .
Such educational toys are suitable for one-year-old children. Choose from a photo template of simple, preferably schematic, pictures:
- chicken;
- train;
- apple;
- hedgehog;
- boat,
- car.
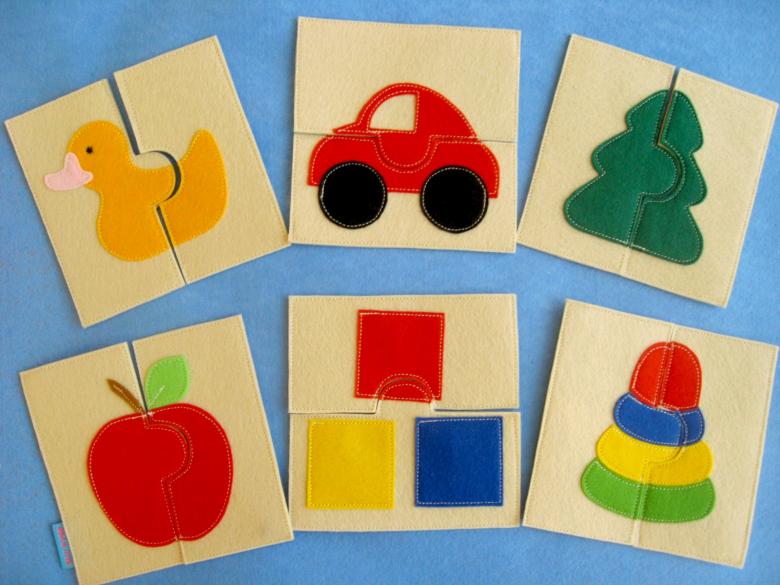
Transfer the pattern to the felt and cut out the figure along the contours. Prepare a light square of felt, so that it is larger in size than the cut out figure. Sew the hedgehog to the center of the square. Sketch a cut line for the puzzle. It does not have to be strictly horizontal or vertical. You can also make a shaped line.
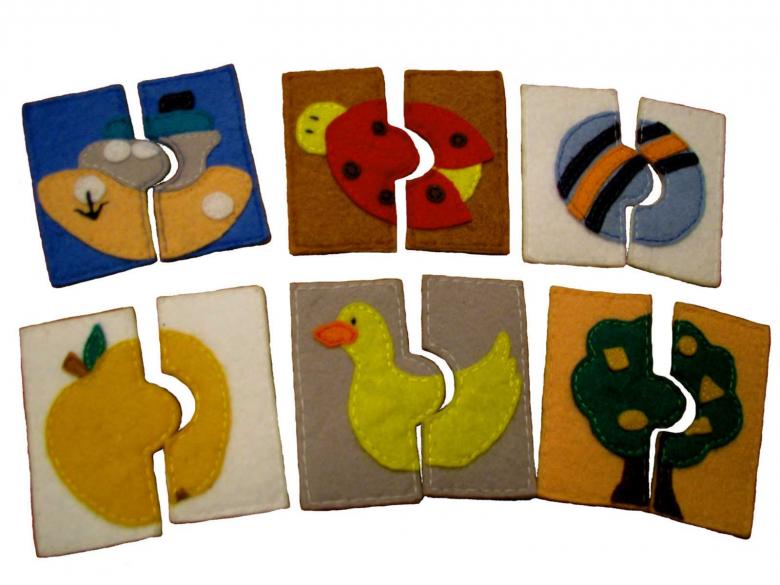
Cut the product along the line. From the wrong side of one half of the light-colored felt and sew together along the edges. Cut the excess felt. Do the same with the second half of the puzzle.
To son or daughter was interested in playing puzzles, have to make several of these pictures with different applique. Then mix them up, and the child is trying to choose two "right" halves and join them together.
For Older Kids
Time does not stand still, your child is growing up, and every day he should be given more difficult tasks.
A hedgehog with a harvest
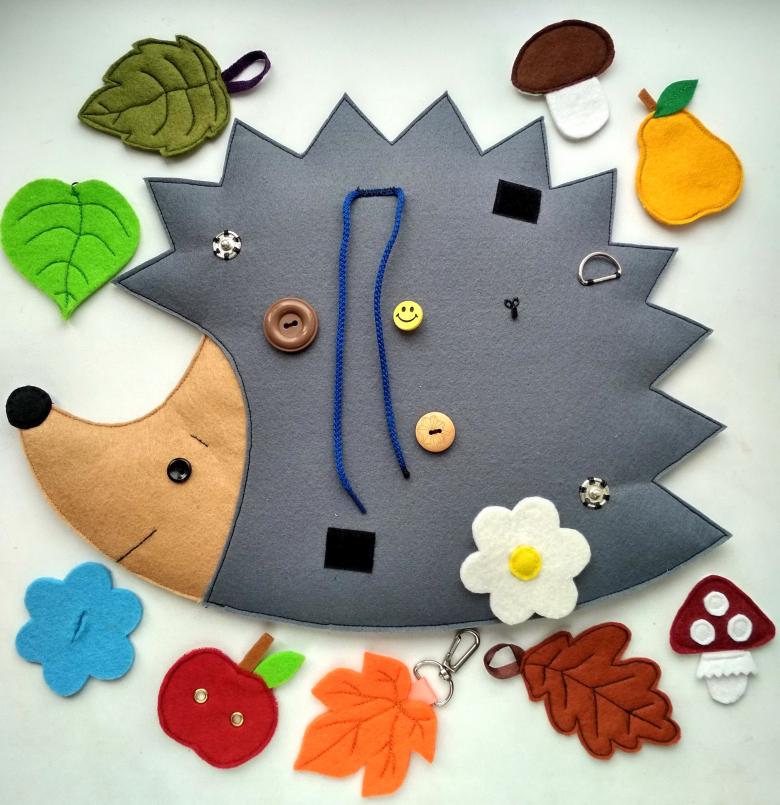
For this, the craft "Hedgehog with a harvest" is perfect. Sew will have not only a hedgehog, but all of his "harvest":
- apple;
- pear;
- maple leaf;
- oak leaf;
- porcini mushroom;
- fly agaric.
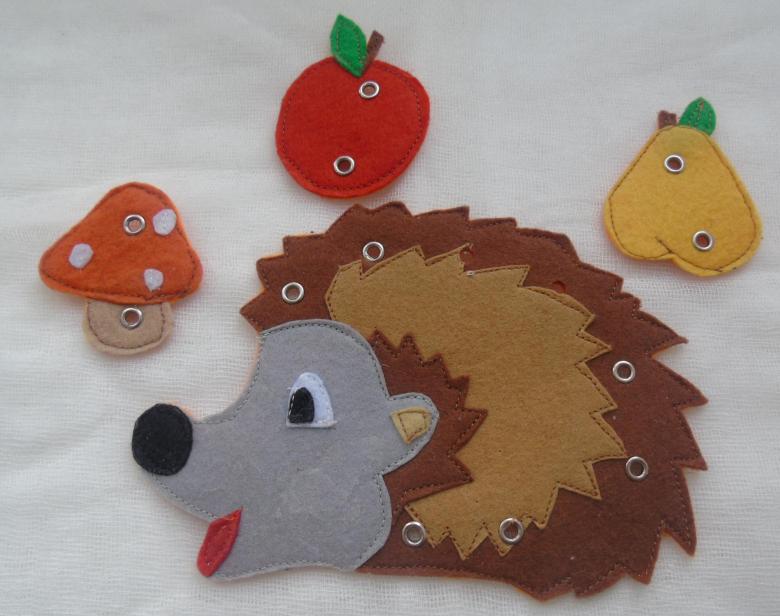
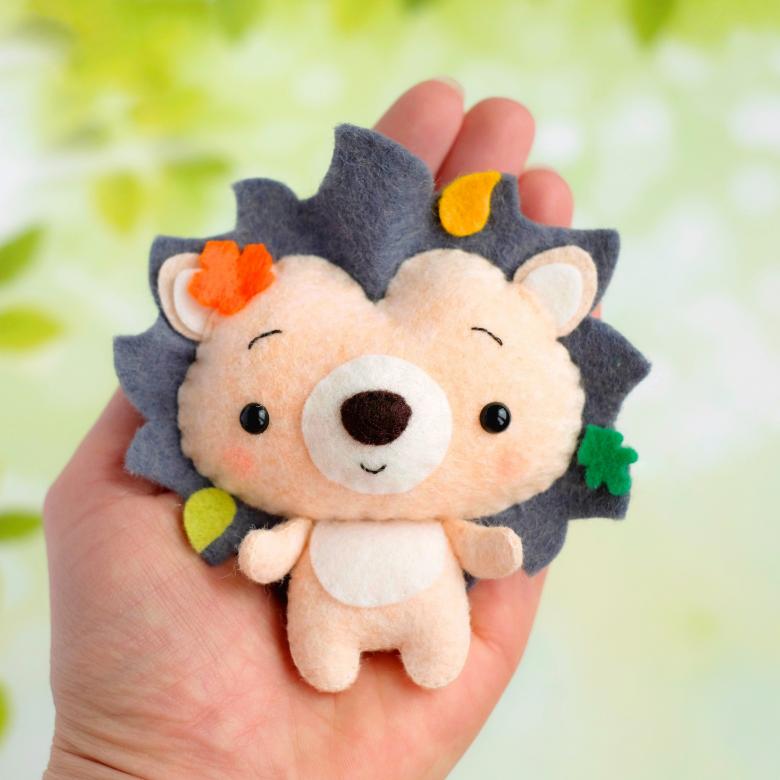
Select the scheme of a suitable hedgehog in profile and transfer it to a brown piece of felt. Cut out the muzzle from beige felt, the nose from black, and the eye from a combination of black and white felt. Do not forget to cut out the red felt tongue. All parts glue to the base. When the hedgehog is ready, on his "needles" in a chaotic manner, fix the base of the buttons (clasps).

Cut out two pieces of "harvest" and sew them together. On one side attach the second part of the buttons. Now your baby can help the hedgehog harvest as much as you like, taking elements from the table and fastening them with a button to the base of the product.

Pick up clothes
Another educational game is sure to please your child. Schematically draw different animals on rectangular sections of felt:
- pig;
- cow;
- horse;
- turtle;
- fish;
- giraffe.
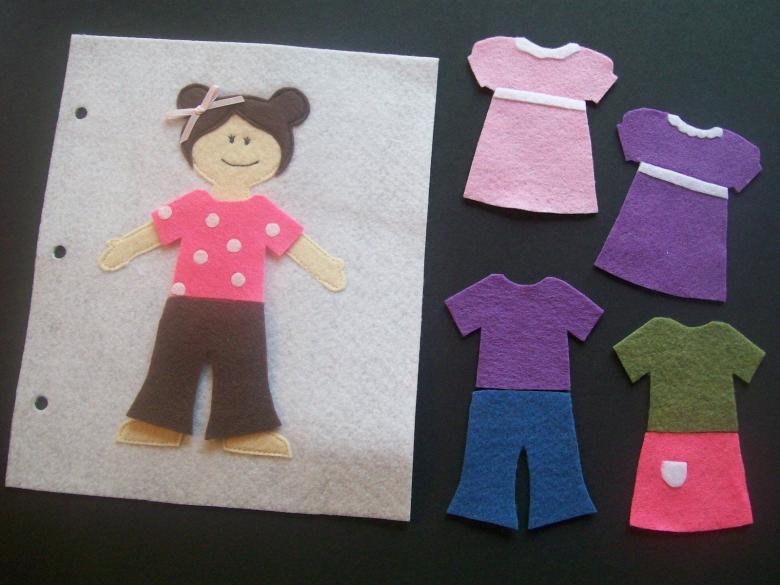
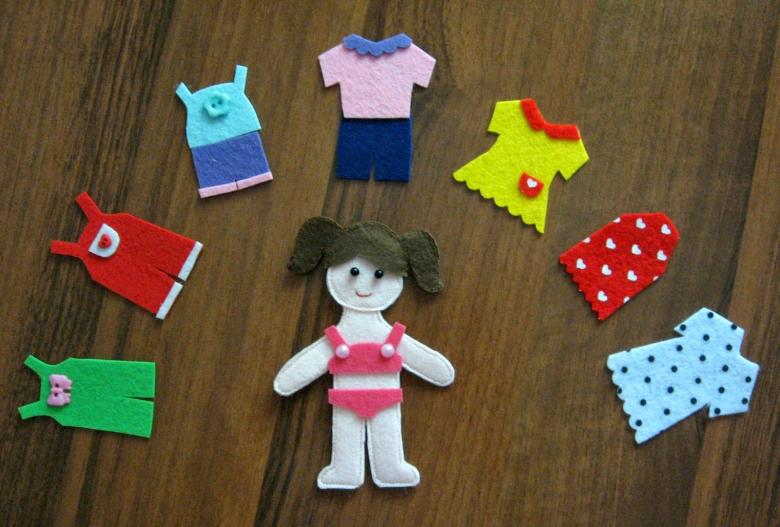
Cut out the guts of the animals, and glue the feet, legs, heads and tails in felt of appropriate colors. Prepare felt cards of such size that they overlap the cut out middles. Make appliqués on them corresponding to the spots on the animal's body. Let your child figure out which "body" card to put on which picture.
New Year's reindeer
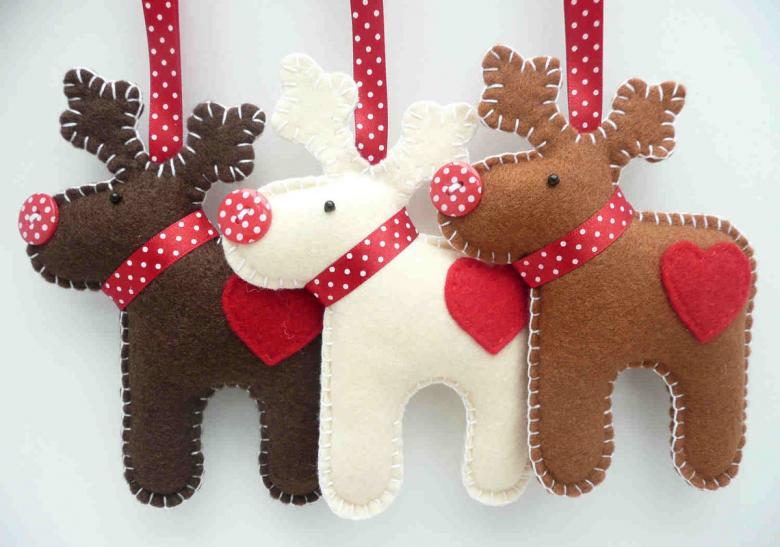
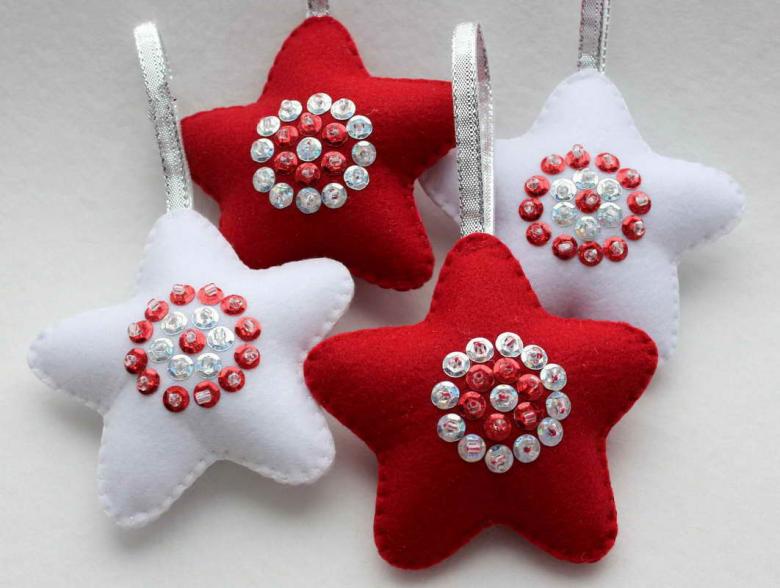
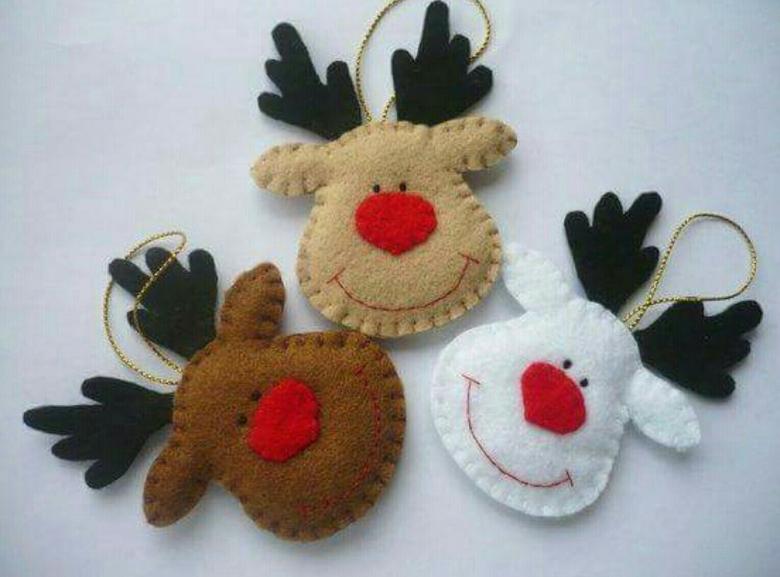
Seeing a Christmas tree for the first time in his life, your baby will definitely want to touch and pull the toy. If it will be glass, it can break and hurt the child. And if you make it out of felt, then accidents are avoided. Here is a master class on how to make a Christmas tree toy.
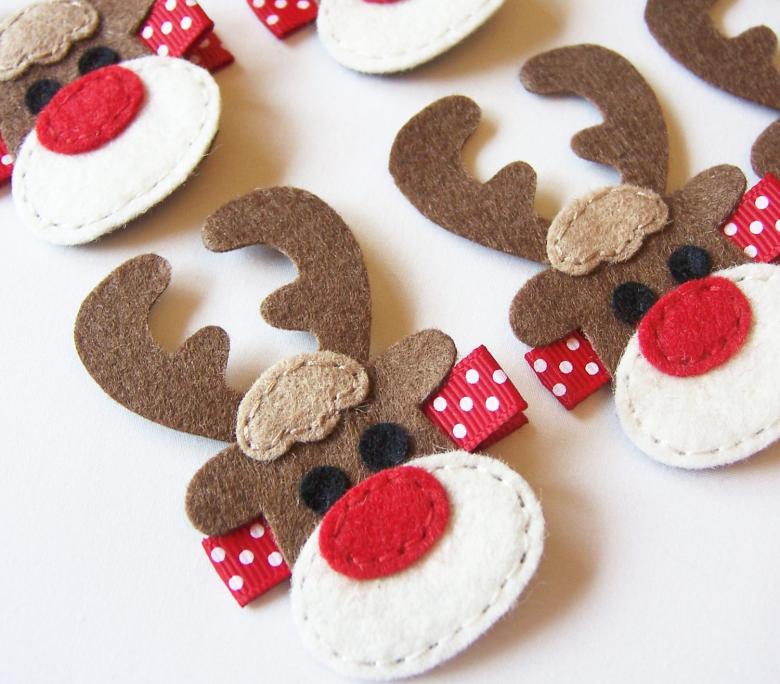
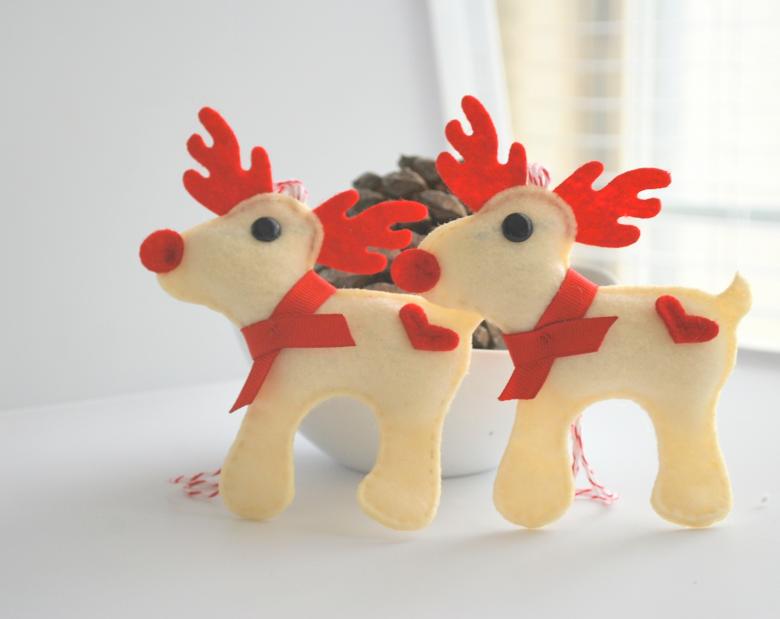
Choose the simplest image of a reindeer sideways. Transfer it to paper, attach it to the felt, trace and cut out. Such details need two. Before you sew them together, decorate each with embroidery or applique with stars or snowflakes. Glue a button on each side in place of the eyes.

Sew the two halves, leaving a hole in which you need to push wool or foam. Sew up the hole. Between the horns sew a narrow ribbon in the form of loops - a pendant for the Christmas tree. Sew a button on the tip of the nose. That's it, the Christmas toy is ready.
Making together with children
Kids 2-3 years old will be happy to participate in joint work on the felt. Of course, the benefits from them will be little, more like a headache. But in any case, do not deny children in such a pleasure.
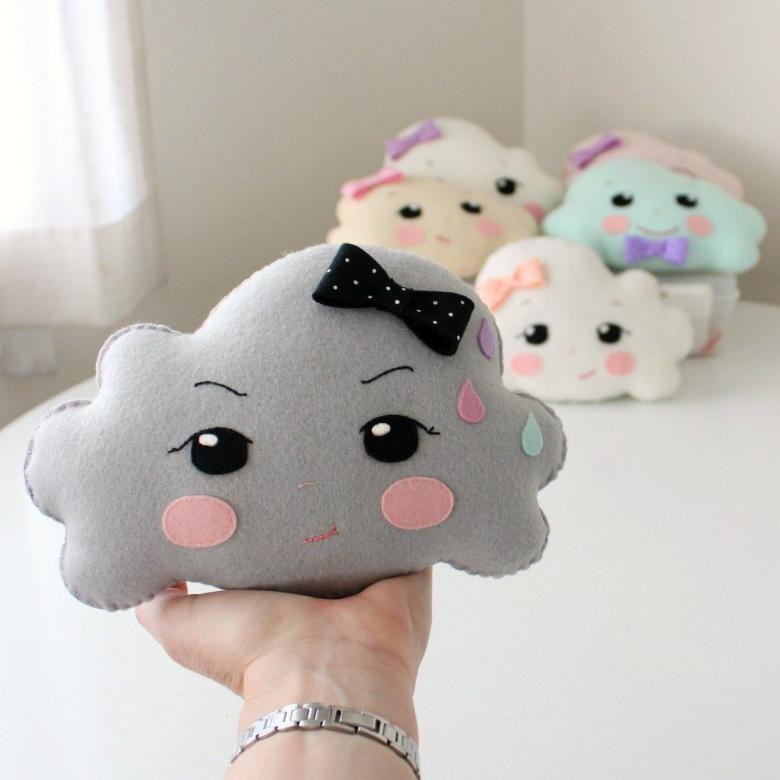
Cloud
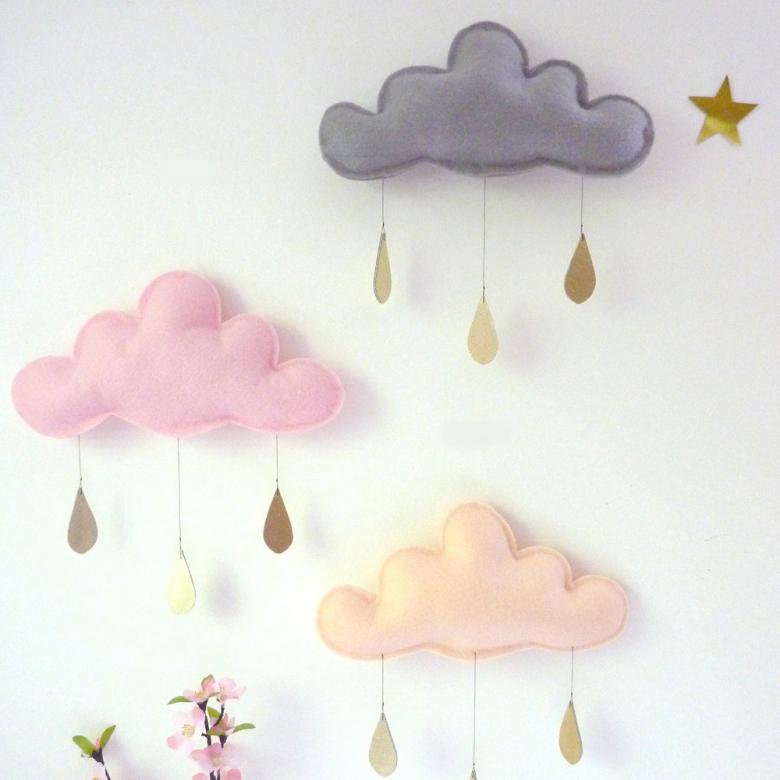
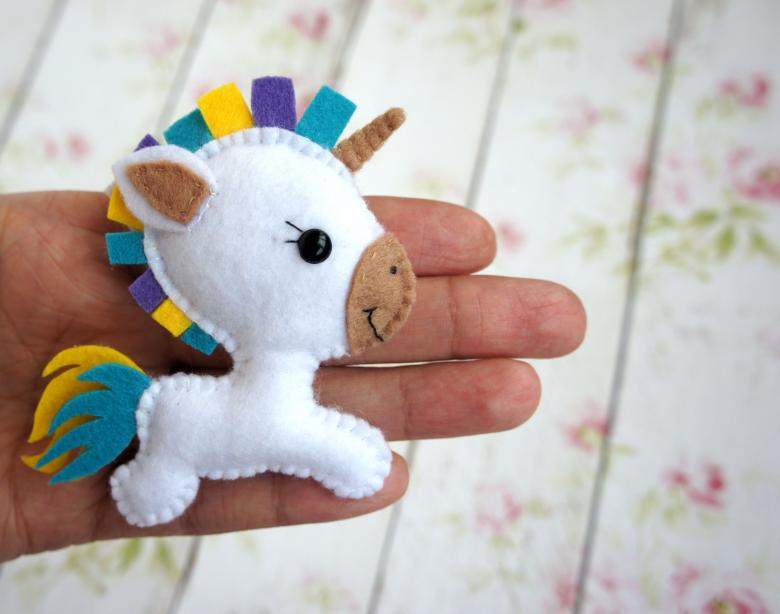
Draw an arbitrary cloud on a sheet of A4. Transfer the drawing to white felt and cut out two identical pieces. Glue the edges of one half leaving a space for the filler. Place the second piece on top and press down. Now you can take your child for a walk, and when you come back, when the glue has set, continue with the work.
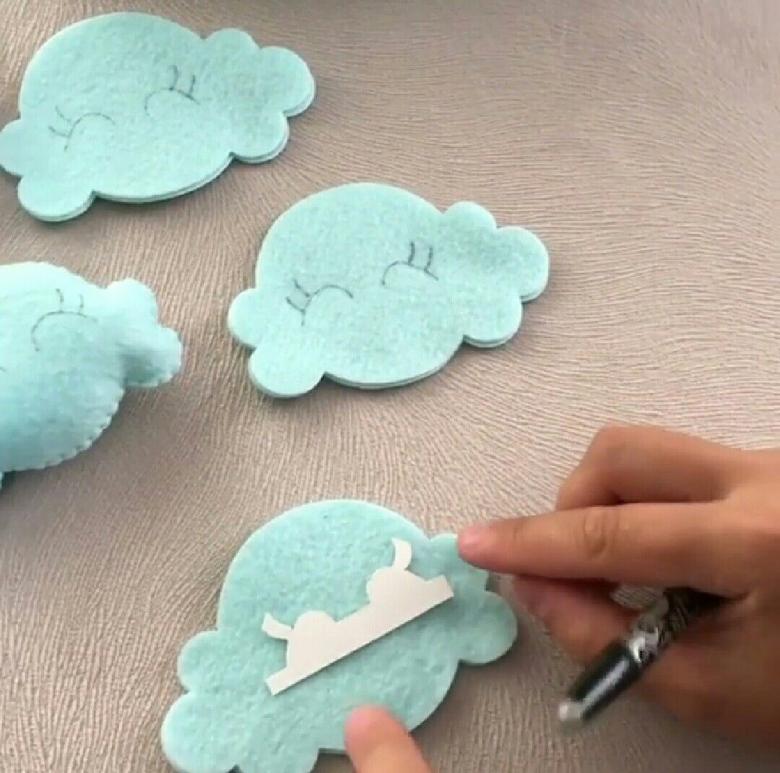
Stuff the base with something soft, like foam rubber or batting. Glue the hole. Now the cloud should be decorated. You can glue a bow of organza, or you can "enliven" it by gluing two eyes made of black beads and a mouth stretched in a smile, made of red thick thread. If you want to add cheeks, sew on two pink buttons.
Have you seen that making quality and useful toys for kids is not so difficult? Choose the appropriate material and get to work!

