How to make flowers from polymer clay - a step by step master class for beginners with examples of photos
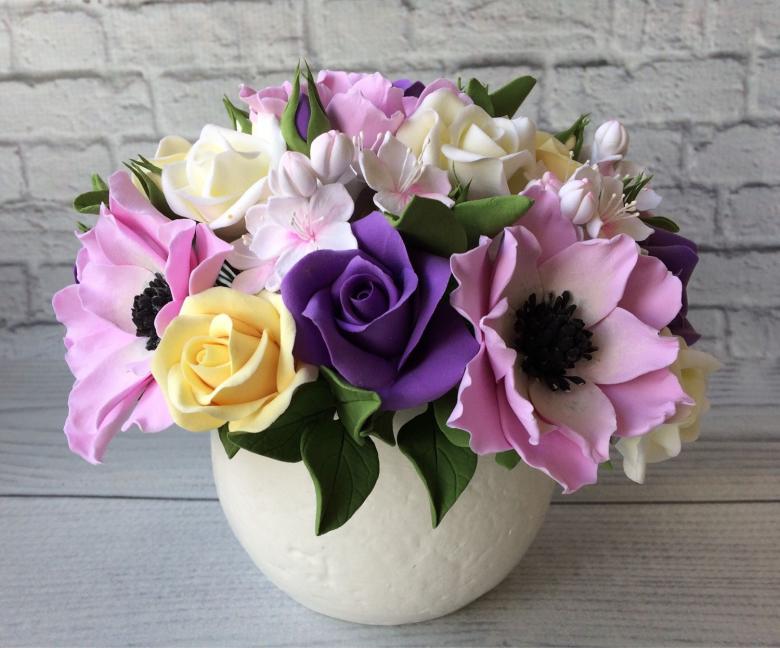
Polymer clay was invented in the 30s of the 20th century by the German doll-maker. Later, clay found another application. Modern masters have succeeded in modeling from polymer clay various souvenirs, decoration of cute feminine things. Wedding boutonnieres or simply decorations made of homemade polymer are very popular during weddings.
Self-made clay
You can buy polymer clay for crafts. If purchase is not possible, make it yourself. The process of making it is easy and does not require a lot of money.
Ingredients
- Flour - 1 teaspoon;
- Corn starch - 1 teaspoon;
- PVA glue- 1 teaspoon.
- Baby oil or baby cream - a few drops;
- A little acrylic paint.
Method of preparation
Mix the dry ingredients with PVA glue. Knead the mixture until it feels like clay. If the mass sticks to your hands, drop a bit of baby oil or cream. If making a colored product, add paint.
Tips for working with polymer clay
- Clay is a very delicate product, often used without coloring, requires careful attitude.
- The workplace, tools and hands must be clean.
- To avoid getting hair or other small debris in the mass, work with gloves, put your hair under a hat.
- Adding talcum powder will make the clay less sticky and prevent debris from getting into it.
- The shelf life of the polymer mass is short, so don't prepare it in advance.
- If some of your clay accidentally dried out, hand cream will soften the mass again.
- For longer preservation of the material without drying out, cover the container with fresh clay tightly.
What you need to work with homemade clay
- A glass or plastic cutting board, tile or ceramic tile;
- A small knife.
- An acrylic roller or rolling pin to roll out the clay;
- A pastry cutter with nozzles to make decorative elements for your creations;
- Shape molds (cutters);
- Various stacks;
- Varnish for the finished products. Treat the choice carefully, as some varnishes do not dry, continue to stick;
- Brushes;
- Toothpick or awl;
- Hardware;
- Napkins.
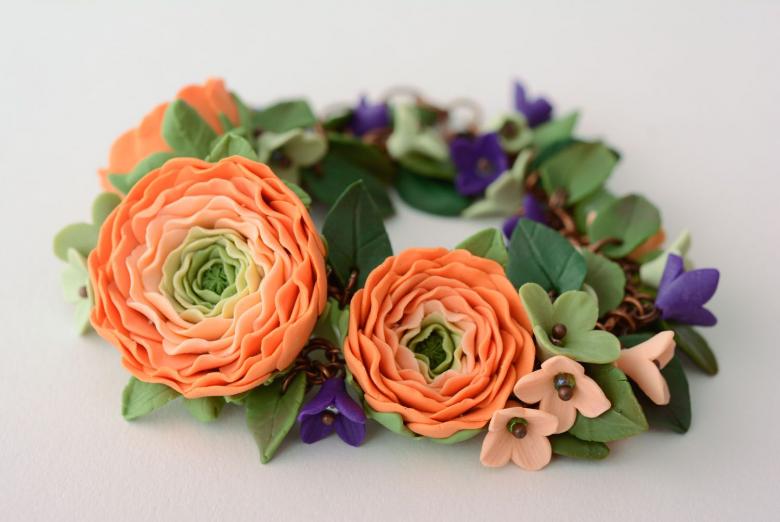
Attention! All work performed with gloves on!
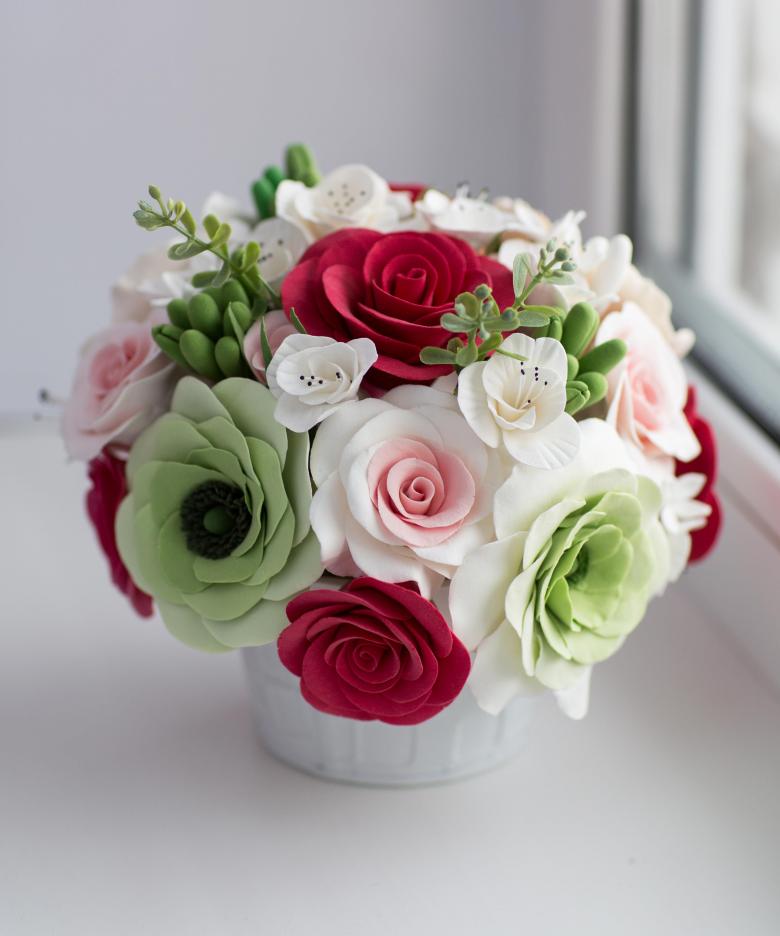
Master class on making flowers from polymer clay
Callas
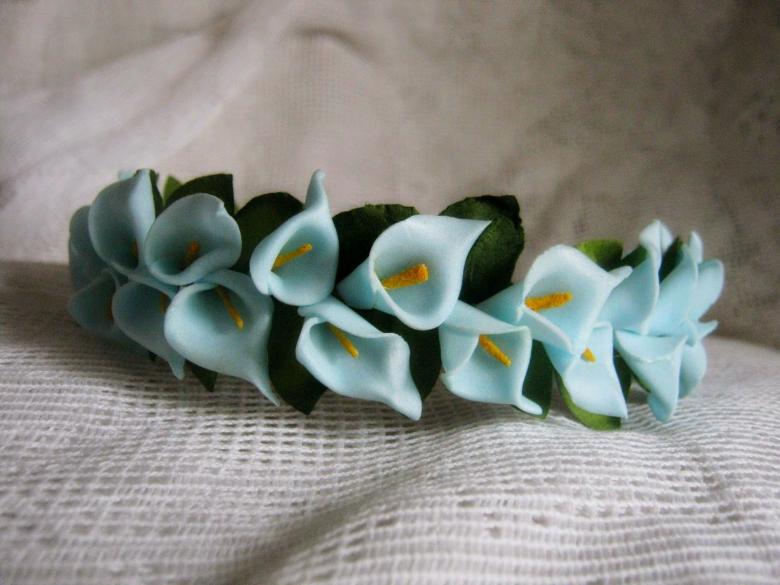
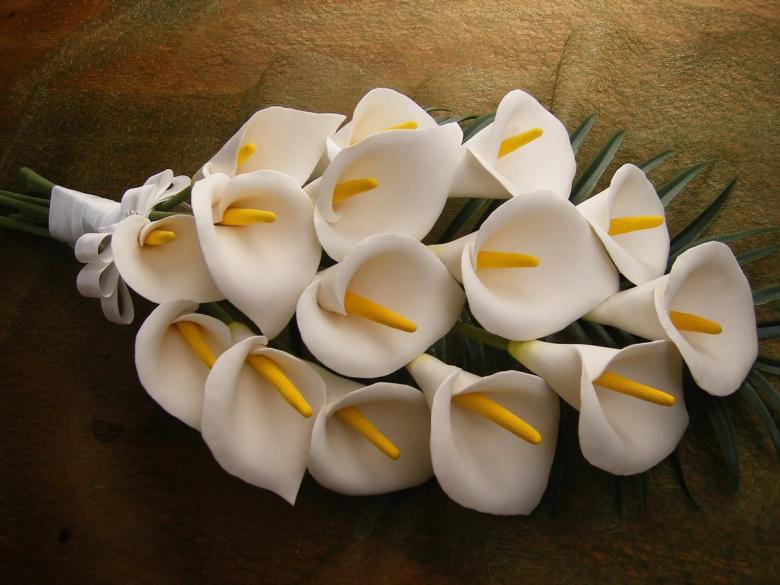
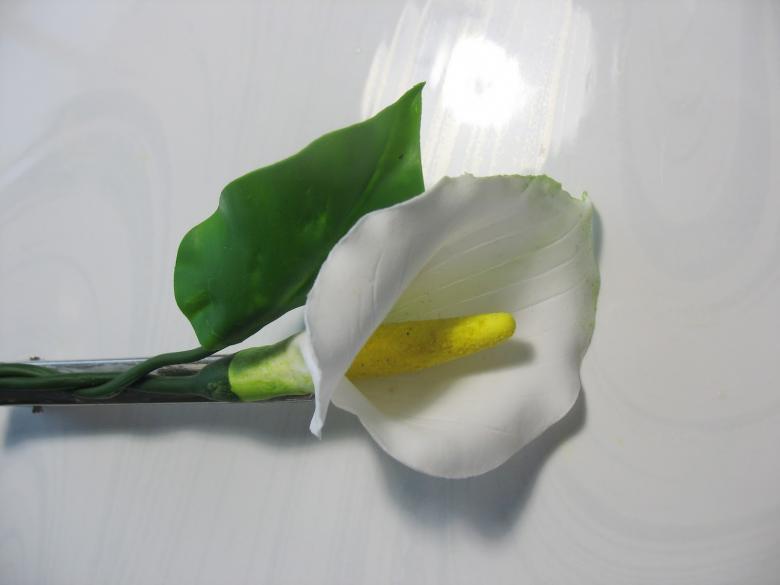
The easiest flowers to make from polymer clay for beginners are calla lilies. Such work can be done quickly enough, even without skills.

You will need:
- Clay of two suitable colors;
- Toothpick, awl;
- A knife;
- Roller, rolling pin;
- Accessories (beads).
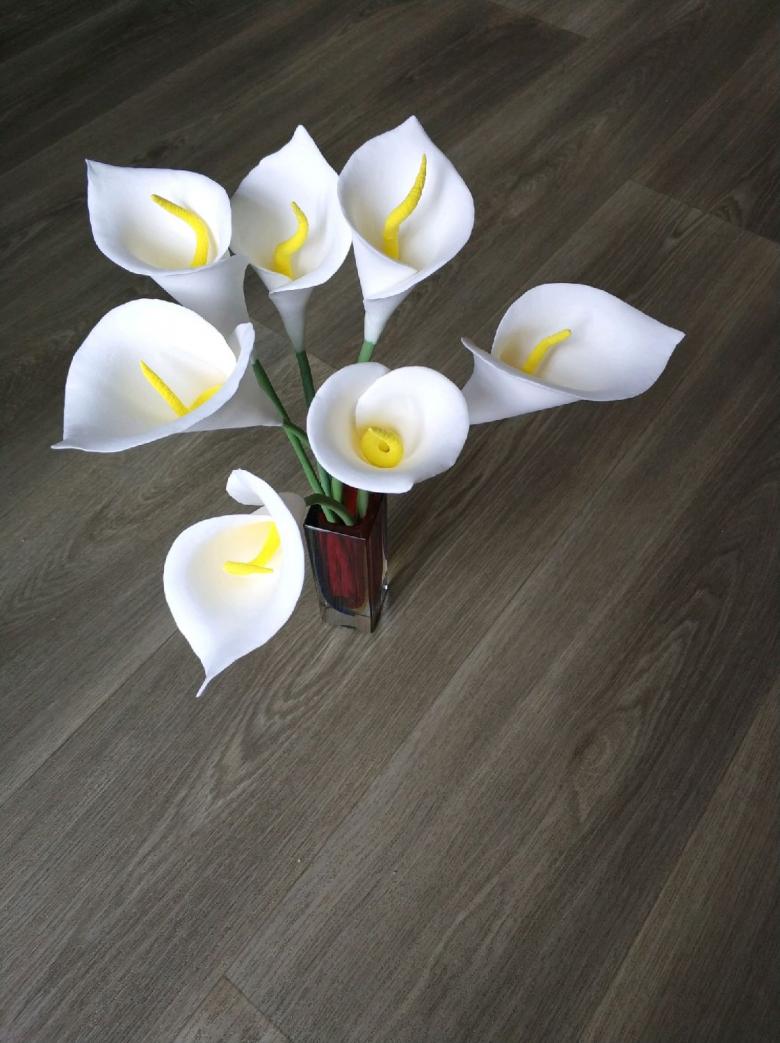
Make balls of polymer mass, then roll them into flagella. One flagellum wrap the other, then bring the mass again together. And so several times, until a melange color mass. Then divide the ball in half with a knife. These will be the blanks for the two calla lilies flowers.
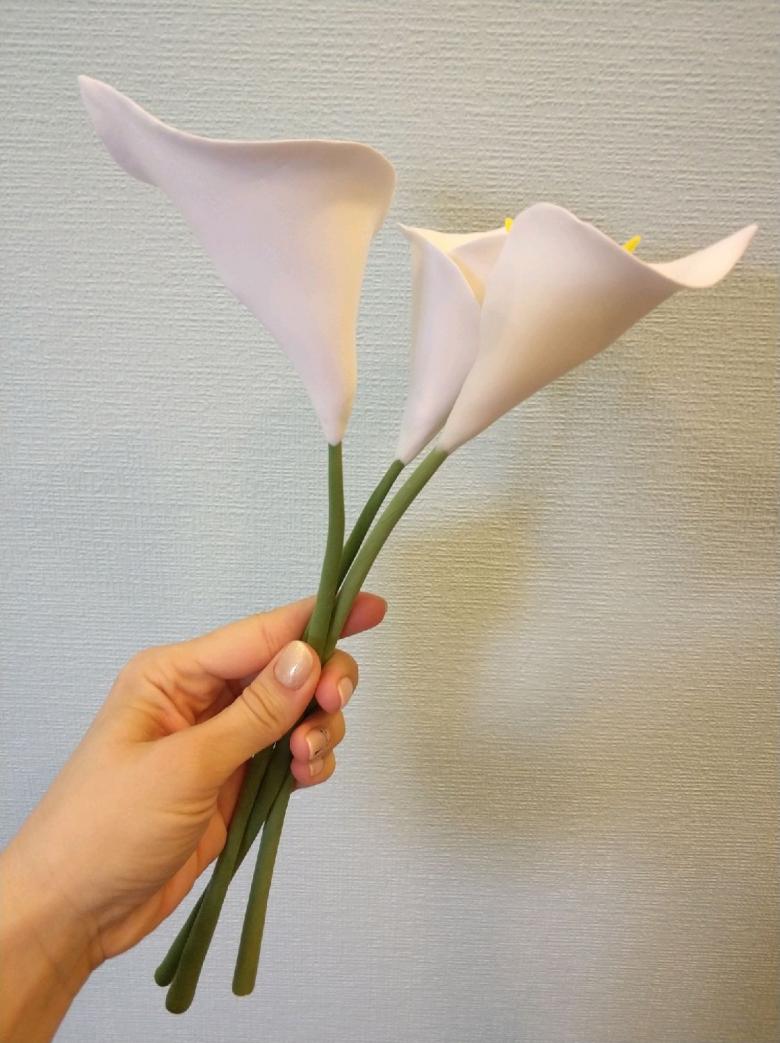
Roll each part with a roller or rolling pin into a thin plate and shape it rounded. Pull out one edge of the plate and pinch it with your fingers. From the opposite edge, gently roll the plate into a cummerbund.
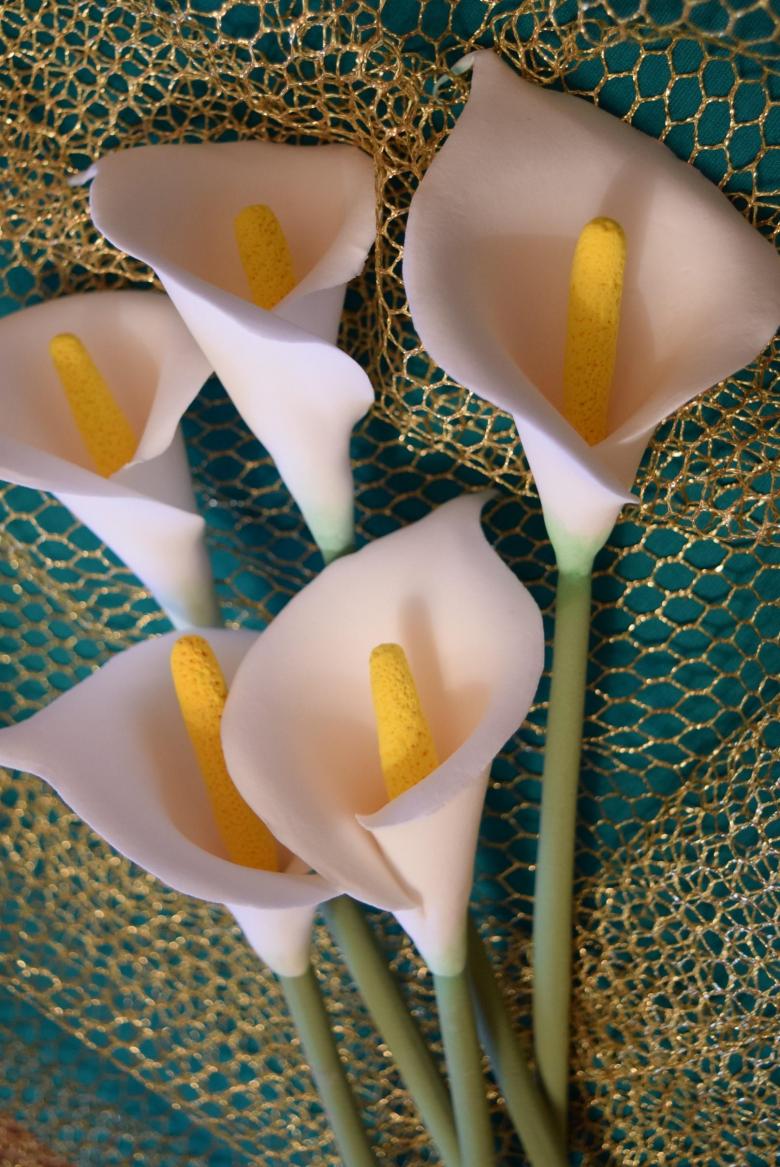
Free edges slightly bend and smooth out. As a result, you should have an open bud.
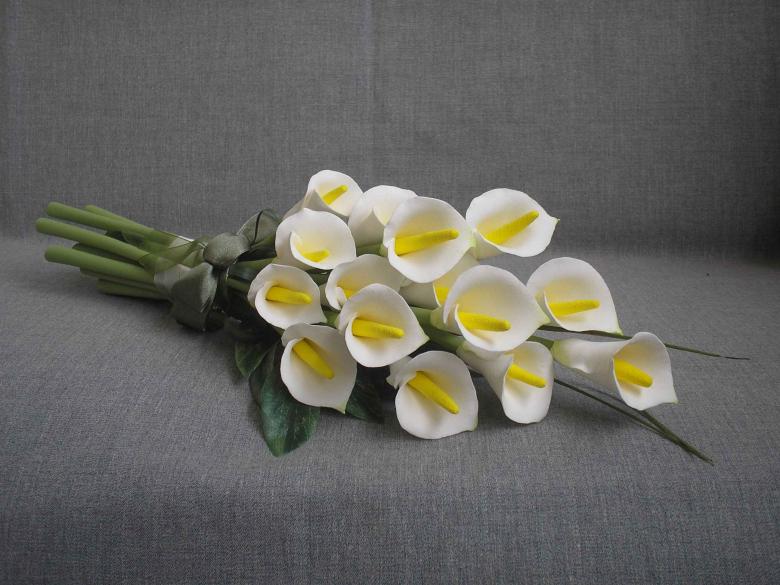
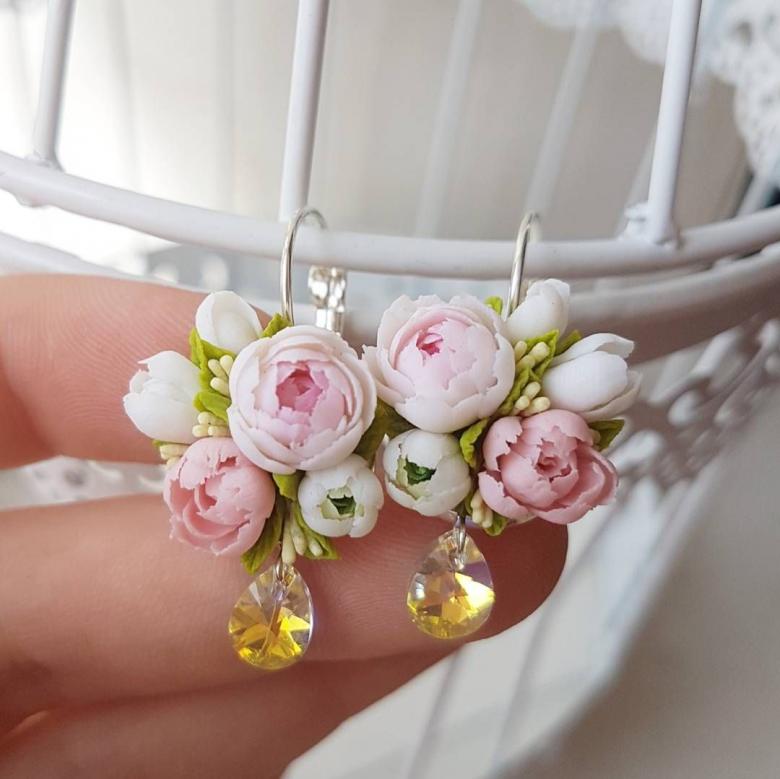
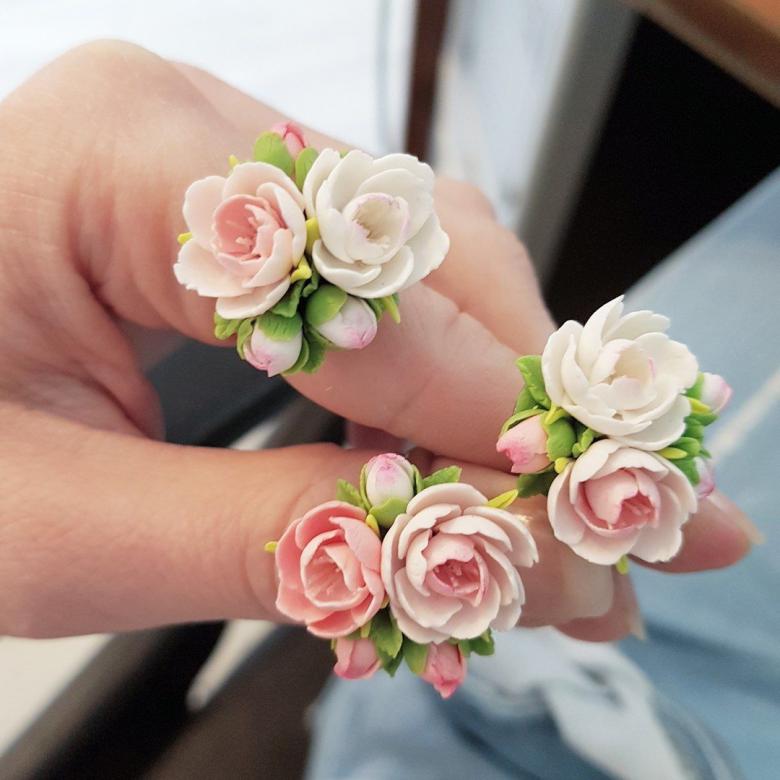
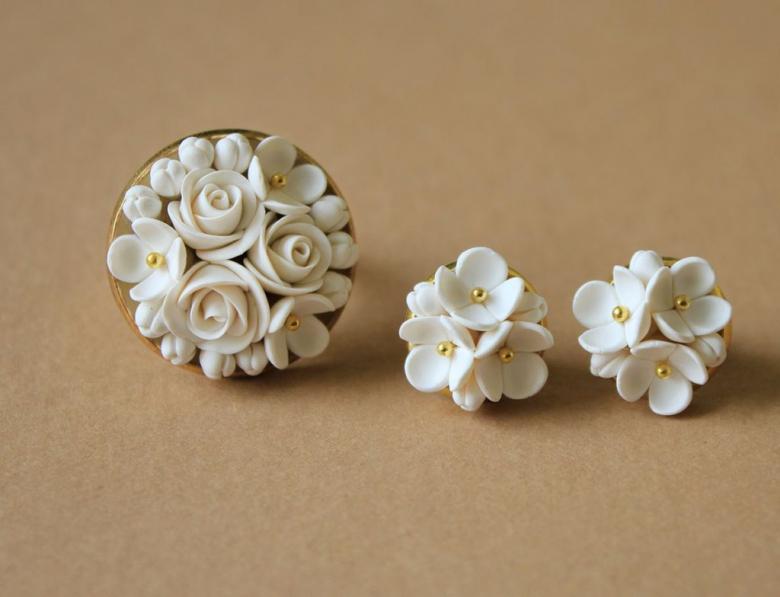
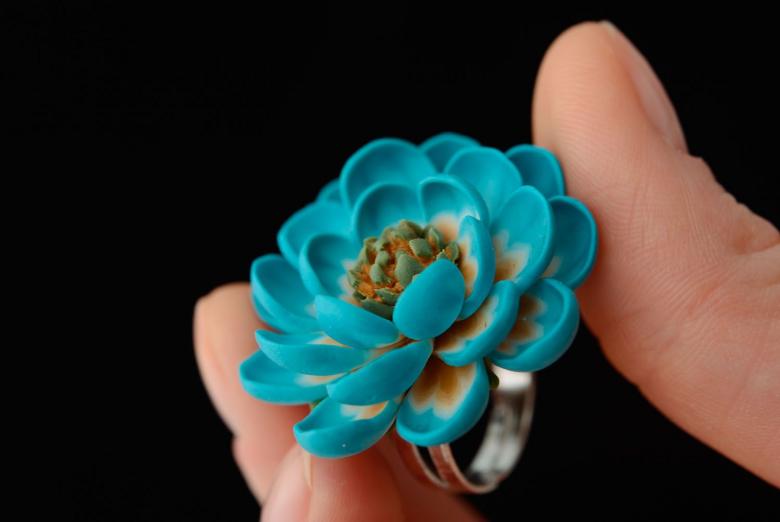
If you decorate the finished flowers with beads and put a hook through a hole made with an awl or toothpick, you get nice earrings.
Lilies
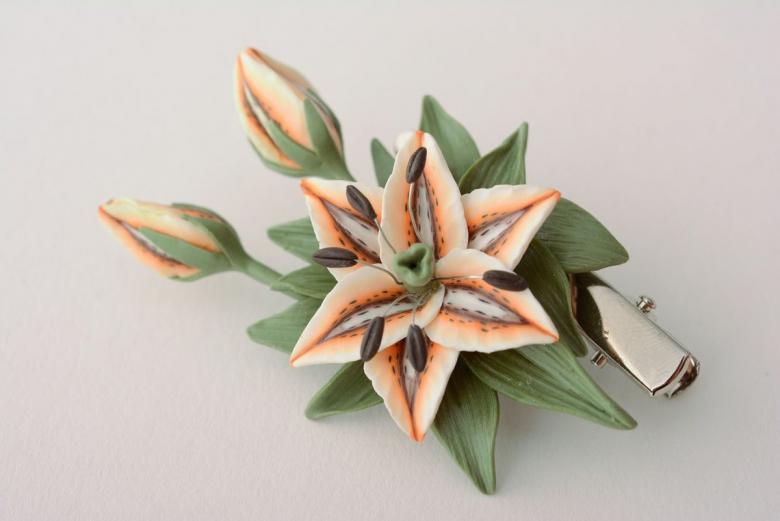
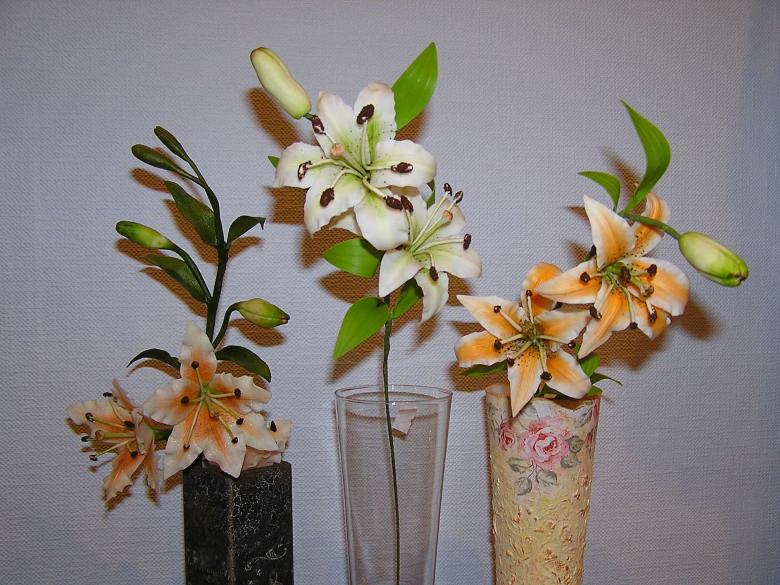
Lilies are more difficult to make than calla lilies. If you do decide to do such an experiment, you will surely like the result.
You will need:
- Clay of a suitable color.
- Work surface;
- Toothpick, needle, awl;
- A knife;
- Roller, rolling pin;
- Watercolor;
- Brush;
- Staples.
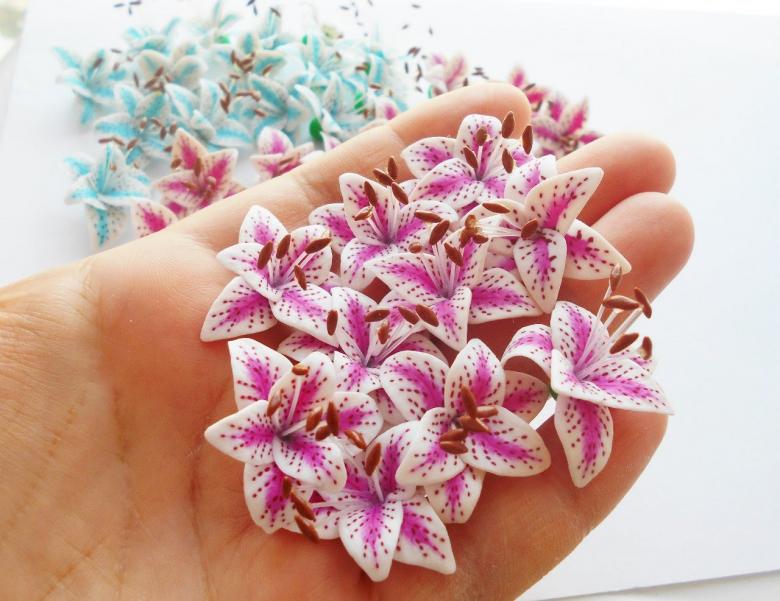
Roll out a thinner piece of polymer. Outline the outline of the petals with a toothpick, needle or awl. Should have three larger petals, and three smaller. Cut out the petals with a knife or scissors.
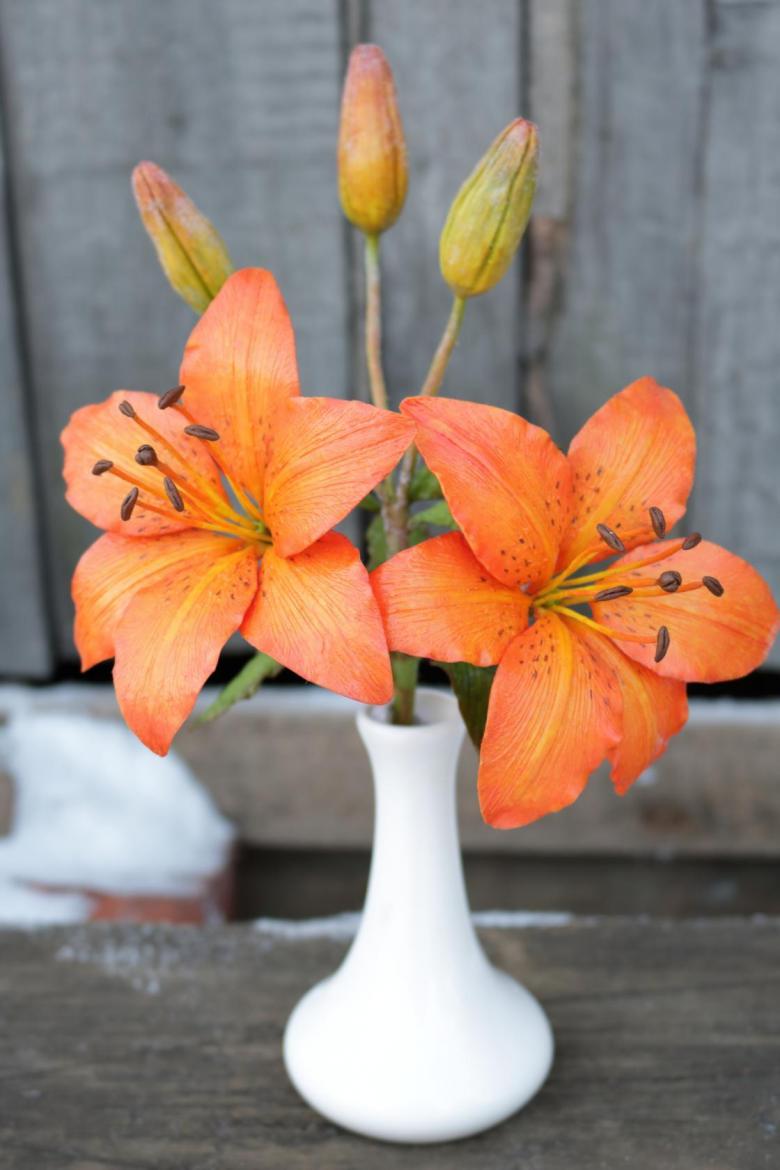
Using the same tools, stamp the pattern on the petals in the form of veins. This makes the product look more natural. Now small petals with a needle or awl twist at one end.
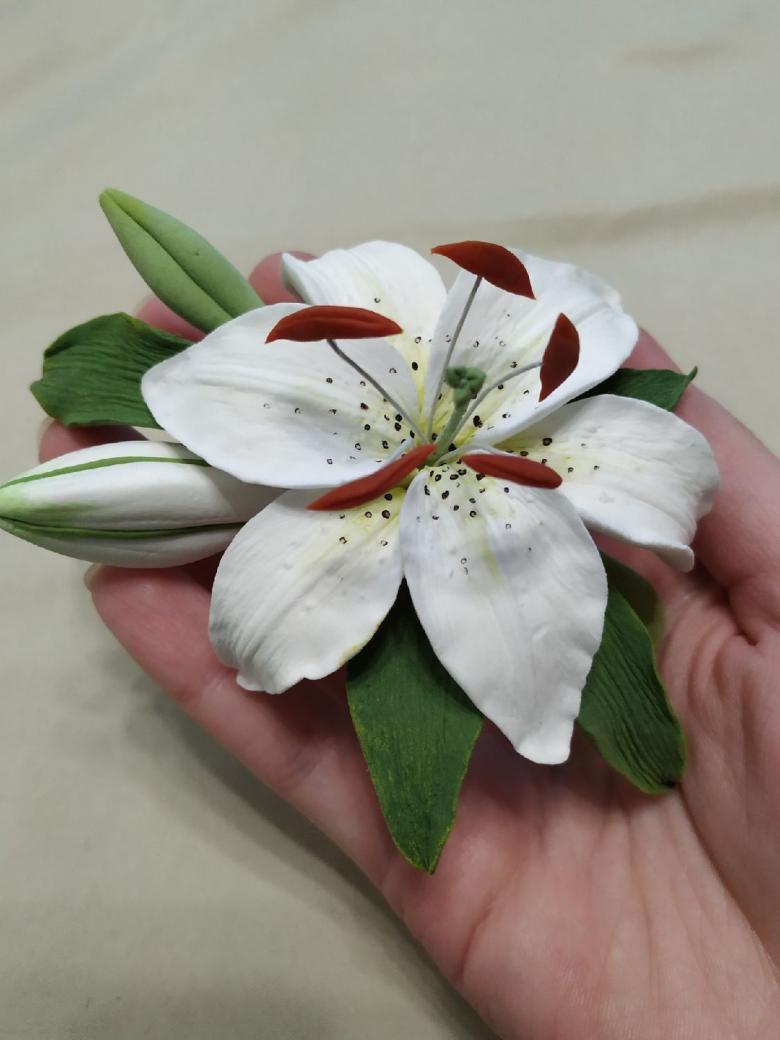
While the blanks are drying, you need to make stamens and pistil. From a thinly rolled piece of mass, cut strips. The stamens should be narrower, the pistil wider. The top of the tip should be brown.
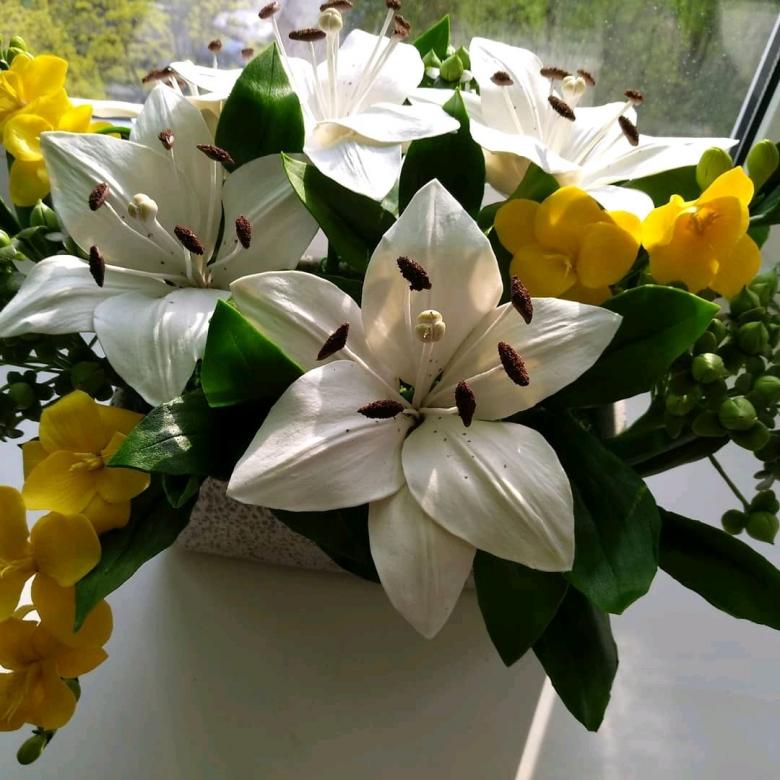
On a straightened paper clip gather all the parts of the flower: attach the pistil and stamens, distribute evenly in a circle and fasten the small petals, then, by the bottom tier, the large ones.
Lily of polymer clay ready.
Roses
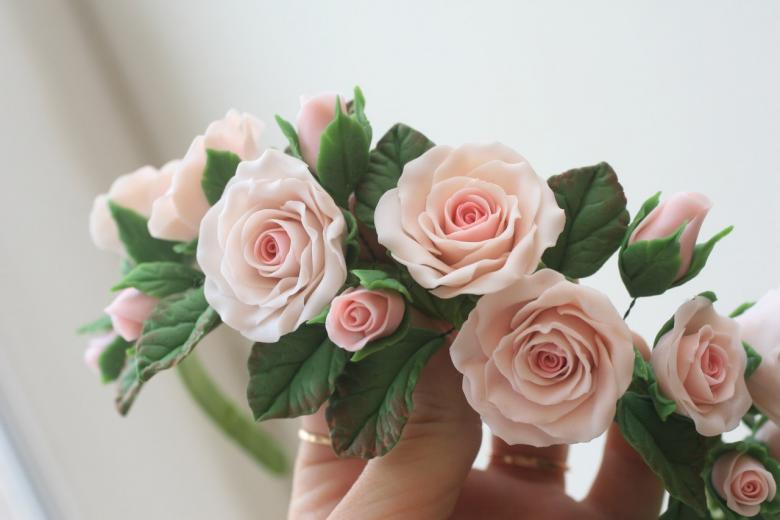
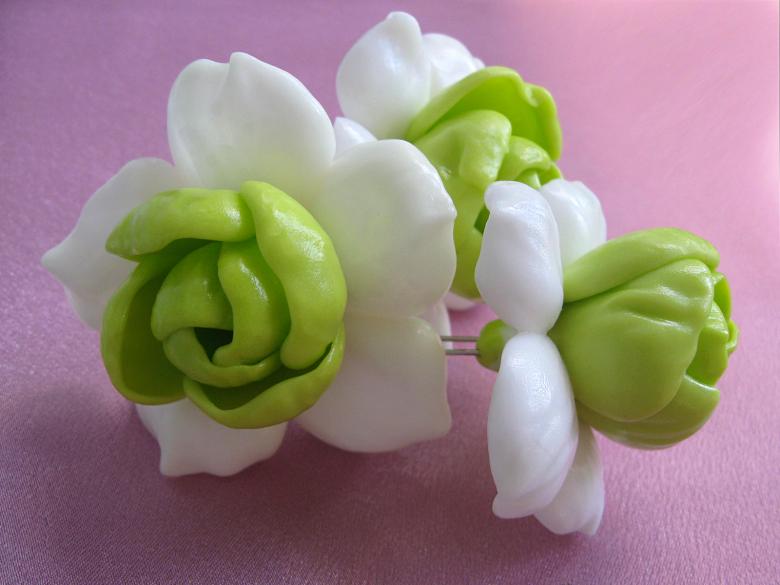
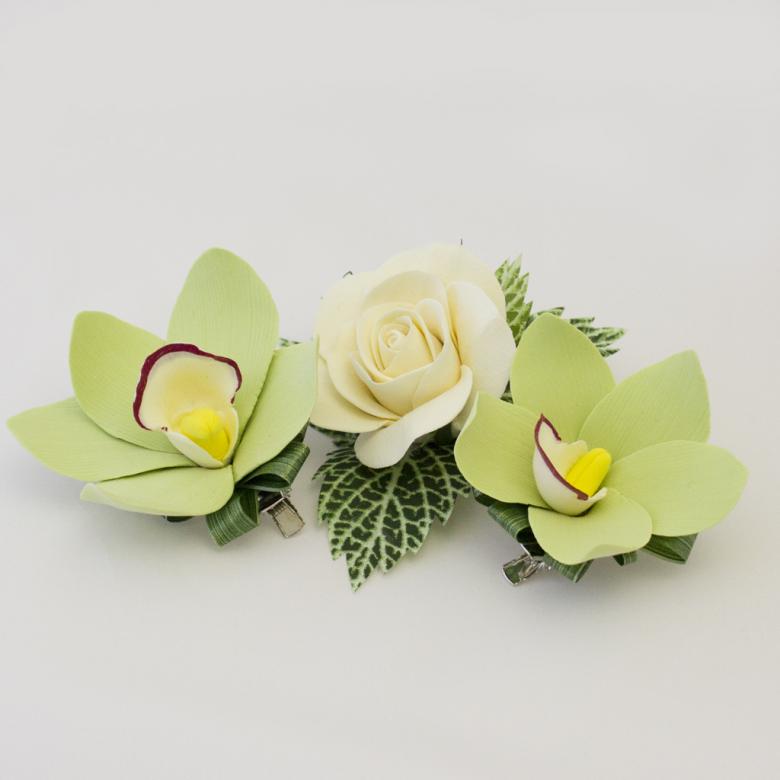
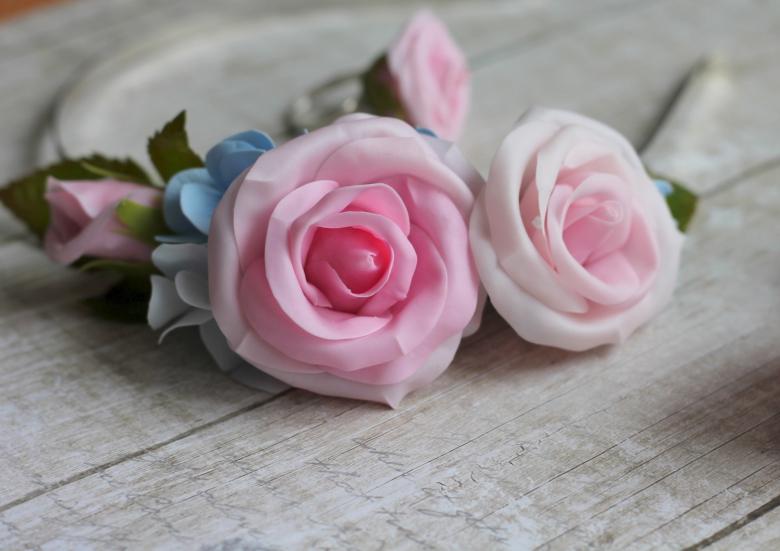
One of the most beautiful flowers in nature is the rose. The rose, made of polymer clay, also looks very natural and pretty.
You will need:
- Polymer clay of a suitable color;
- Toothpick;
- Stack.
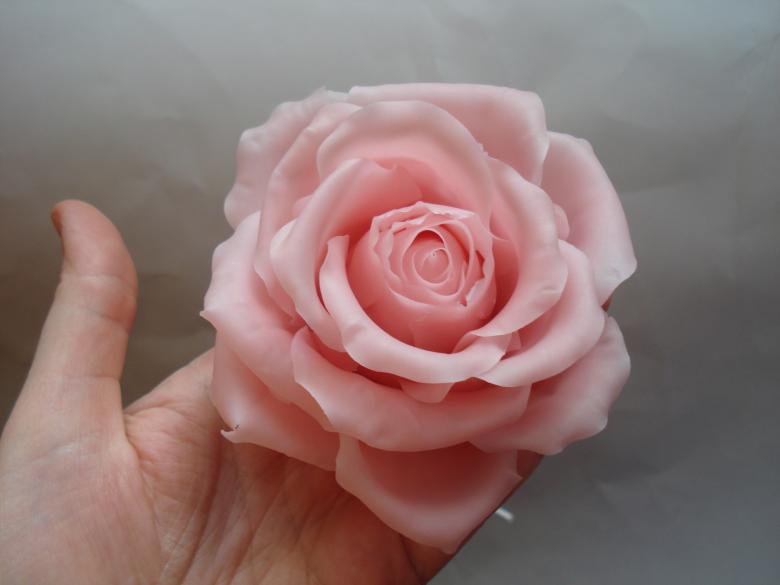
Take a piece of polymer clay of a suitable size, roll it into a bundle. Cut the bundle into about nine pieces and roll into balls. That's enough balls to make a small rose.
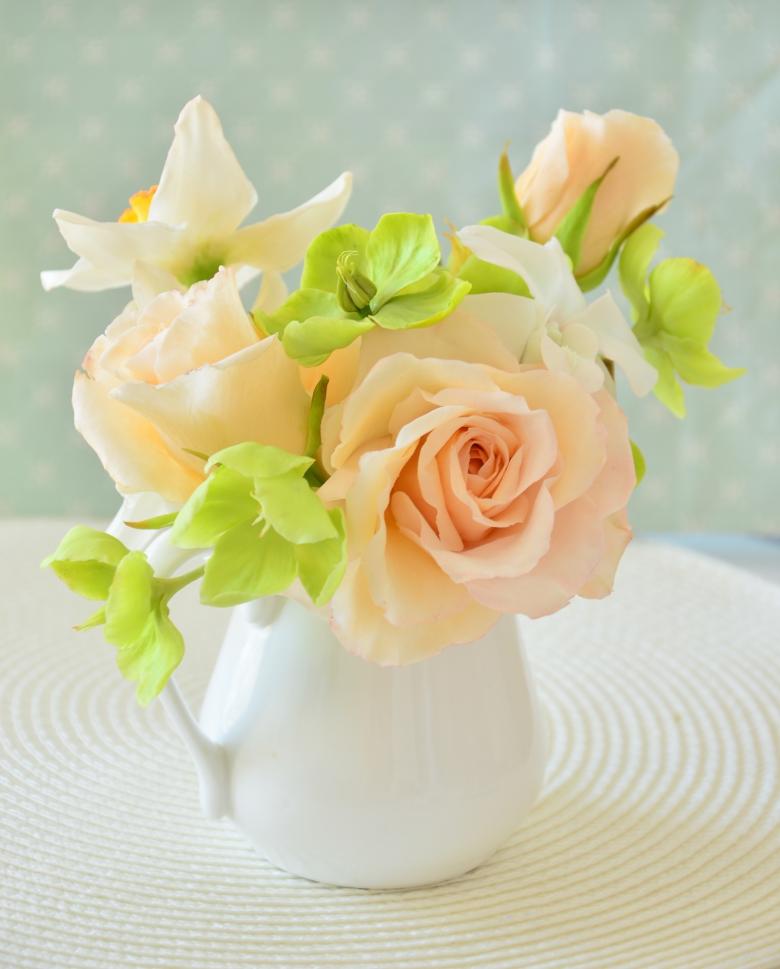
Now make oval petals from each ball. Do it this way. Put a ball on one palm, and with the thumb of the other hand press and form a petal.
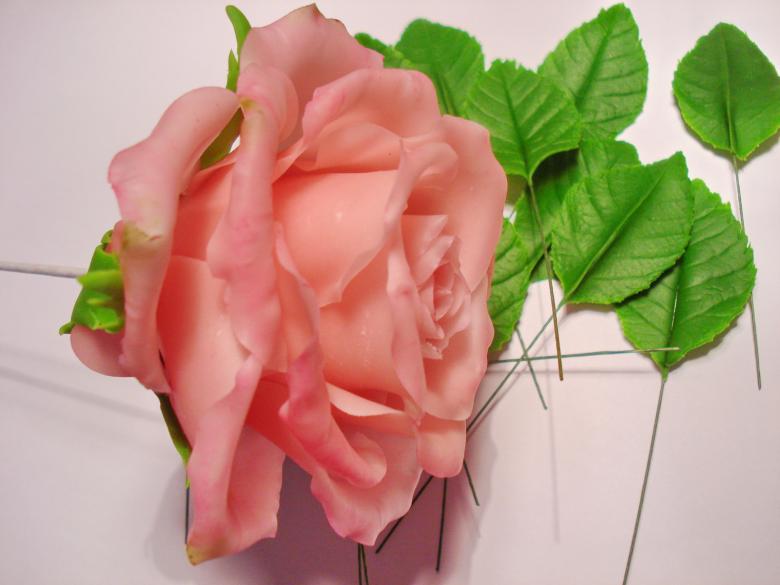
The base of the petal should be thicker and the edges thinner. You can use a special stack with a ball to make a petal. When all the petals are prepared, assemble the rose.
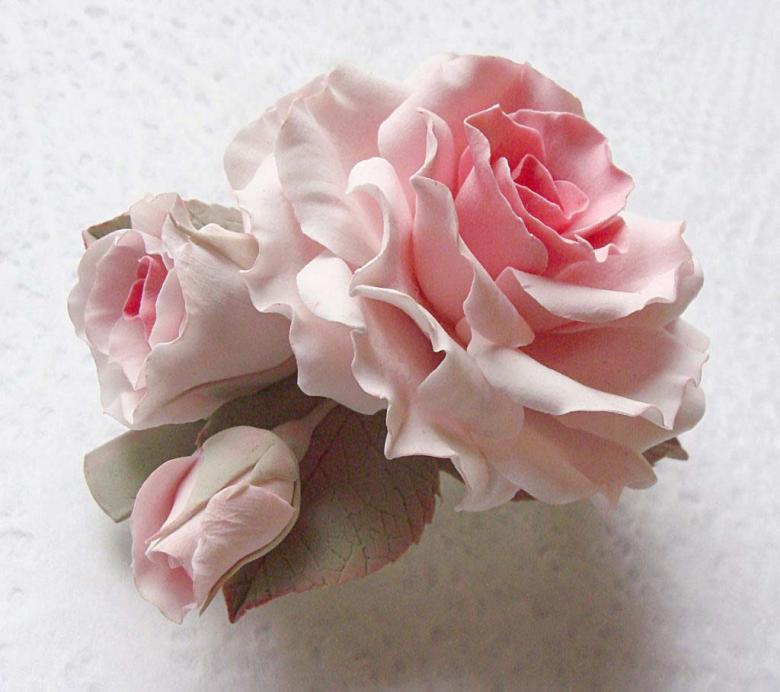
We start with the middle flower, for this purpose one petal is twisted into a roll. Rolls fix on a toothpick. Now attach petals to the middle, from lesser to greater. Each subsequent petal should half-cover the previous one. The edges of the petals slightly bend outward.
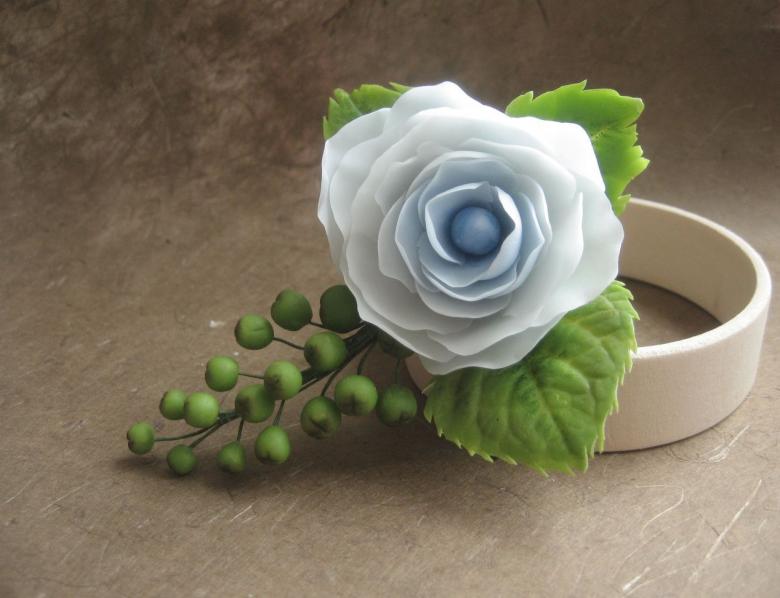
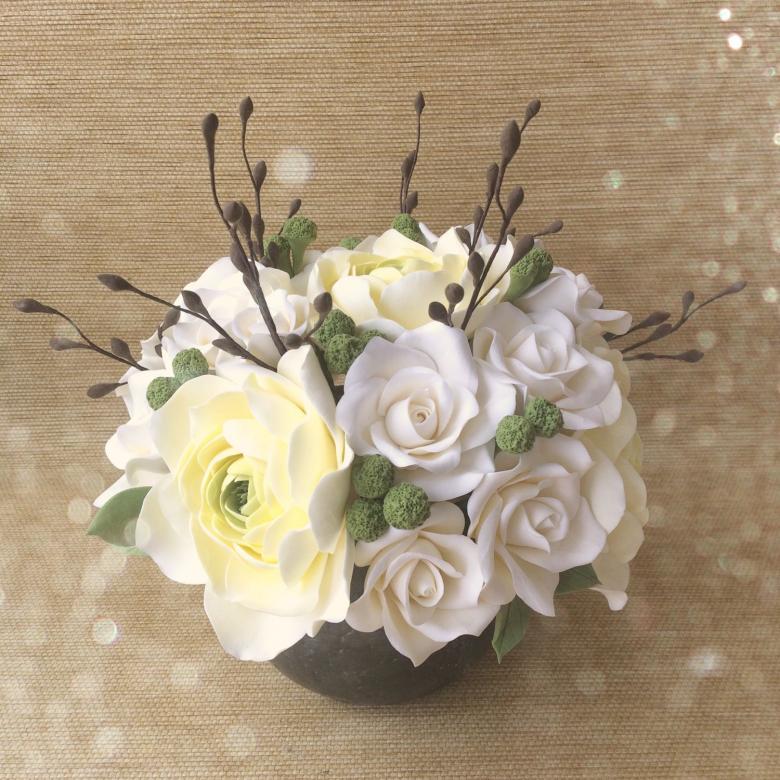
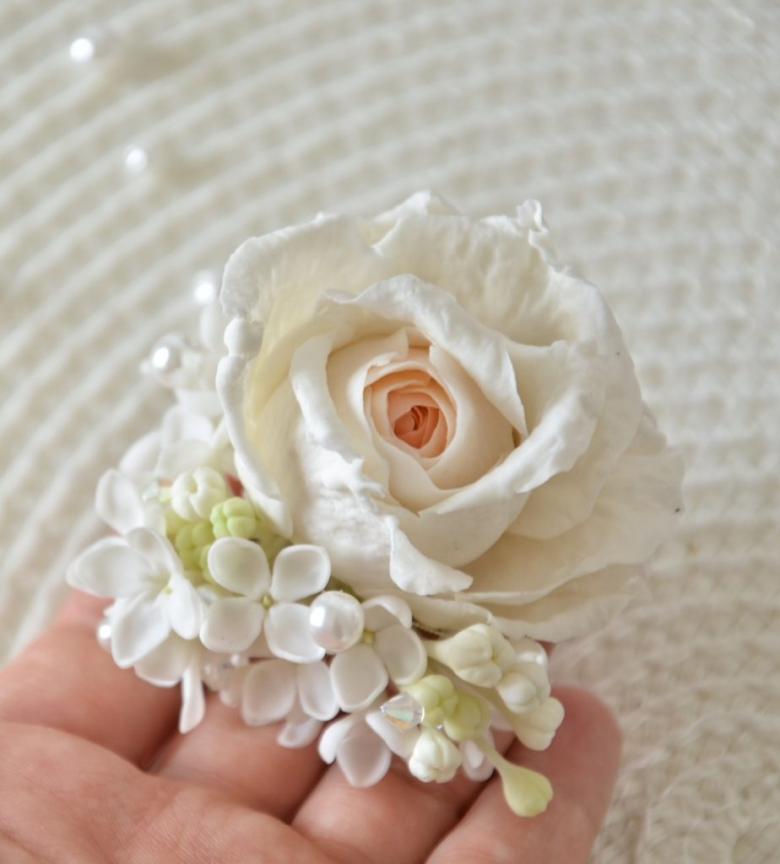
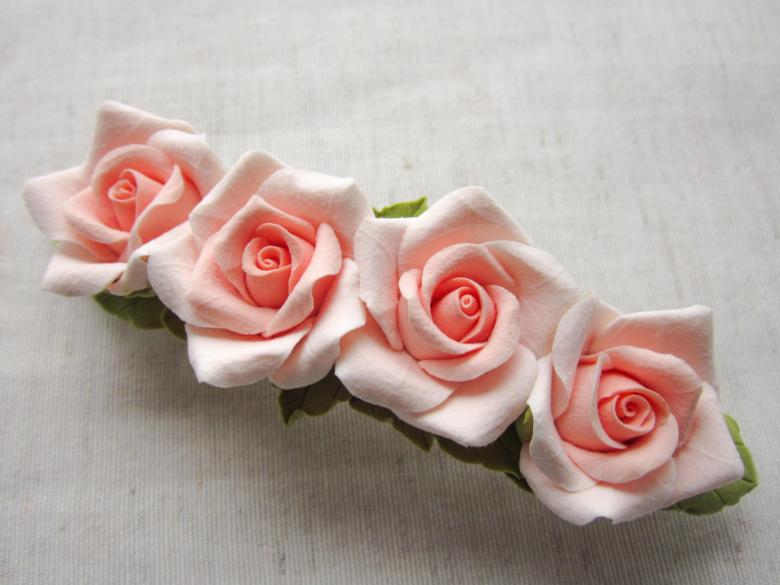
Our beautiful rose is ready. It can be used to decorate various accessories for women or make a magnet for the fridge.
Orchids
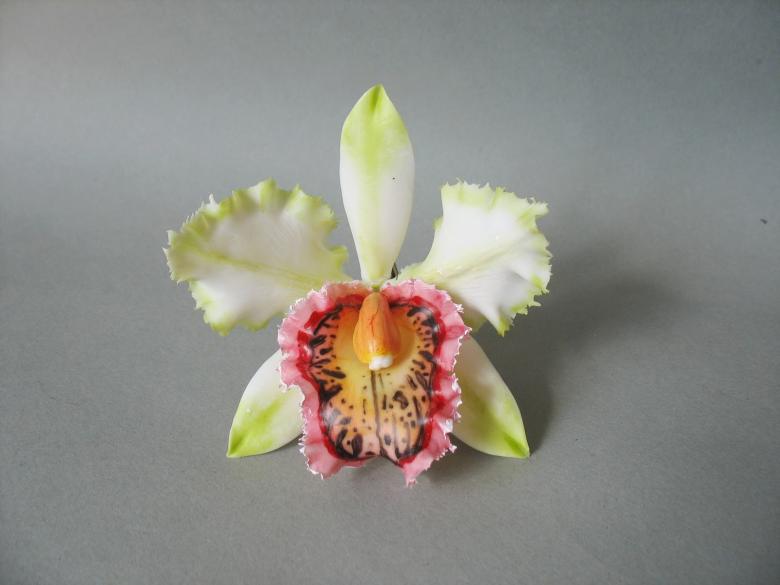
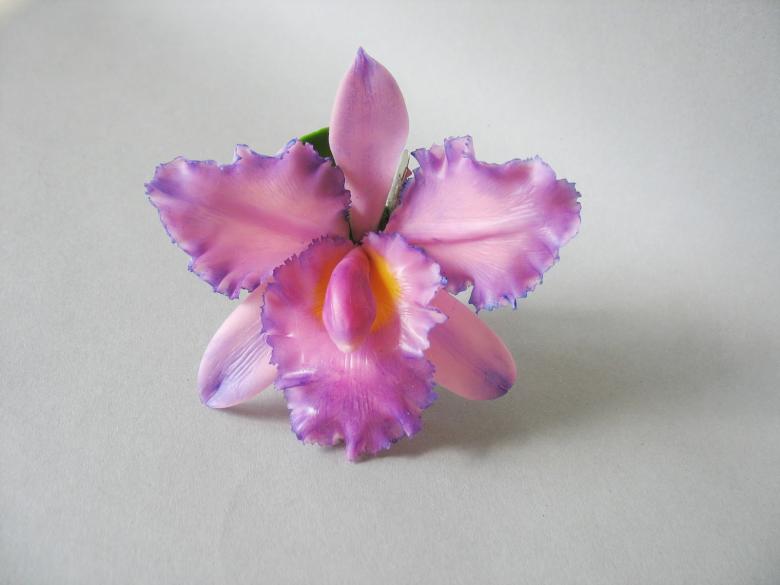
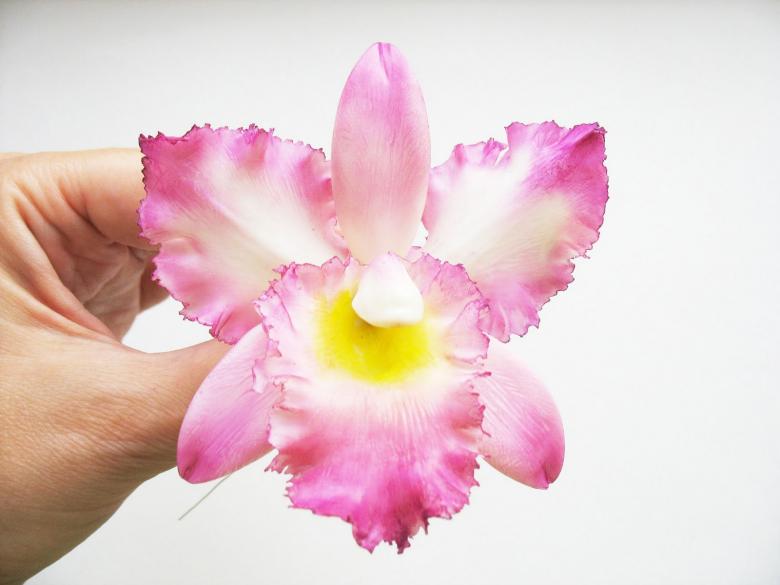
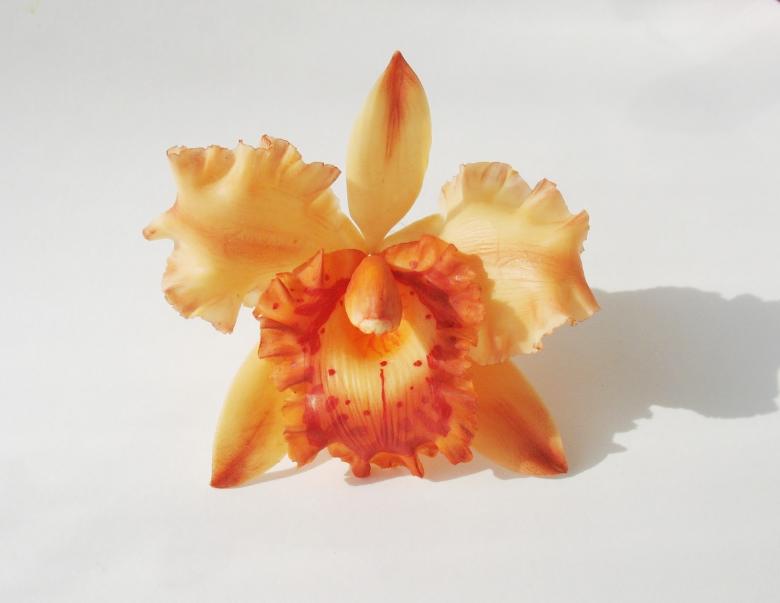
Having practiced how to make simple flowers from polymer clay, we proceed to the manufacture of more complex - orchids.

You will need:
- Clay of a suitable color;
- Work surface;
- A knife;
- Oval form for cutting;
- A roller or rolling pin;
- Paints;
- Brush;
- Wire;
- Mold (texture mold);
- Stack or stick with a rounded end.
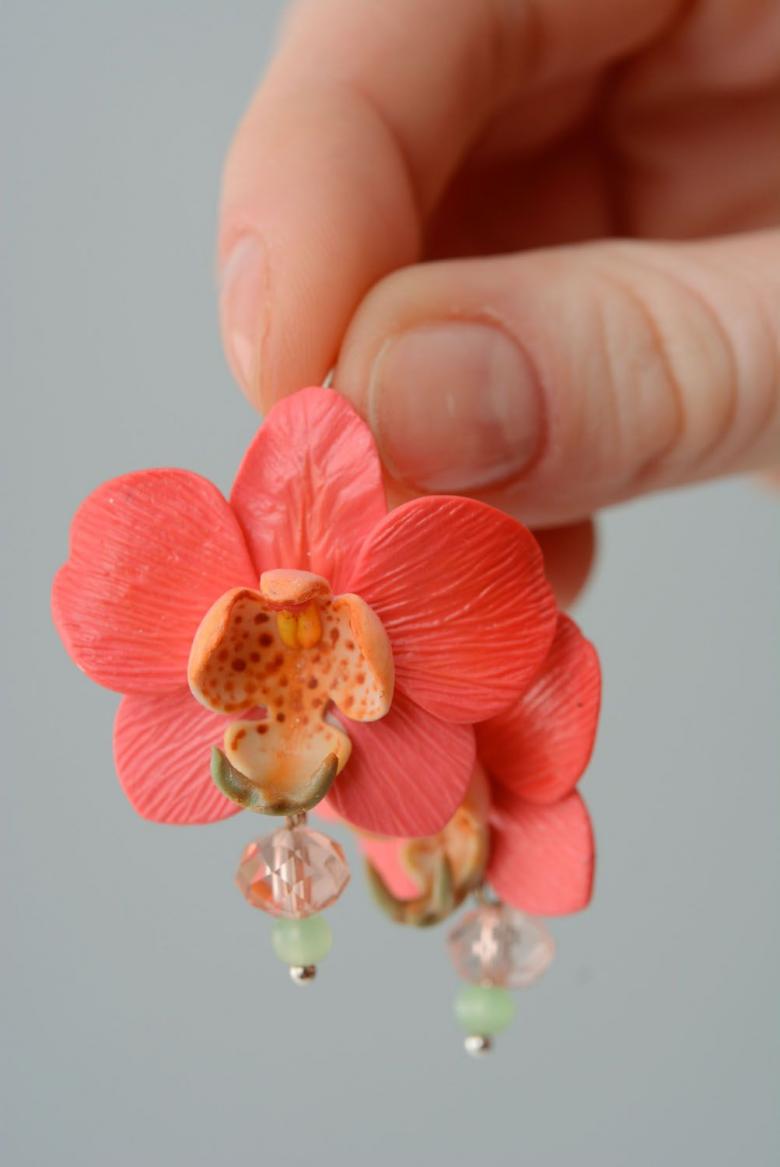
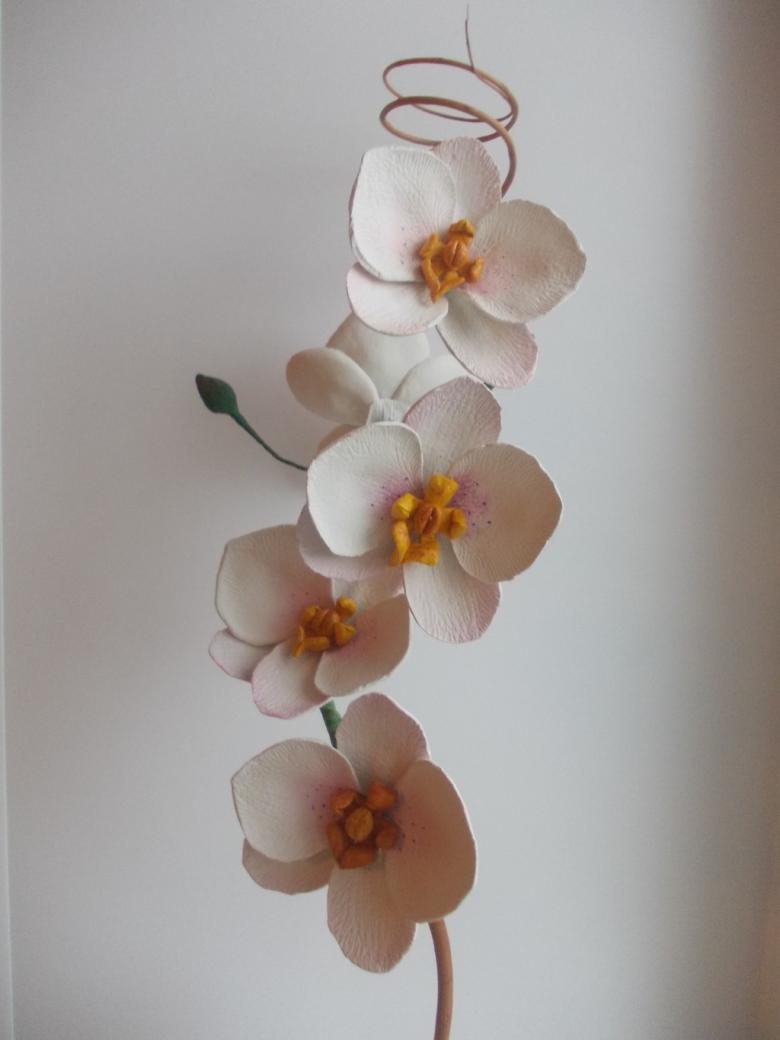
Let's make petals. Take a piece of polymer clay, paint it with a stick. Roll out the clay, put the workpieces on the embossed mold, cut off the excess with a knife. Secure the resulting petal on a wire. Similar blanks do five pieces. On each petal we do relief points near the base.
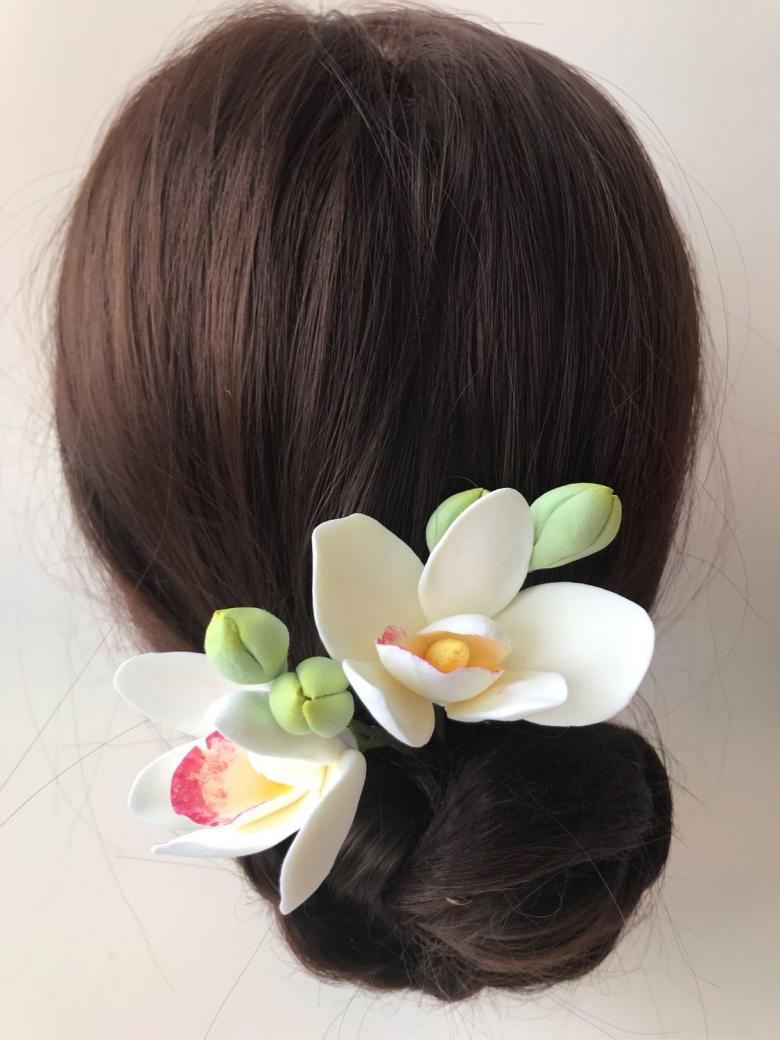
To make the core of the orchid, you need to cut a cross of unrolled clay layer using a mold. If there is no mold, you can make your own sketch of a sample of paper, and on it cut out a heart from the clay layer. The resulting blank is placed in the palm of your hand.
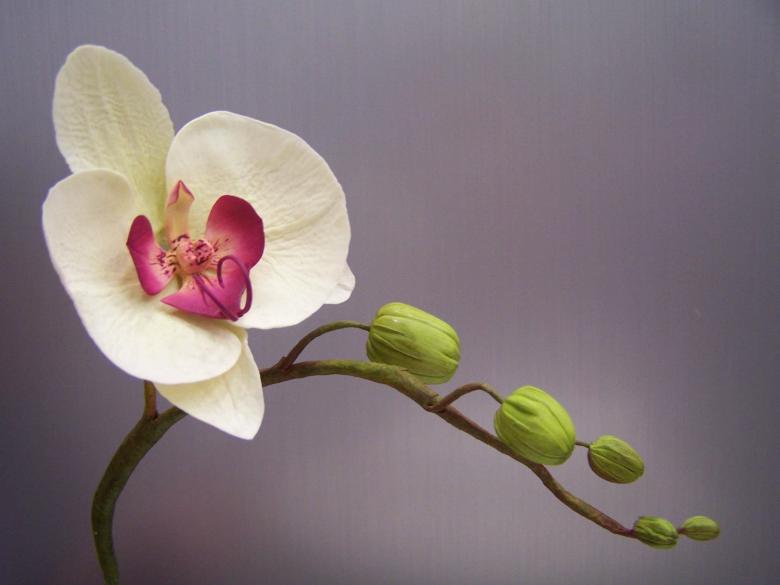
Using a stencil with a ball at the end or a rounded stick we give the three ends a deepened shape, so they curl up. Pull out the fourth tip, and also twist upward with the stick. The next step is to make a small drop from a piece of mass of a contrasting color, in which we make a transverse depression with an awl, toothpick or knife. Fix this droplet to the top of the heart.
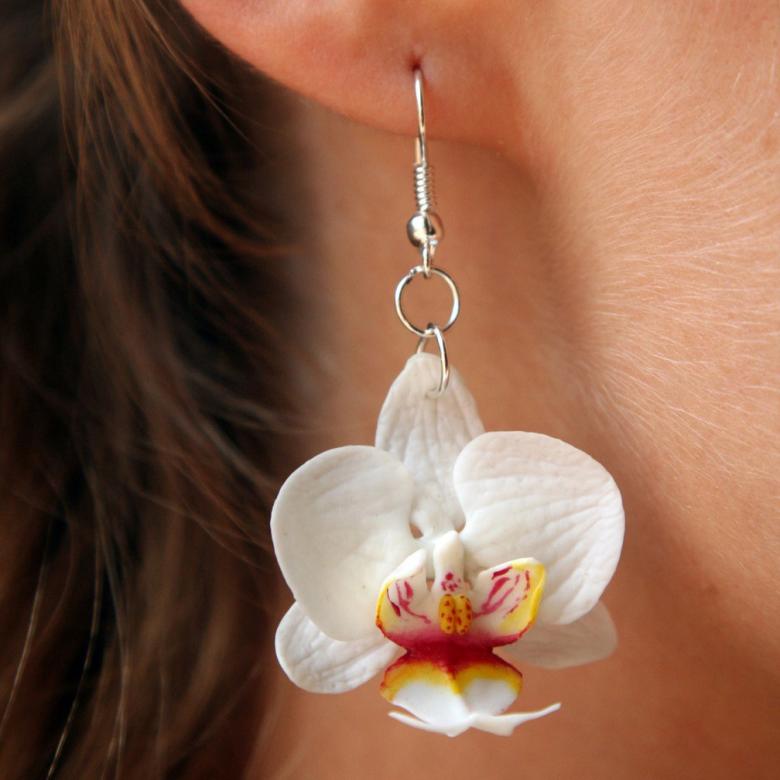
Then, you need to take a wire, bend it at right angles, at the end attach the middle of the flower. Connecting it to all the petals, we get a gorgeous flower - an orchid.
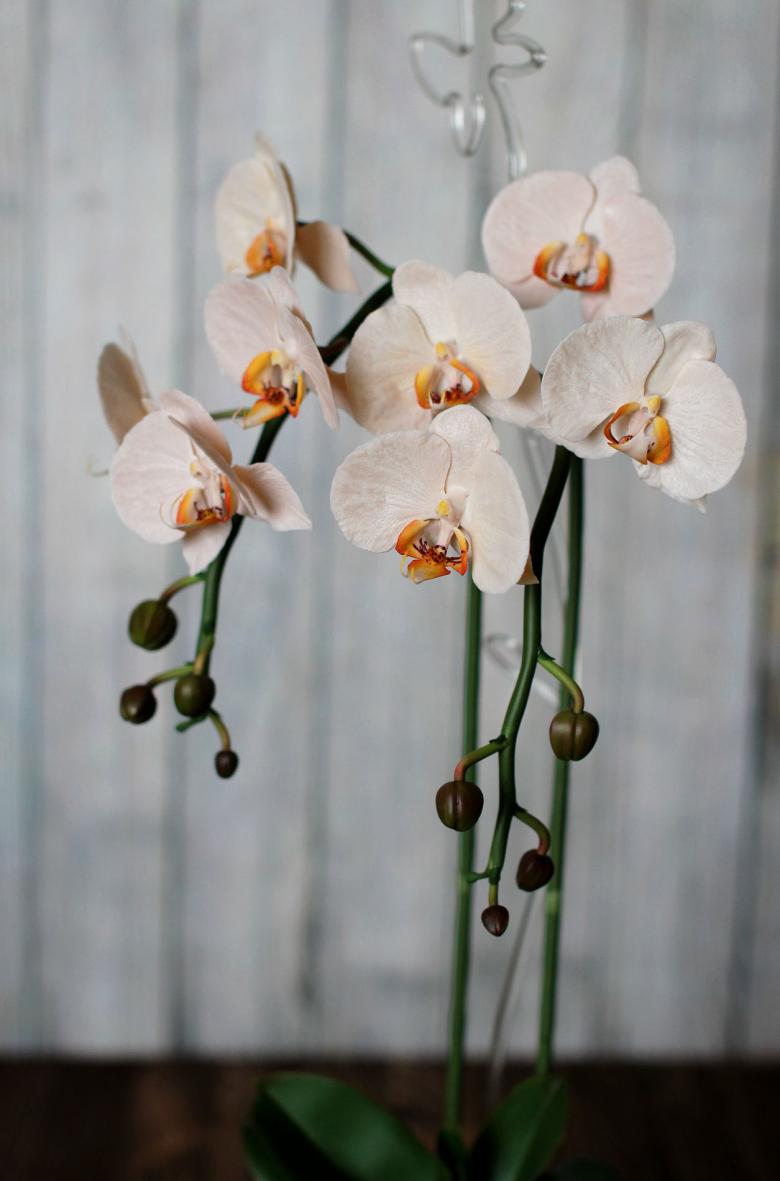
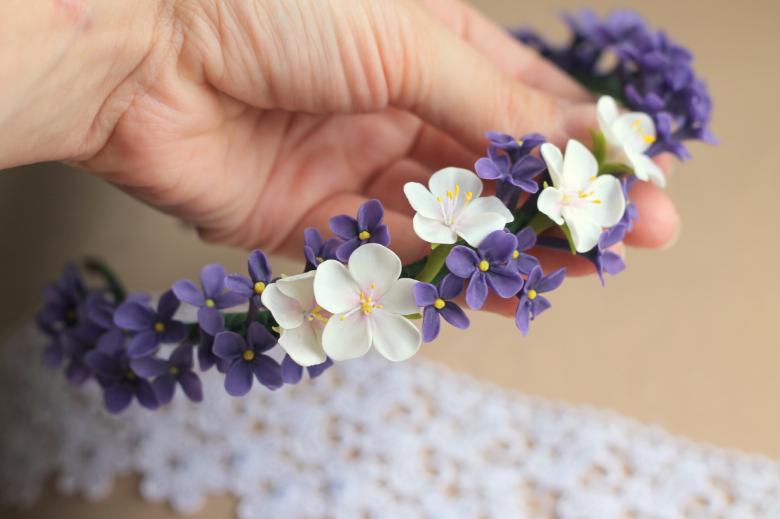
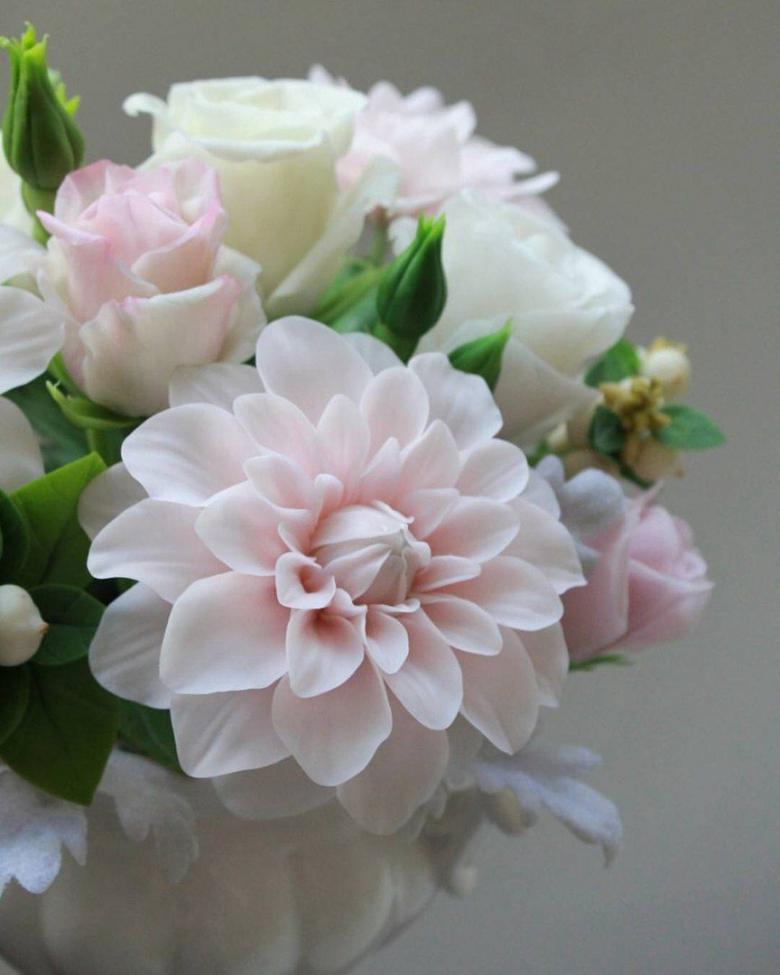
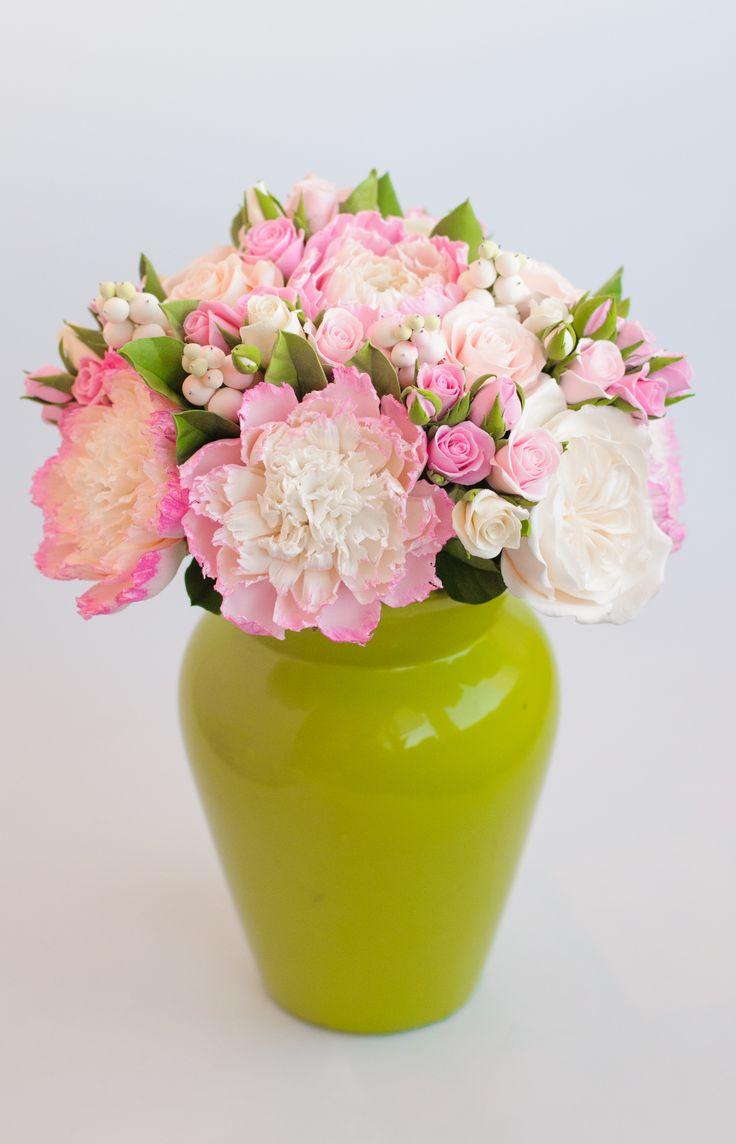
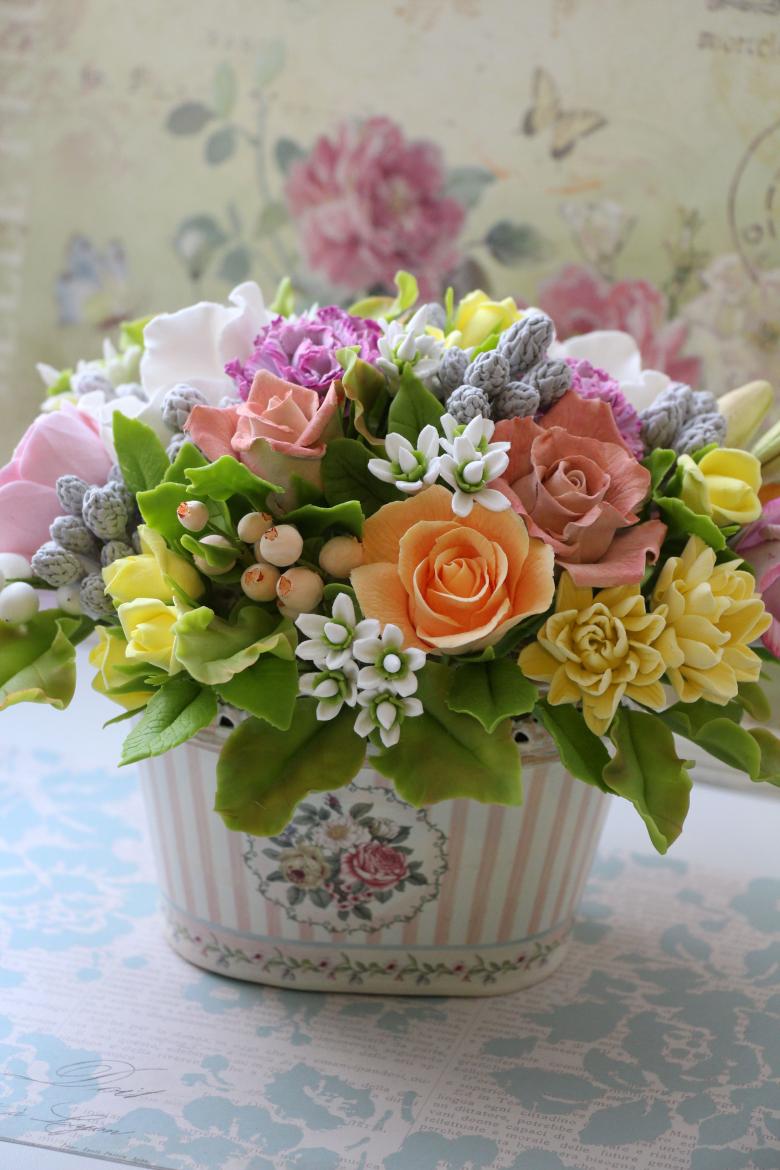
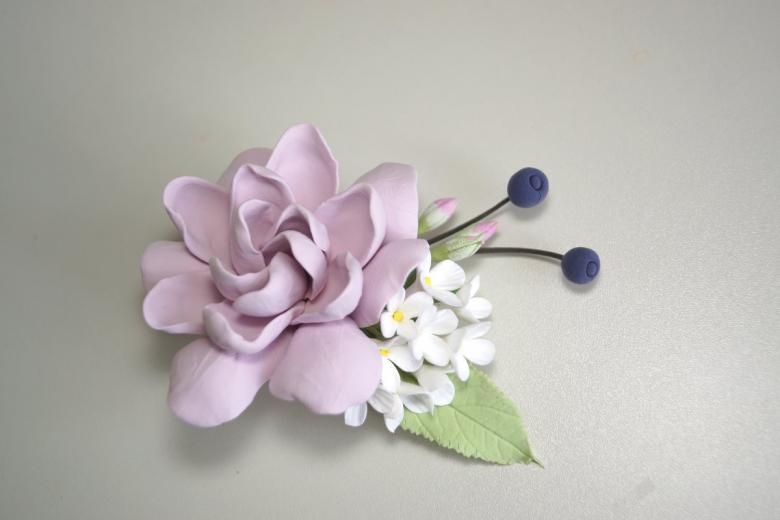
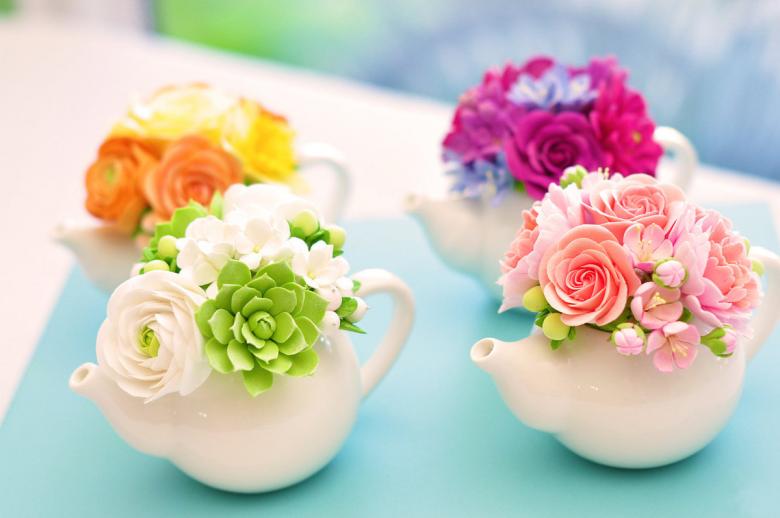
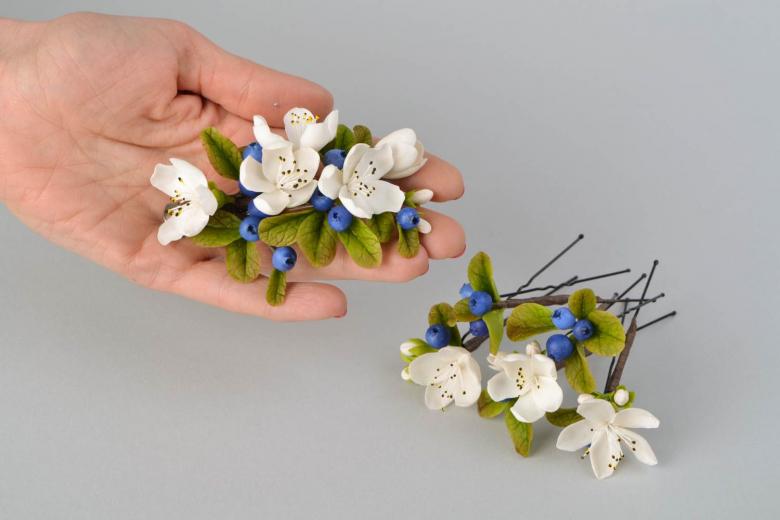
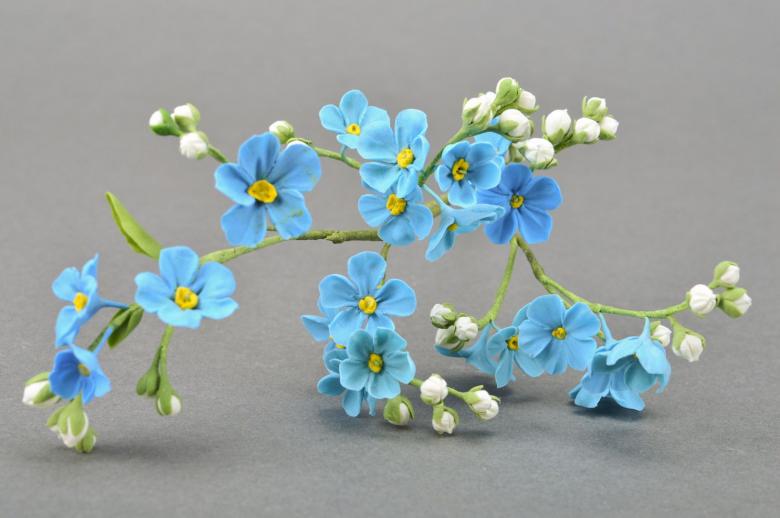
Polymer clay for crafts is very popular. Especially popular is its direction as ceramic floristics. Flowers and bouquets of polymer clay can decorate hairpins or headbands, bloom on a mug, a souvenir plate, a creative photo frame. Such decorations like many people and enjoy a high customer demand.
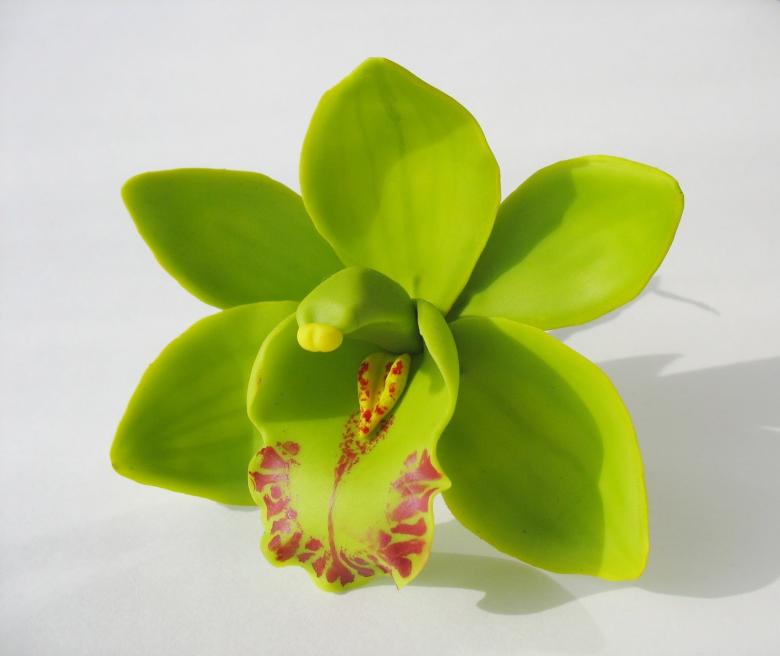
Modeling with polymer clay is very fond of children. You can promote the creative development of your child, if you involve him in the manufacture of crafts, souvenirs.
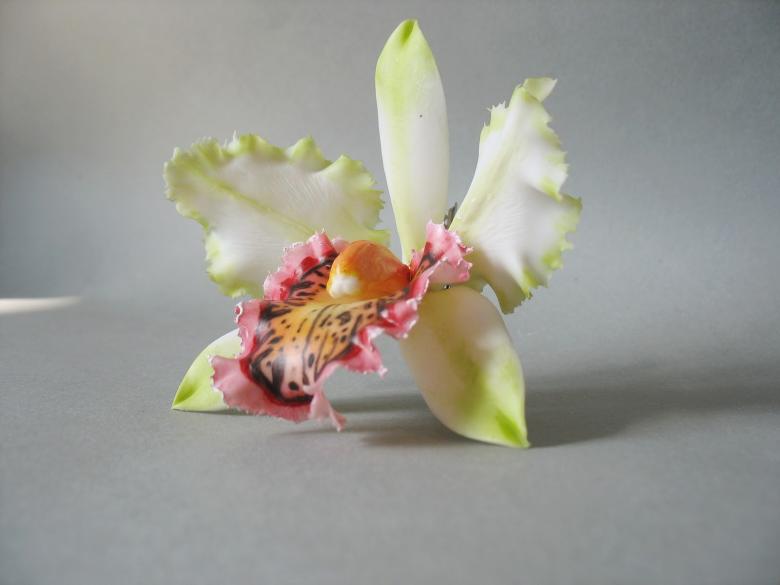
Having mastered the skills of creating beautiful products from polymer clay, you can not only join the world of art, but also to get from their work an additional income!

