Tabletop for the kitchen with their own hands - types, manufacturing features, photo ideas
Kitchen countertop is the element of furniture that is most susceptible to mechanical damage. Accordingly, over time, it loses its appearance much faster than the other elements of the kitchen set.
The way out of this situation is to replace the worktop. Turning to the experts you can get a decent countertop. But it is worth noting that the manufacture and installation will require certain financial costs.
The way out of this situation, can be the self-manufacturing countertop. Such work does not require any special skills. A person confident enough to own different types of tools, and having experience in making crafts, this work is quite feasible.
Types of kitchen countertops
The most common to date materials for making a worktop for the kitchen, are the following materials:
- artificial stone
- wood or laminated chipboard
- porcelain stoneware
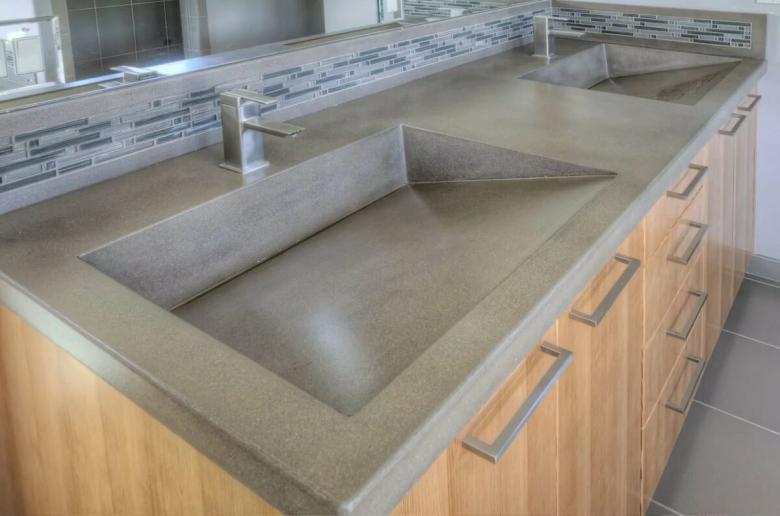
- concrete

Each of the above materials, has its own advantages and disadvantages. If you look at them from the side of practicality and convenience for the work on the tabletop, the most popular can be considered wood and concrete.
Making a worktop of concrete
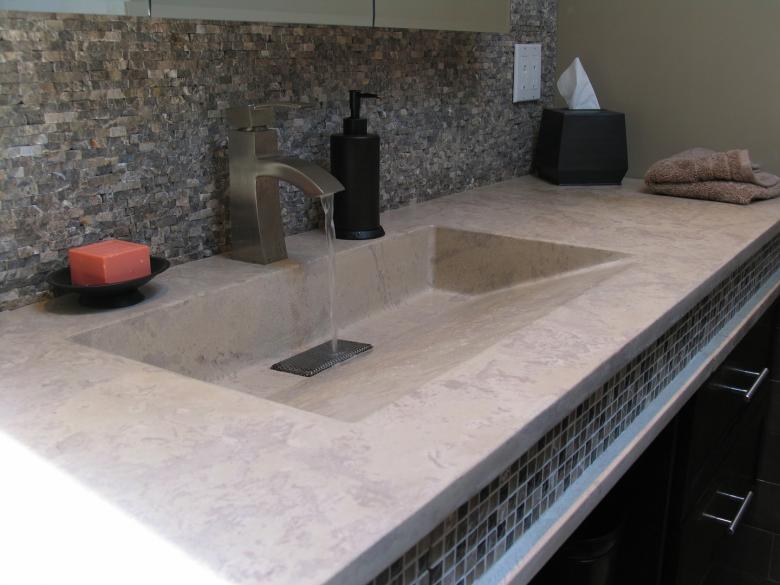
Making a worktop for the kitchen from such a material does not require special skills. At the same time, the product made in this way, will be characterized by a long service life and sufficient strength.
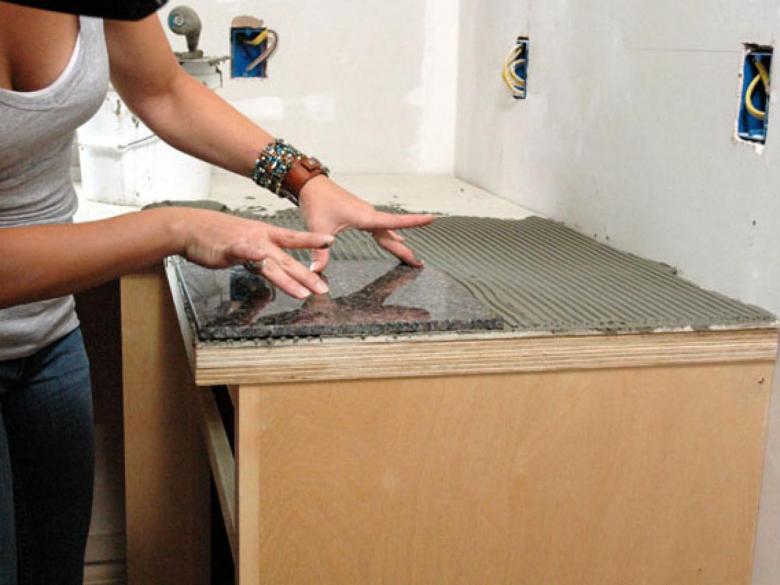
The manufacturing process consists of several stages:
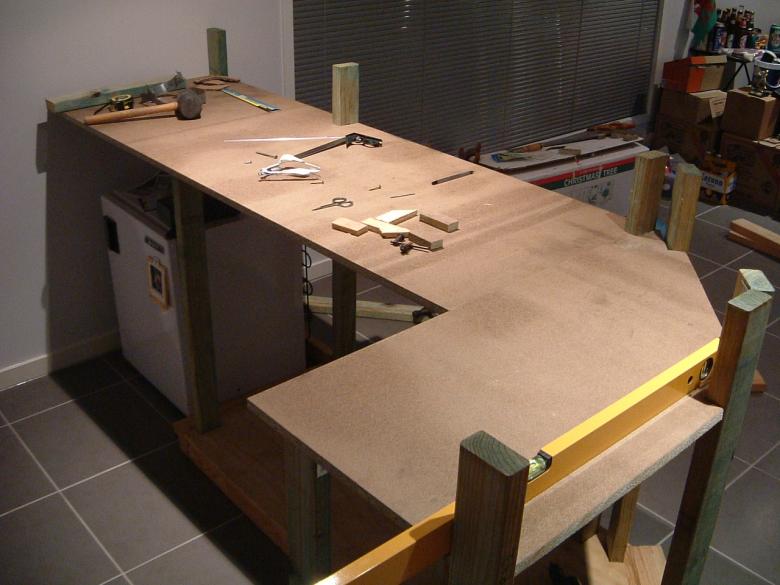
- Assembling the formwork
- Pouring mortar
- Finishing processing
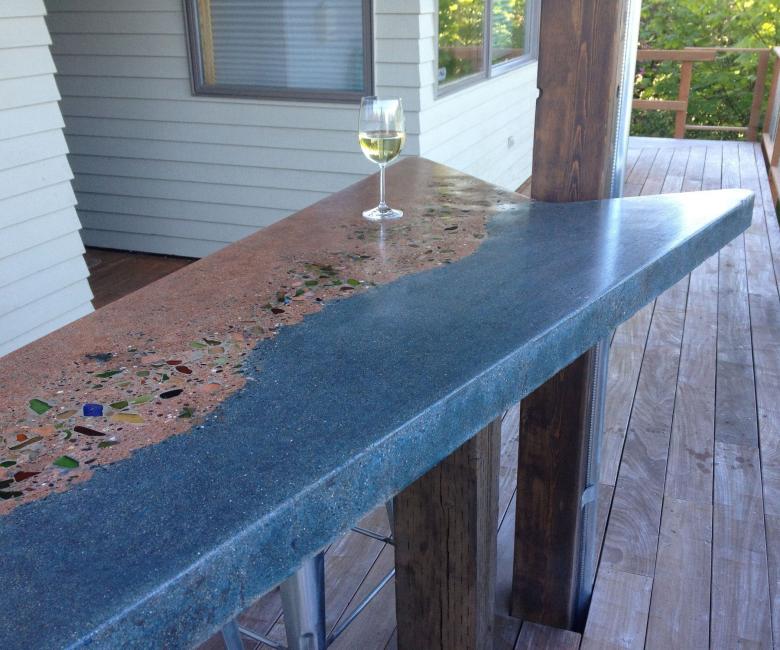
Each stage is quite responsible. A detailed description will help to understand the process of making a concrete countertop and avoid mistakes in the future.
Formwork assembly
Making a kitchen countertop from concrete should begin with the assembly of the formwork. The material for it can be any durable, sheet material. The most successful solution is laminated plywood, it is the most suitable for this purpose.

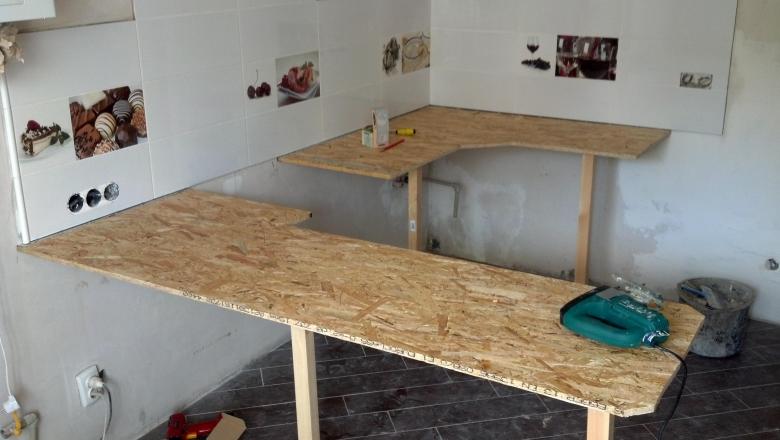
Having preliminarily inspected the surface of plywood, for the presence of deep potholes, you can begin cutting the material. An electric jigsaw is quite suitable for this operation. The installation of the edges of the formwork is done using self-tapping screws or special clamps. The final step in preparing the form, is to seal the joints of the formwork. Silicone sealant can be used for this purpose. It should be emphasized that excessively large gaps between the edges and the plywood sheet, will lead to increased consumption of sealant and additional processing of the finished product.
To obtain a quality product, it is necessary to reinforce (strengthen) the construction.

For this purpose is quite suitable reinforced rod, a diameter of 8 mm, in his absence, in construction stores you can buy a reinforcing mesh with a mesh of 50 mm. Reinforcing structure is placed at a height of 10 mm from the plane of the formwork. The wire must not touch the inner surface of the formwork, this may have a negative impact on the appearance of the resulting product. Concrete slab made in accordance with the technology, will not be inferior in its strength qualities to the artificial stone.
Pouring of mortar
Obtaining concrete mortar, is made by mixing cement, sand and crushed stone of small fractions, in the proportion of 1''2''2. To increase the strength properties of concrete, it is desirable to use a plasticizer.

To obtain a countertop of a certain color at the stage of preparation, dyes are added to the concrete. Previously diluted, according to the instructions, paint is added to the solution in the proportion of 200 g of pigment, per 10 kg of finished composition.
Mixing the ingredients by adding water, and bring it to the consistency of a thick sour cream. The filling of the formwork is made in several stages:
- Filling the form by half.
- Laying of reinforcing mesh.
- Final pouring, flush with the edges of the formwork.
For the complete drying of the future surface of the table it takes seven days.
Finishing processing
Final work is carried out after the table top is completely dry. Using a grinder, the plane is machined with grinding wheels of different grit sizes, downward, until a smooth surface is obtained.
Unlike glazed tiles, concrete has good absorption properties, which during operation, makes it susceptible to stain formation. To avoid this, the finished product is to cover the pores of the concrete with a polymer composition.
Wooden worktop for the kitchen
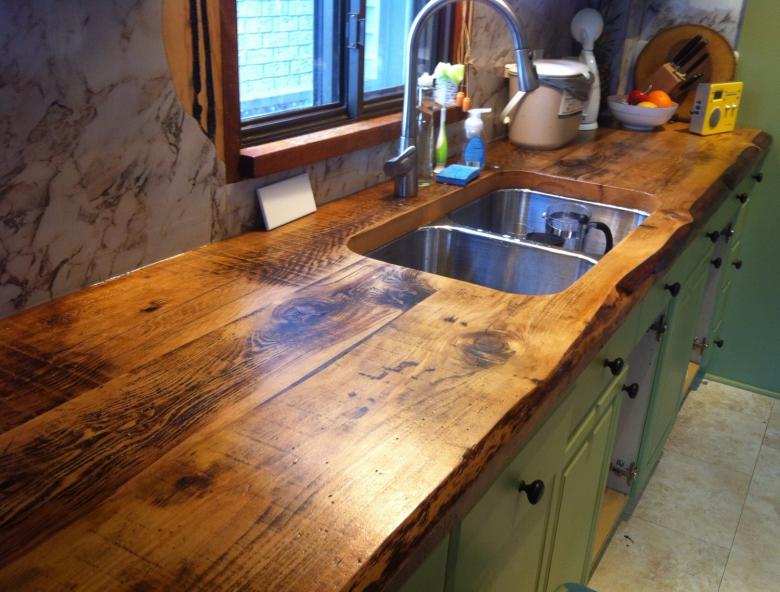
Making a worktop for the kitchen from wood, the process is quite labor-intensive and requires certain skills to work with wood. For such works, as a rule, glued board is used, it is more stable to temperature changes and aggressive environments. Qualitatively made wooden board is not subject to deformation and will last long enough.

Since this element of kitchen furniture, most often exposed to mechanical stress, only hard woods are used as a source material. Pine board without traces of resin on the surface is acceptable, provided additional treatment with special compounds.
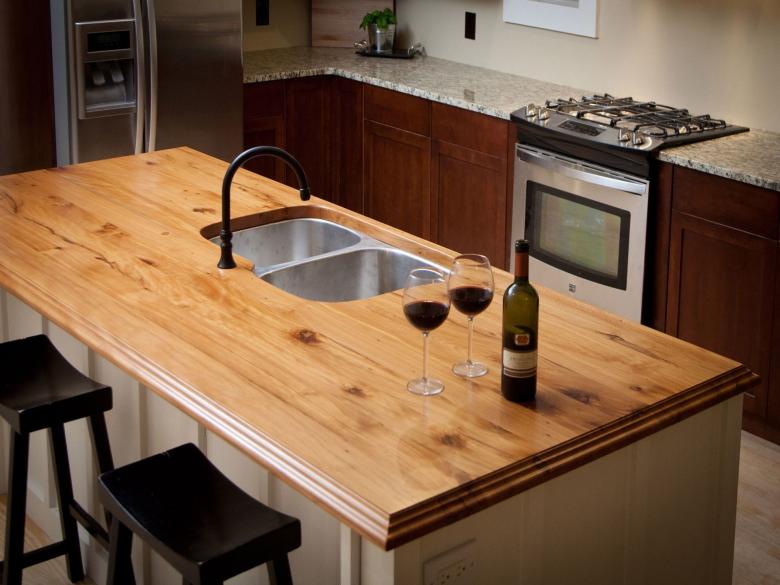
Work with a wooden tabletop is carried out in several stages. The manufacturing process can be divided into:
- Determining the dimensions and measuring the future work surface.
- Making a panel of solid wood.
- Treatment of the surface with protective compositions.
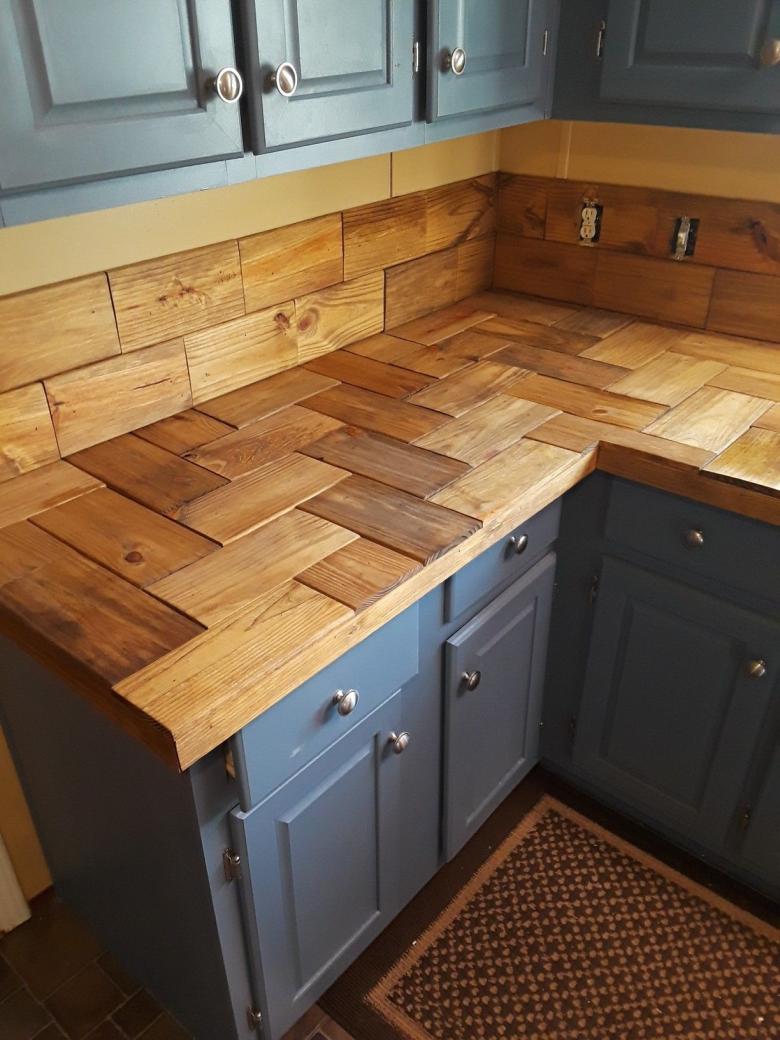
Adhering to the step-by-step instructions, it is quite realistic to make such a product with your own hands, avoiding critical errors.
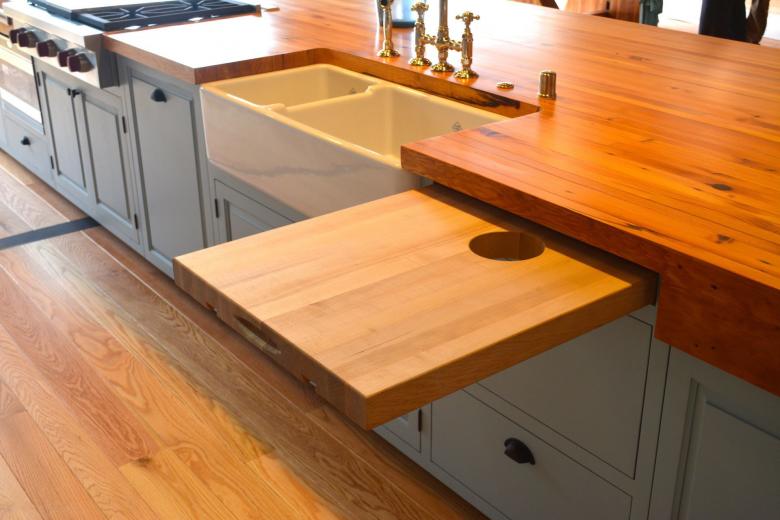
Determining the dimensions and measuring the future countertop
In cases where the working surface for the kitchen is made to replace the one that has fallen into disrepair, the dimensions are simply transferred to the new product. In the case of a deviation from the previous dimensions, the base will require serious rework.
Making a solid wood panel
There are two ways to get a quality product: to buy a ready-made panel in a construction store, or make it yourself. The second option requires certain skills in working with wood.
As the starting material, wood of the first grade is used. It contains the least amount of flaws on its surface. The board used should be of equal thickness, the ends of which should be perfectly flat, in order to avoid gaps in the places of gluing.
To glue the board is used glue for carpentry work, which has a certain degree of resistance to moisture. The obtained glued product is clamped with special clamps until it dries completely.
The final step in obtaining the finished panel is the grinding of the surface. For this purpose, a grinding machine with the use of circles of different grits is used.
Surface treatment with protective compositions
Today, construction stores offer a huge range of protective compositions for wooden surfaces. These include the well-known water-based stains as well as more expensive compositions, for example oils, distinguished by their high environmental properties. The latter do not require any additional tools and are well applied with a regular sponge.

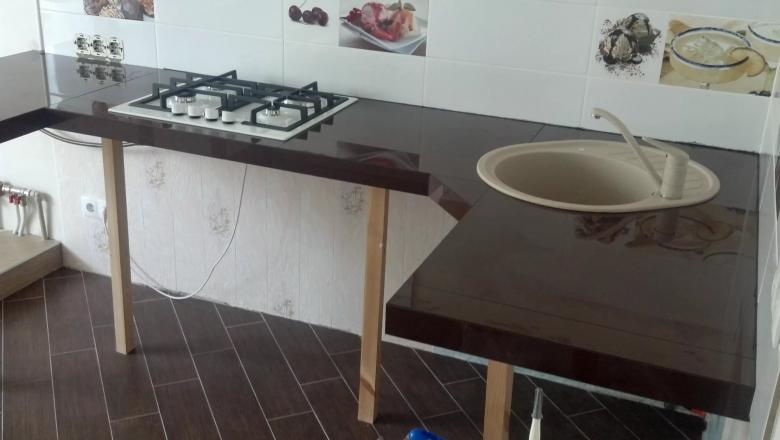
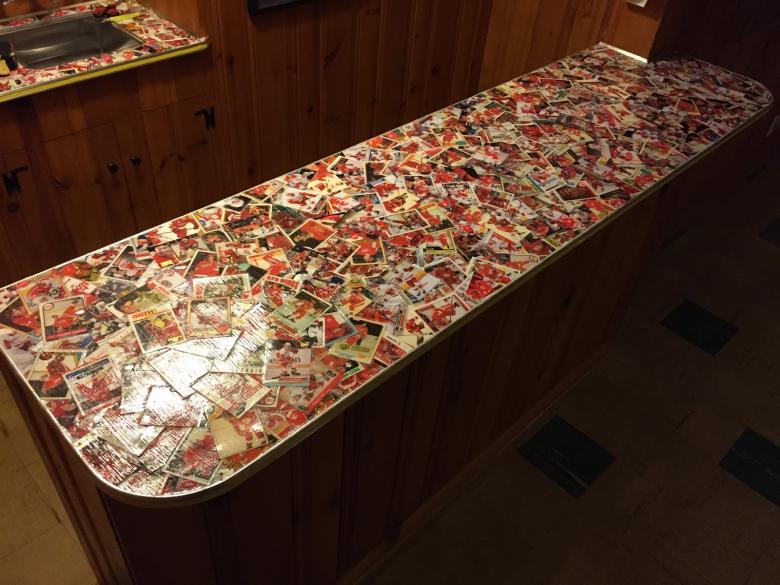
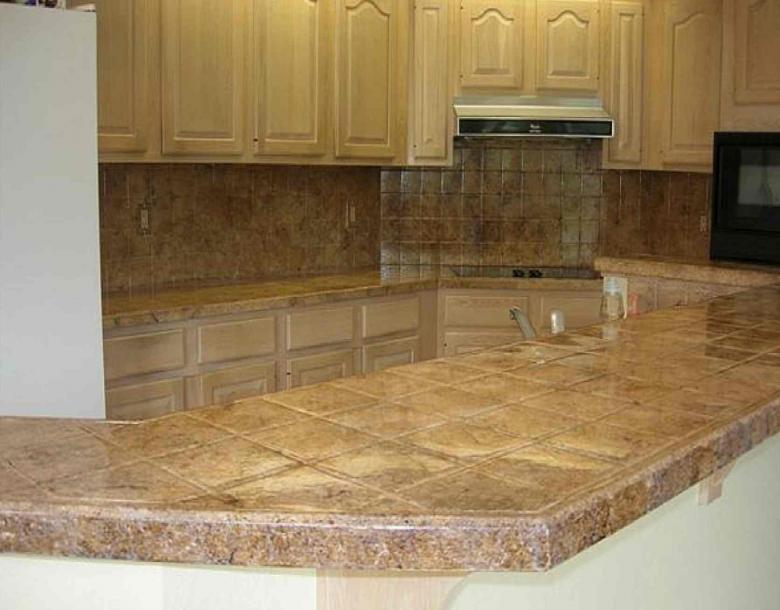
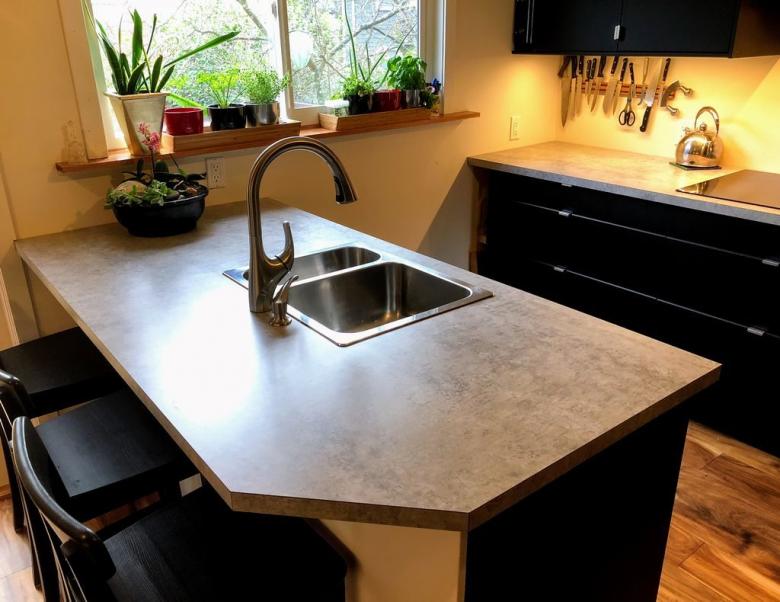
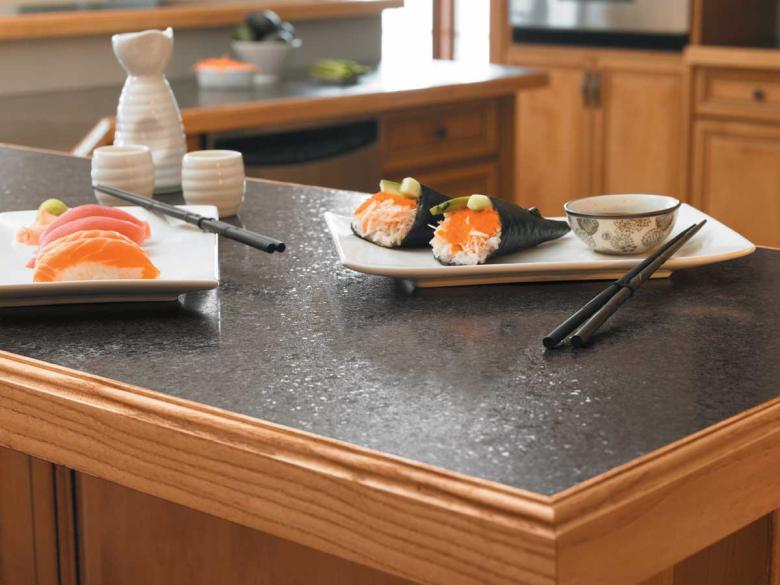
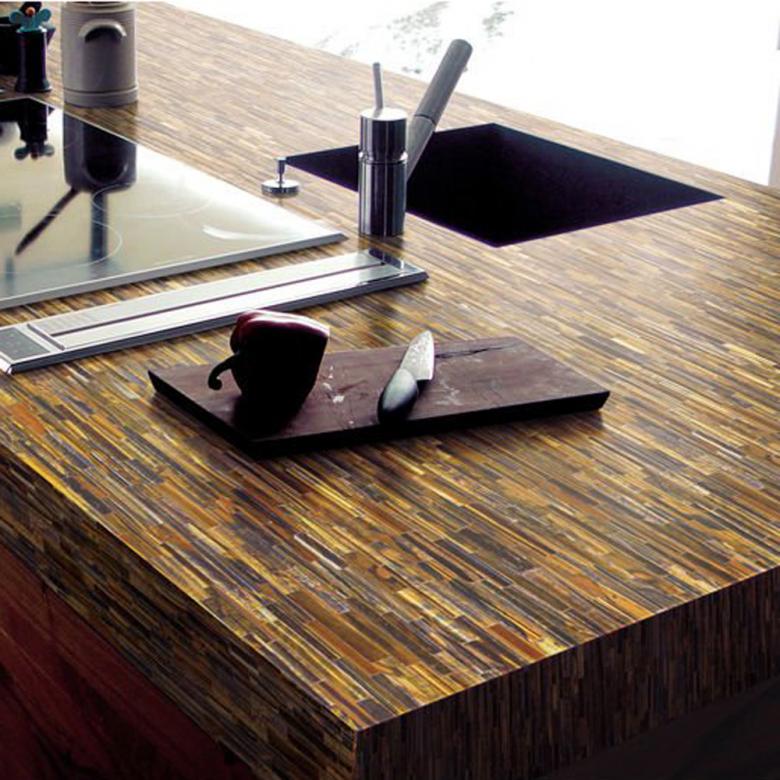
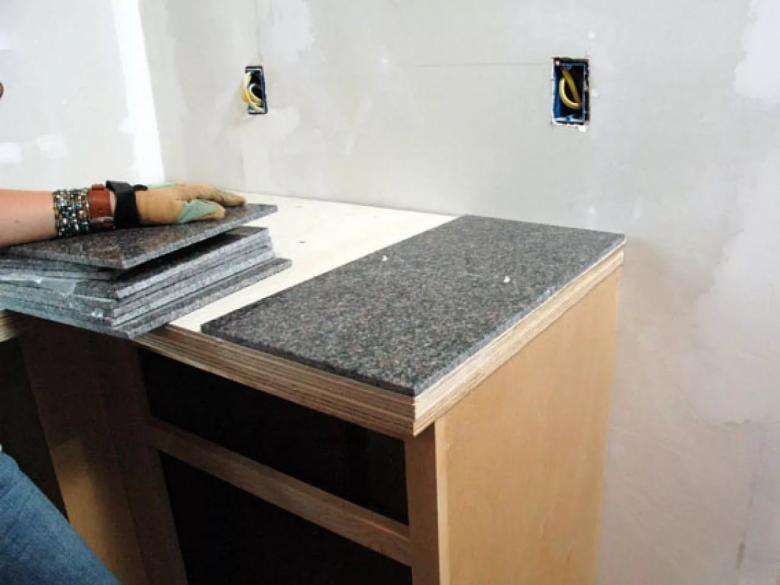
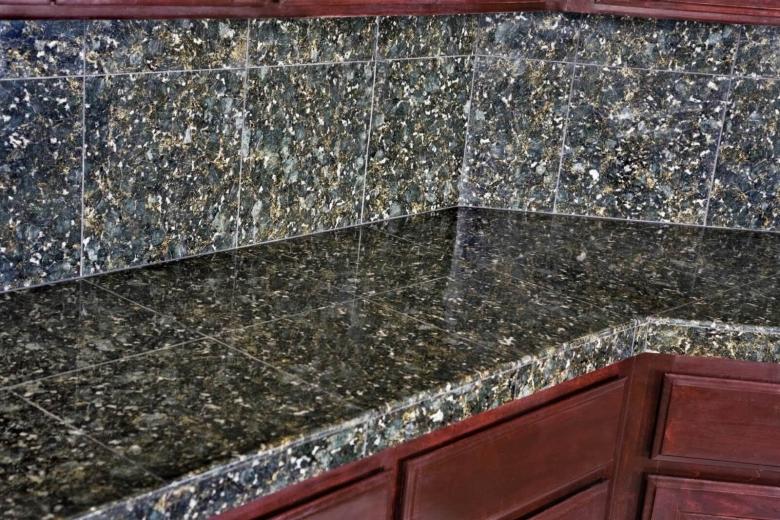
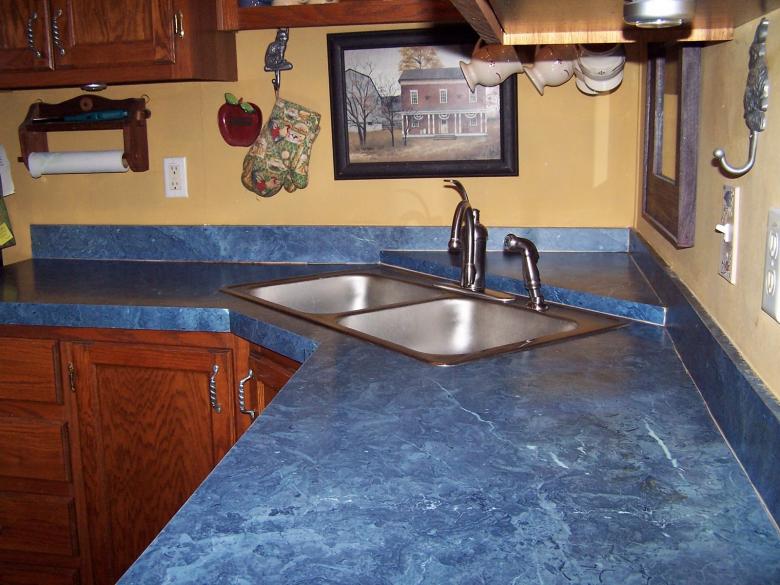
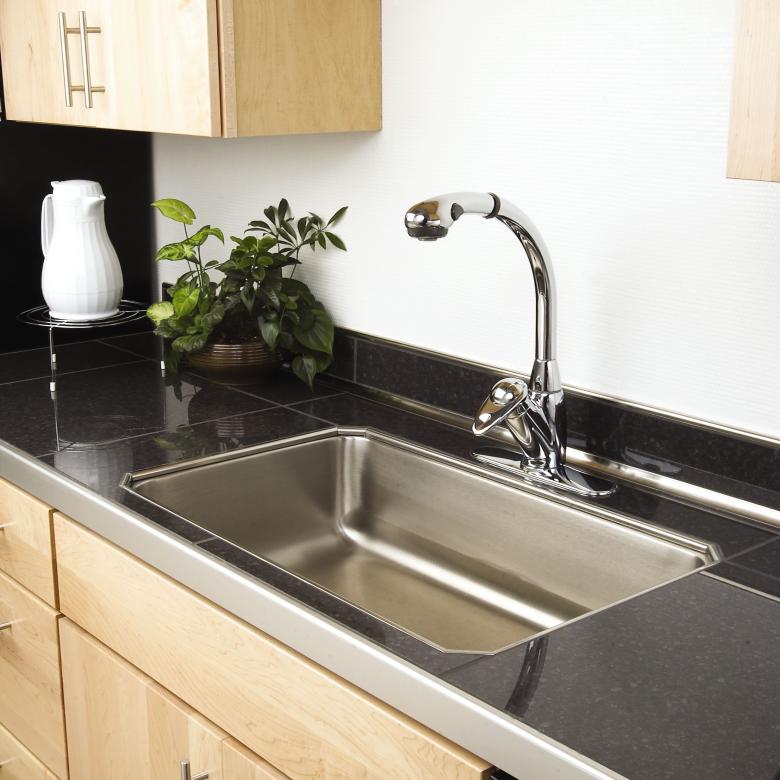
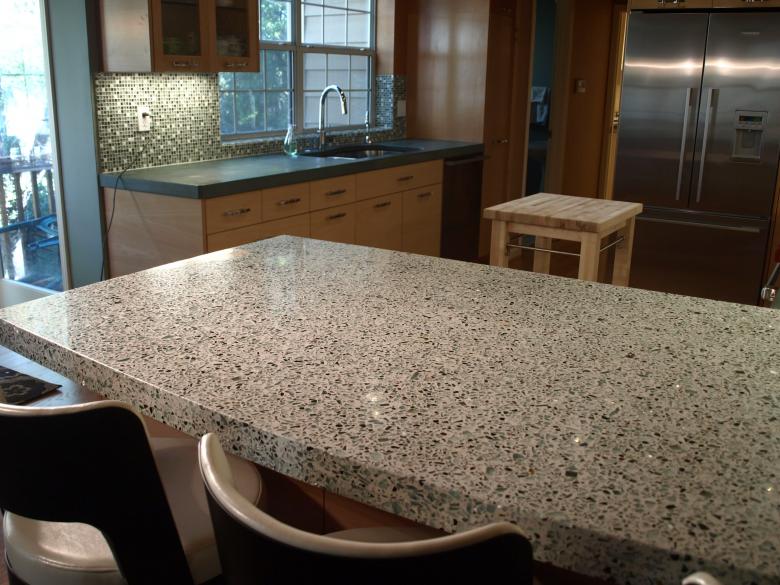
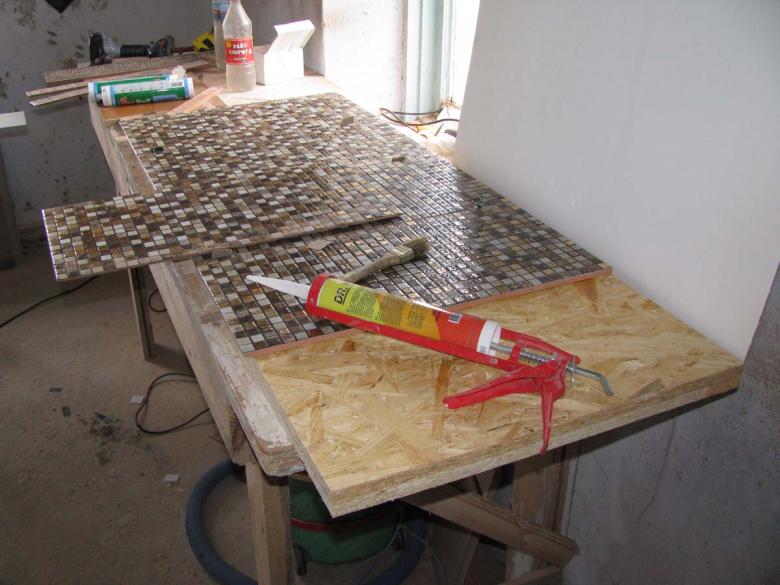
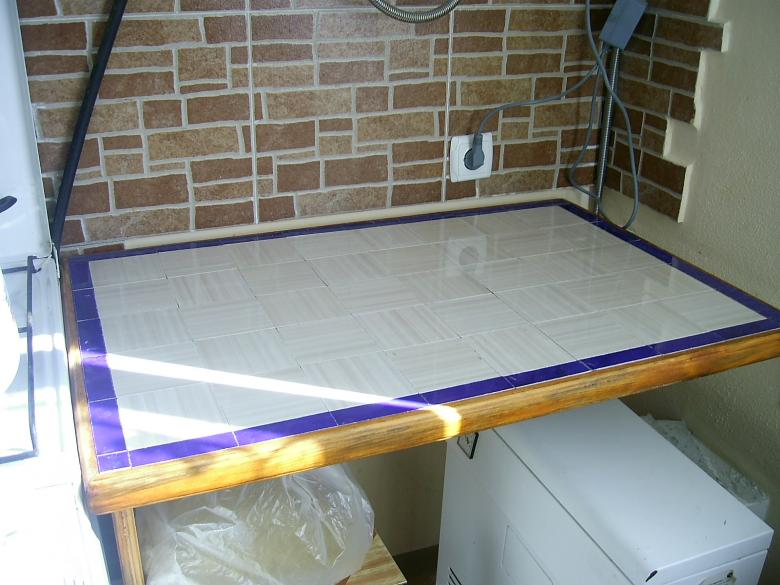
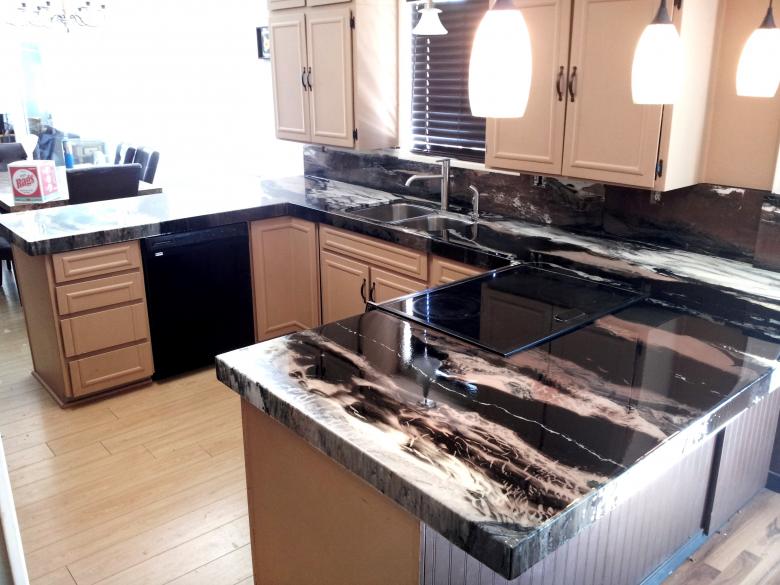
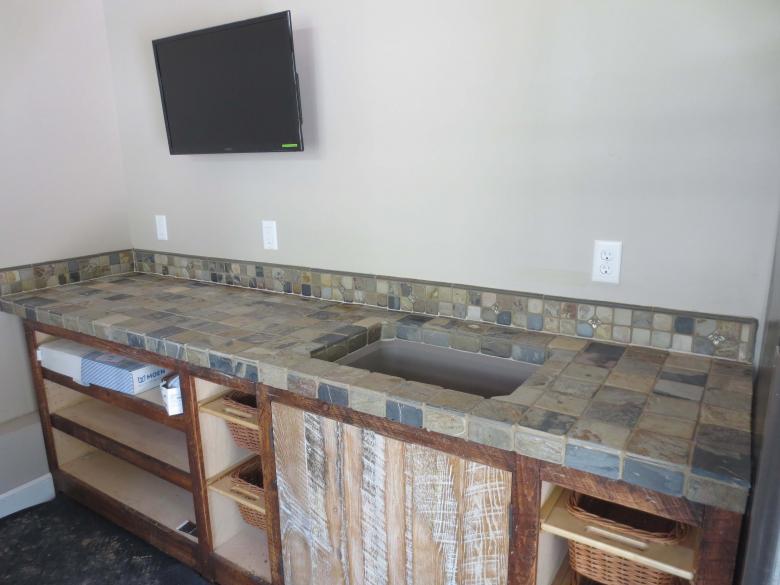
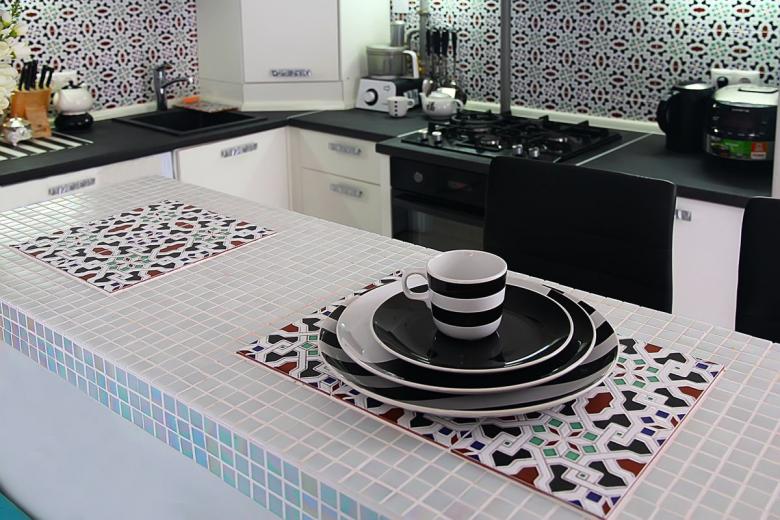
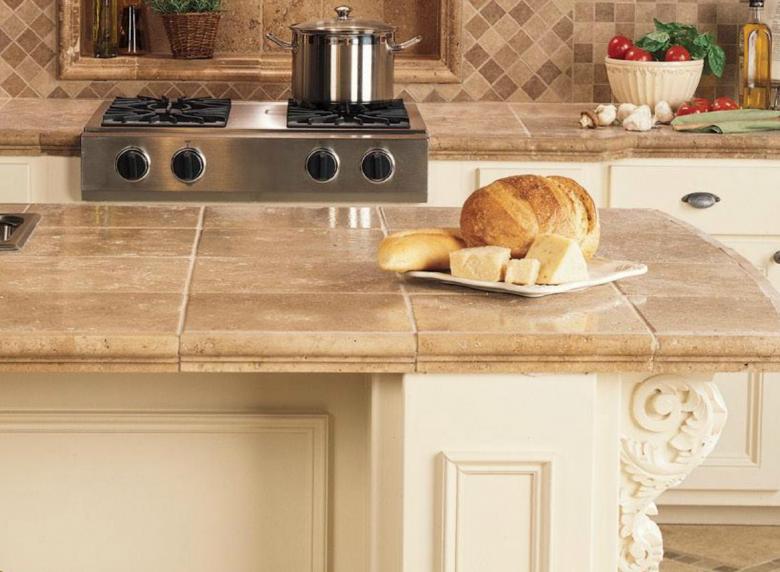
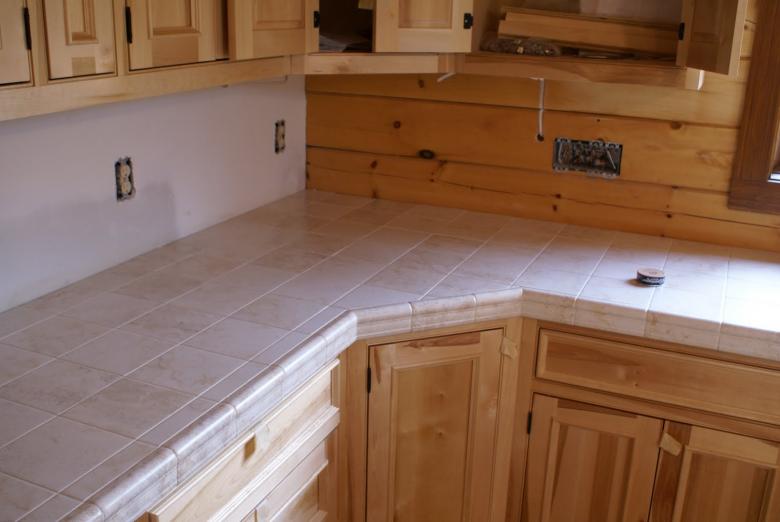
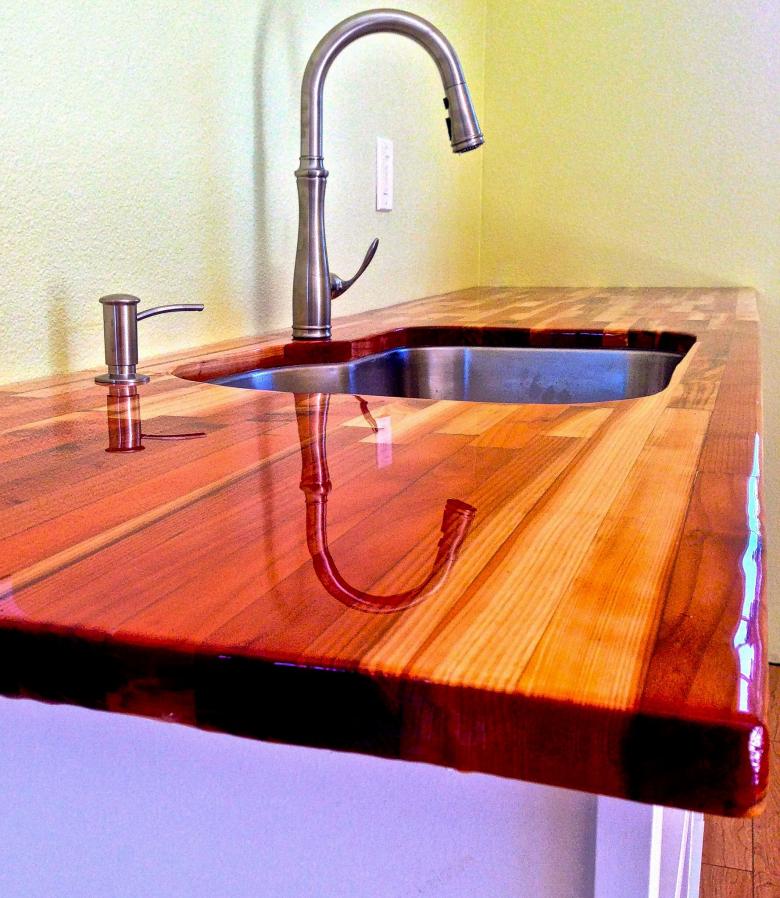
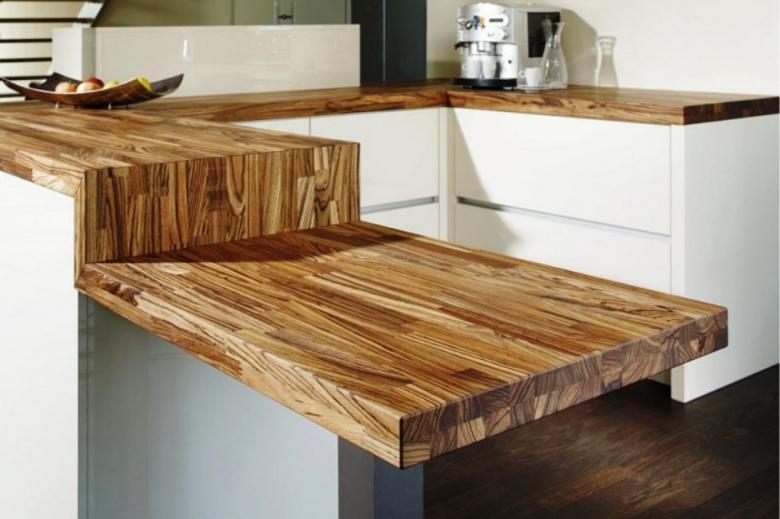
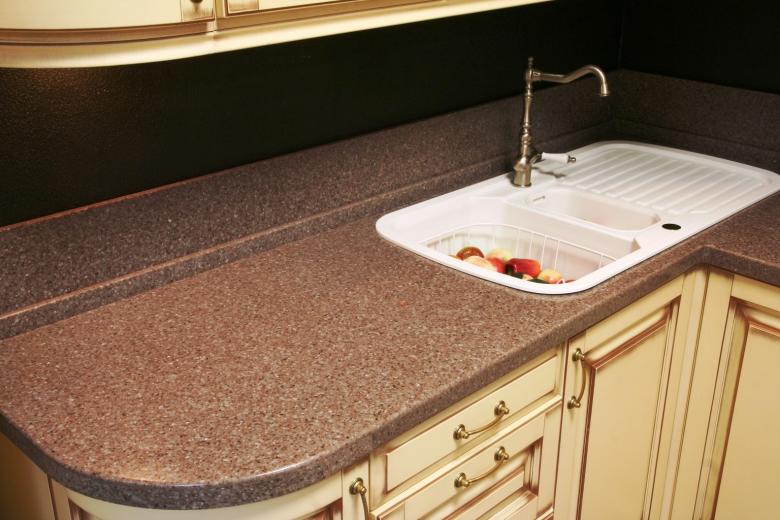
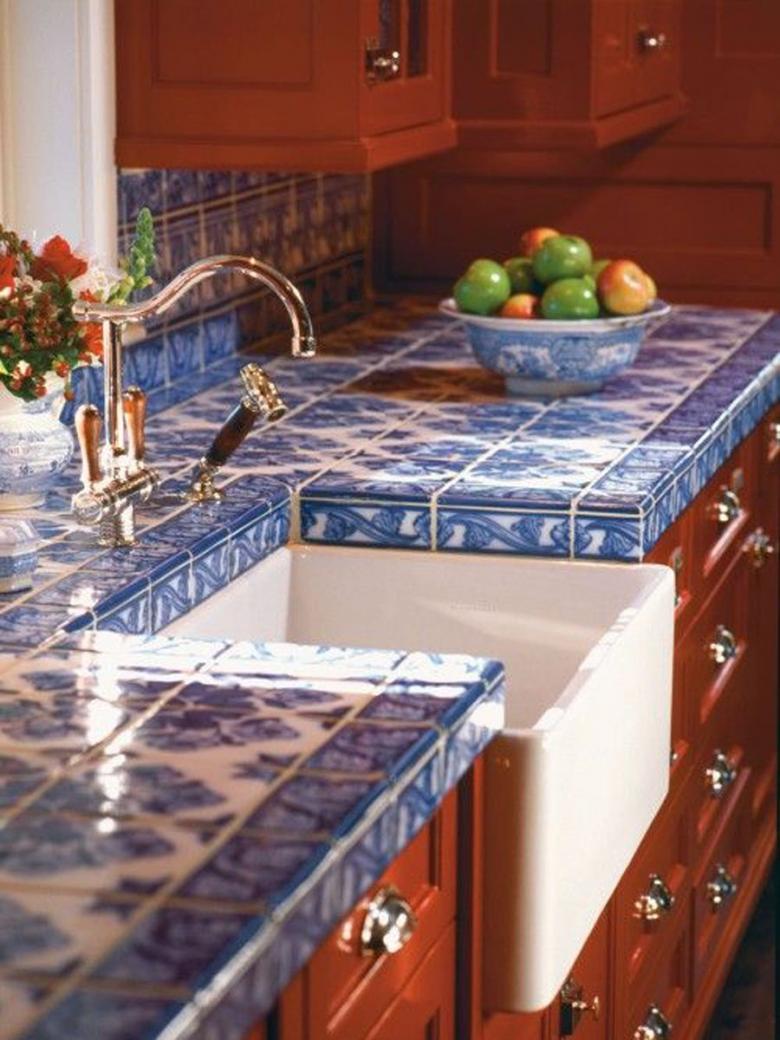
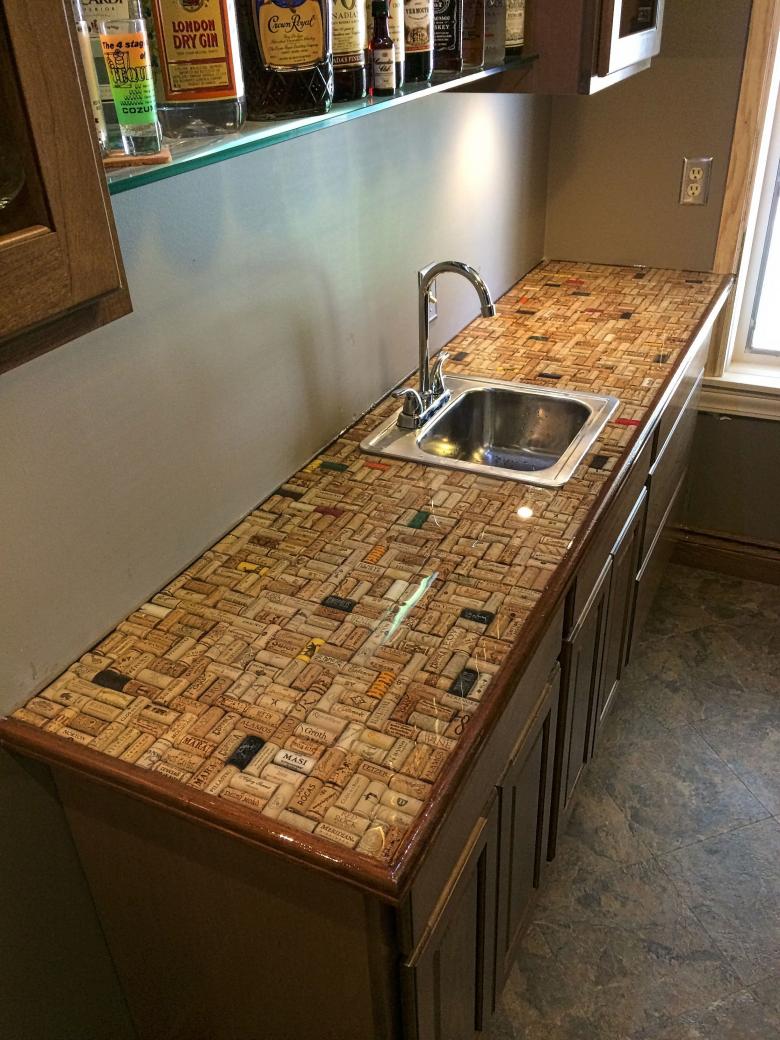
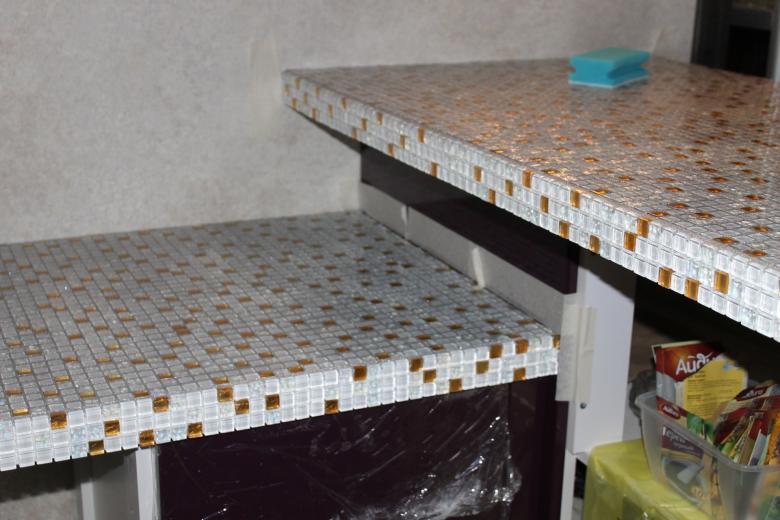
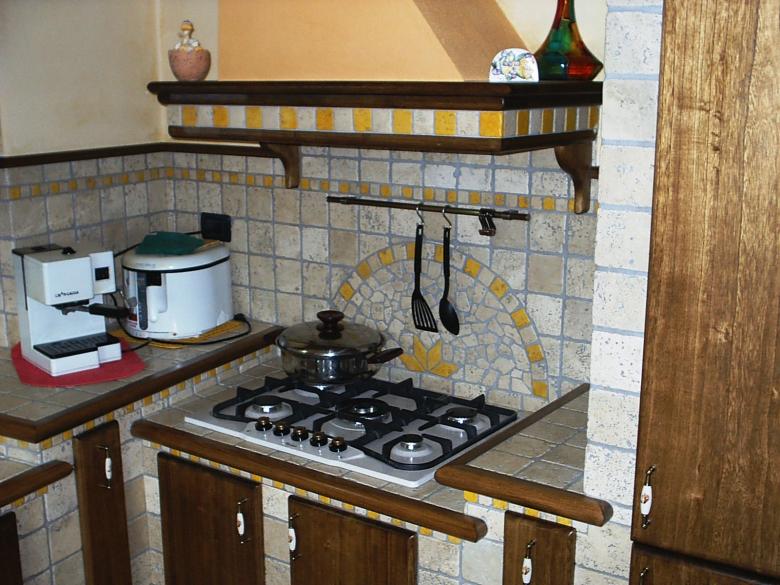
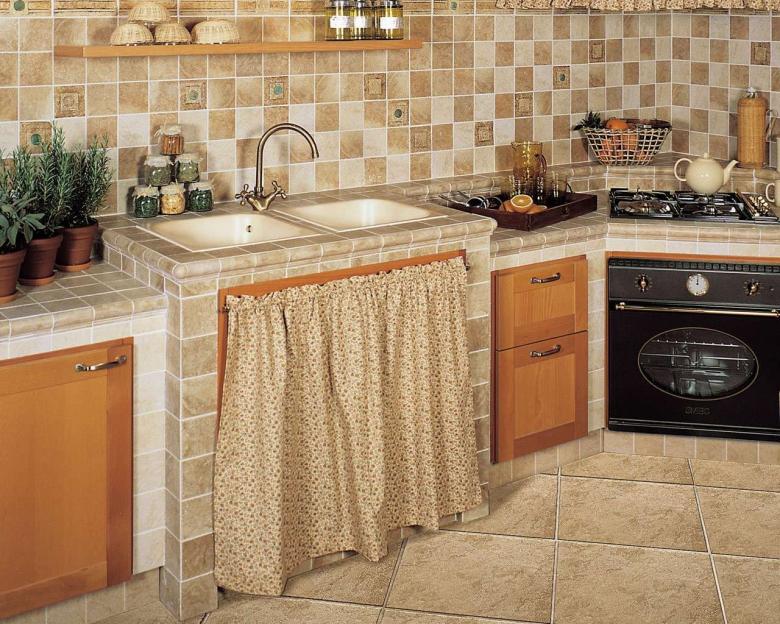
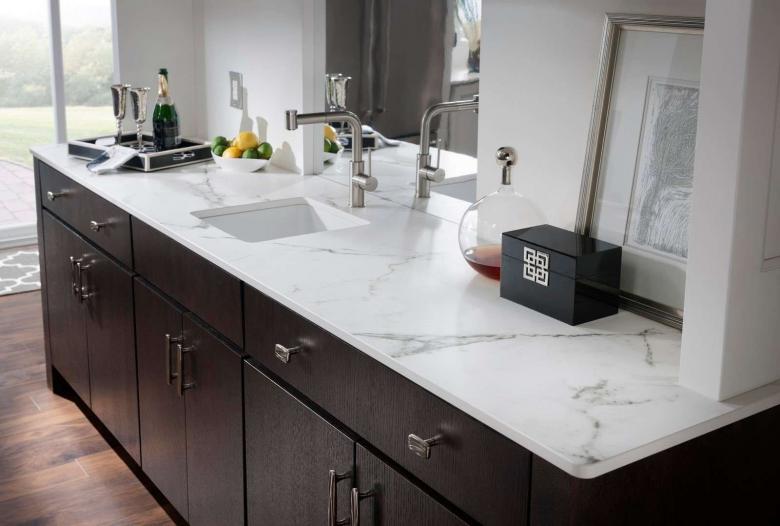
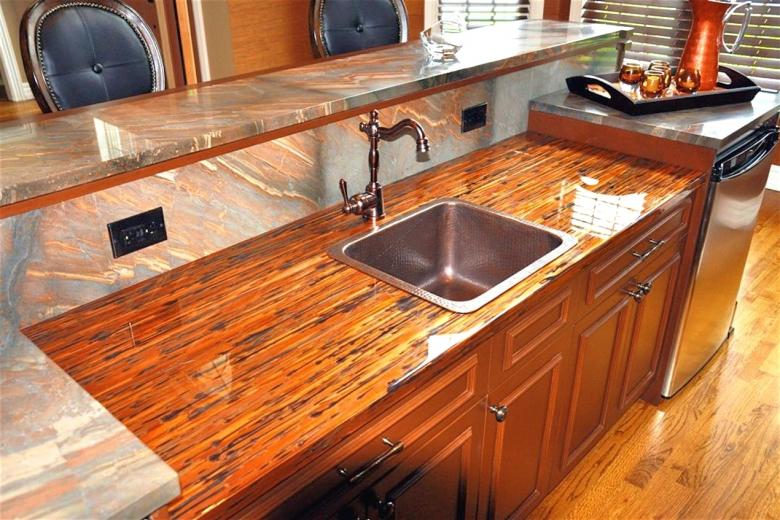
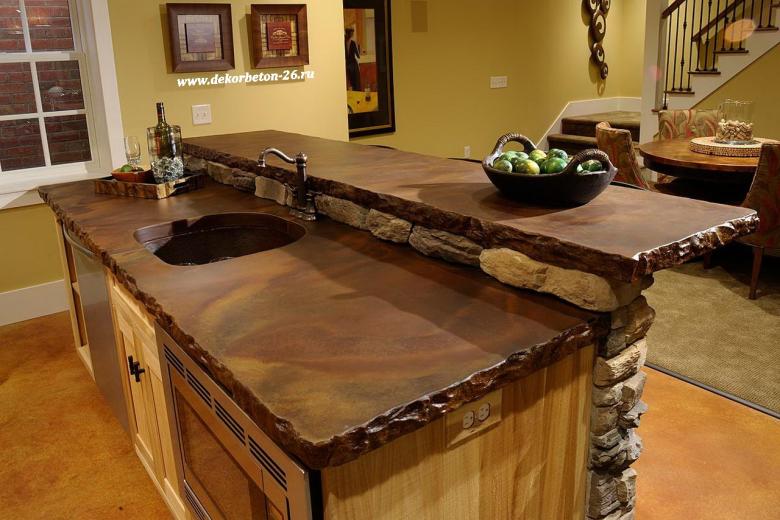
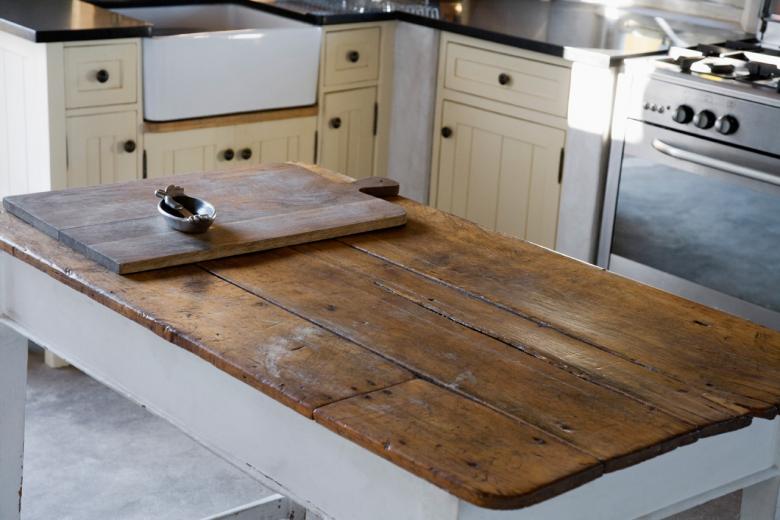
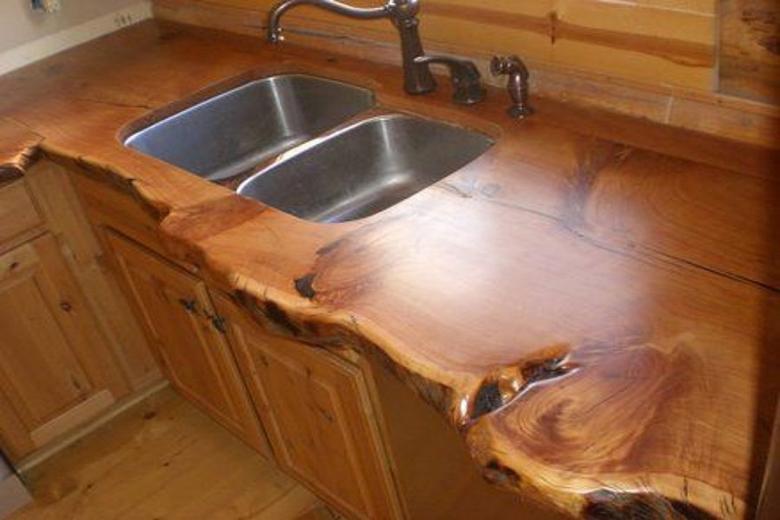
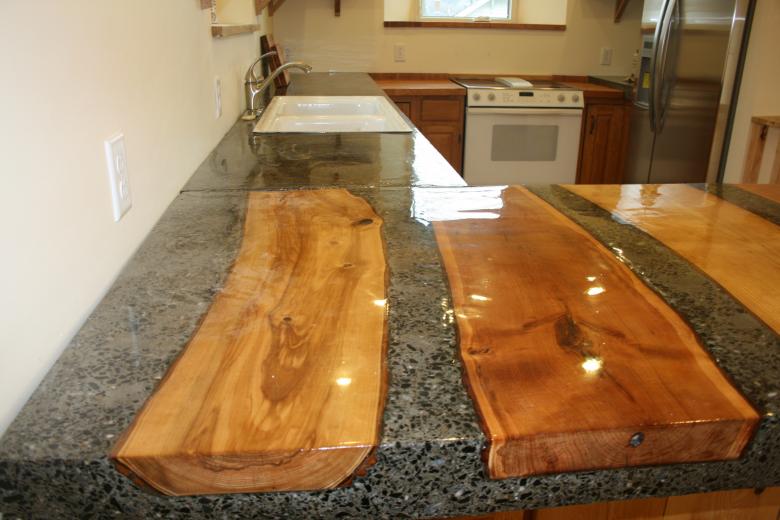
Below we have provided many pictures of countertops made with their own hands. Having set a goal, you can always find the product for themselves in form, color, suitable for a particular interior. With some effort, it is quite realistic to make a quality countertop that will be happy for more than one year.

