Ice cream crafts with their own hands - useful tips, master classes, original photo ideas
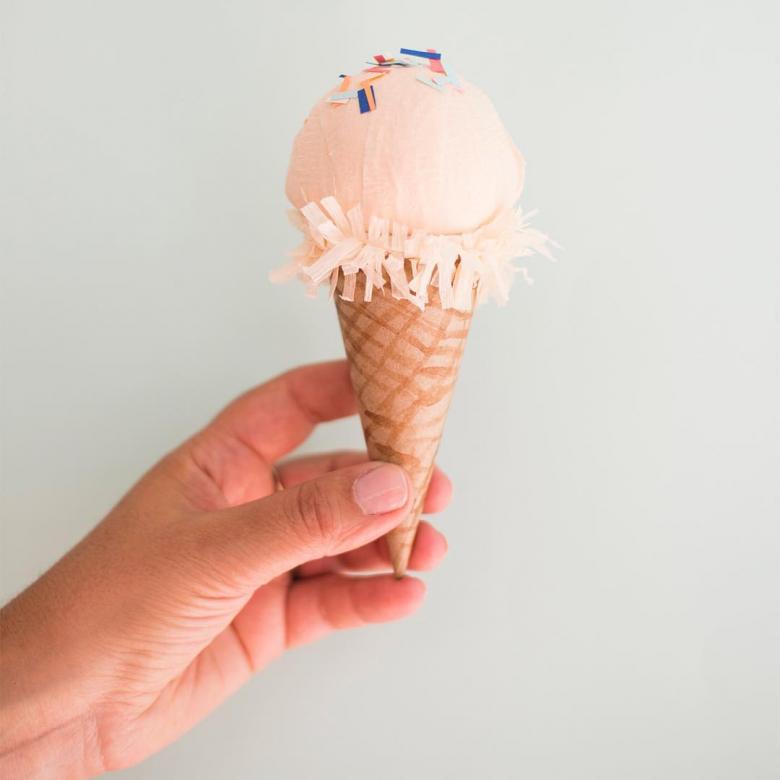
New Year, a children's matinee in the garden or a theatrical production - for the success of such events, high-quality decorations are often required. But it is not necessary to buy expensive models in stores. Today we will learn how to create beautiful art models, namely, ice cream crafts, on their own from improvised materials.
Why do we need to make an ice cream craft?
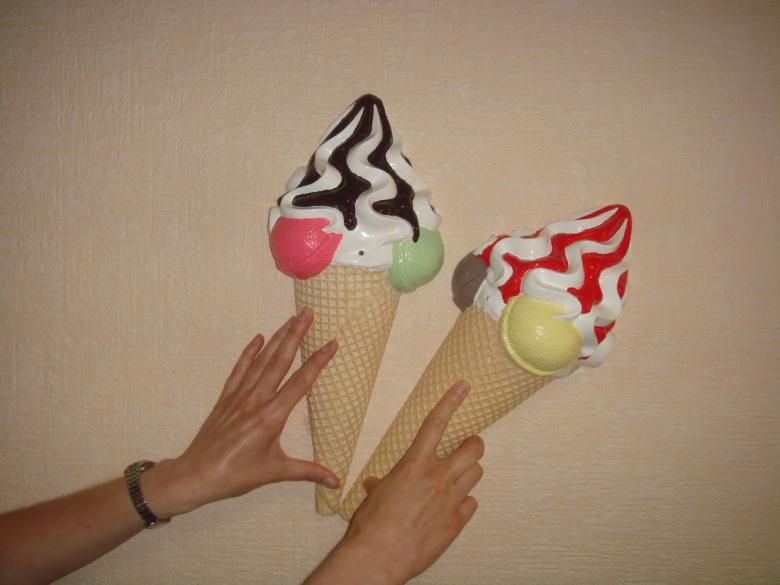
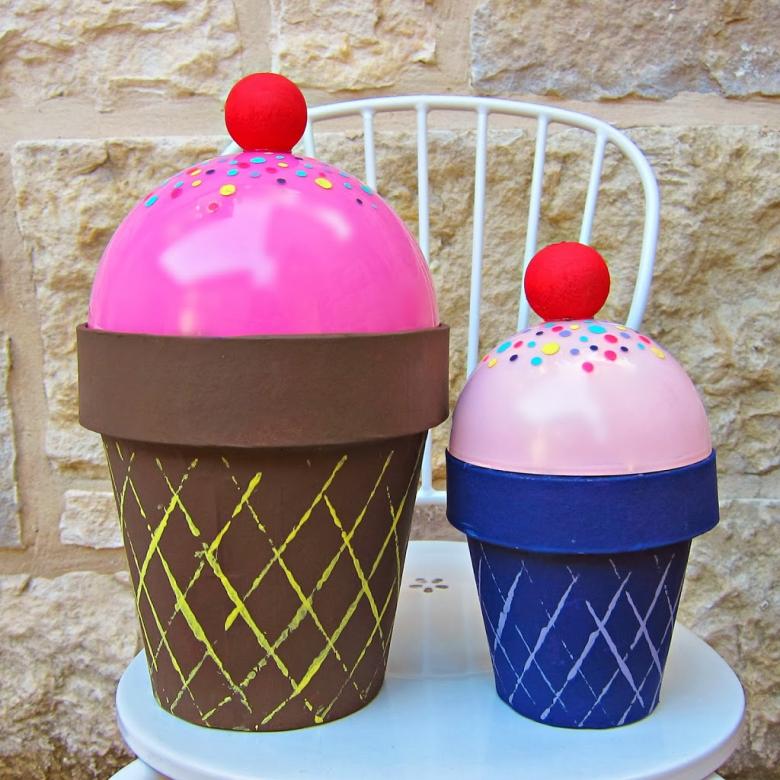
It would seem, really, why? Where can we use such an art product? The answer to these questions is given by psychologists: children often use such items in object-role associations, for example, as a detail of the interior in dolls' houses. Bouquet of elegant ice cream cones will be a great addition to the style of our home.
What materials can be used when creating a craft
The choice of materials is extremely diverse:
- Colored and corrugated paper;
- Cardboard;
- Fabric base;
- Plasticine;
- Paper and glue (papier-mâché model);
- Yarn (crochet is more often used) and filler.
Master classes for novice masters
Today we will get acquainted with various creative approaches to the creation of ice cream models: cones, waffle cups, eskimo. We will consider where and in what situations our products can be used. So, let's begin.
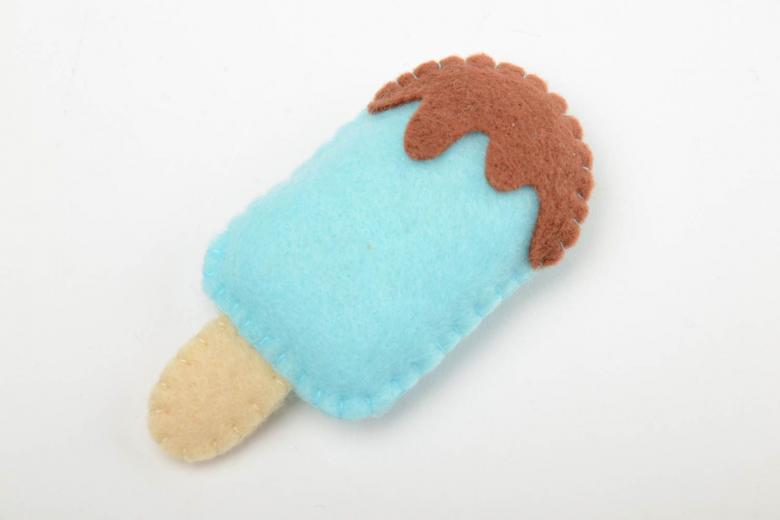
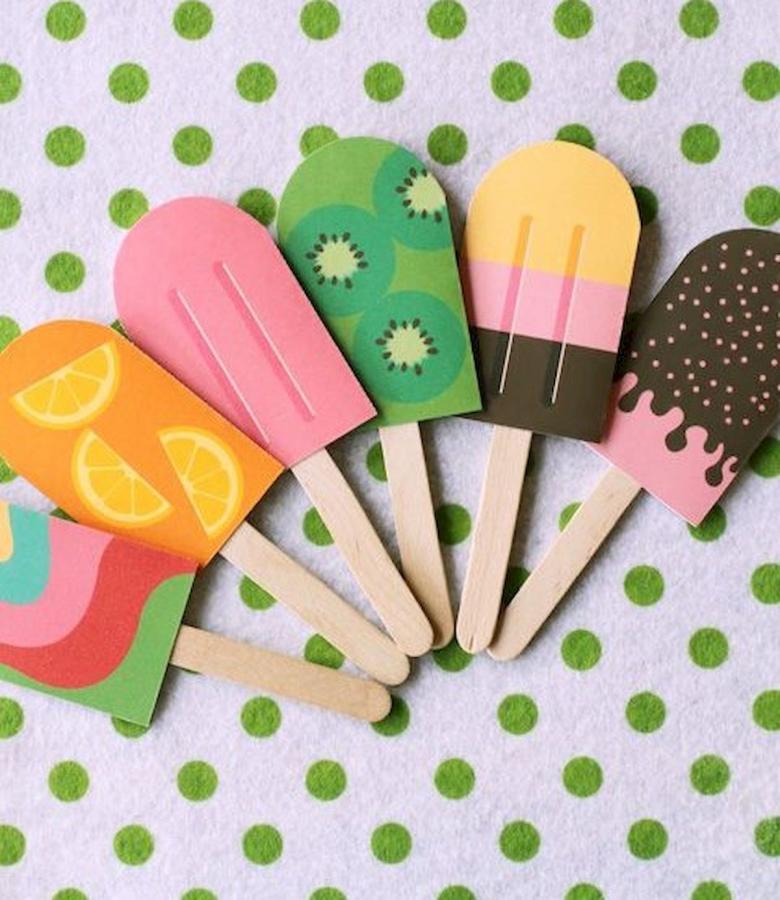
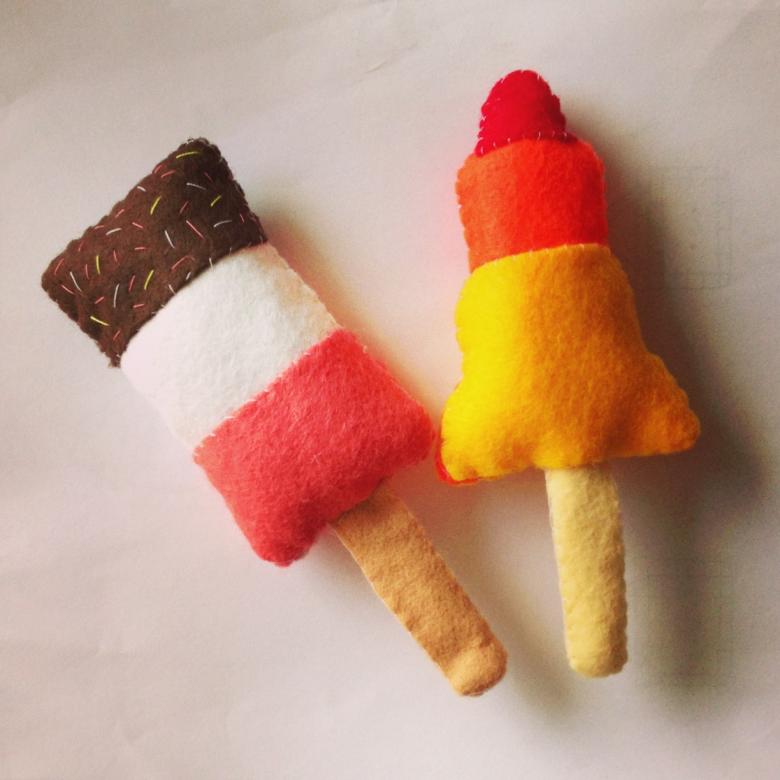
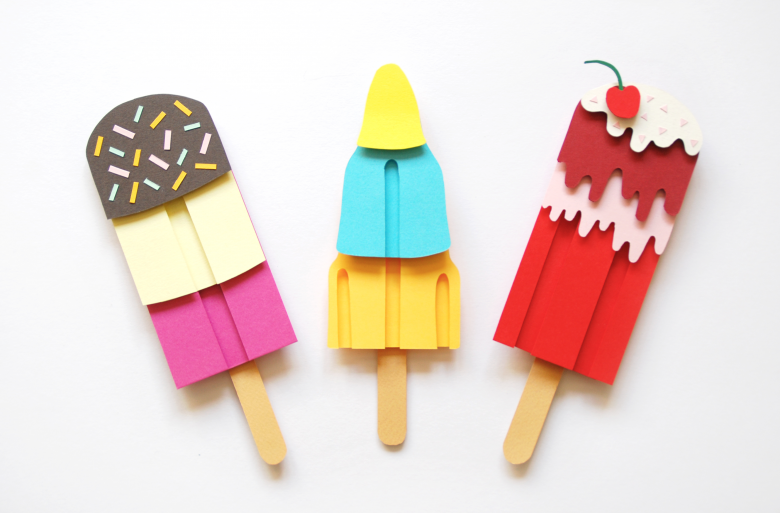
Eskimo popsicle
Making crafts out of plasticine is a good way of extracurricular activities with kids of kindergarten age. Colorful and colorful figures will perfectly complement the portfolio of each child, and the process of molding will bring a lot of positive emotions.
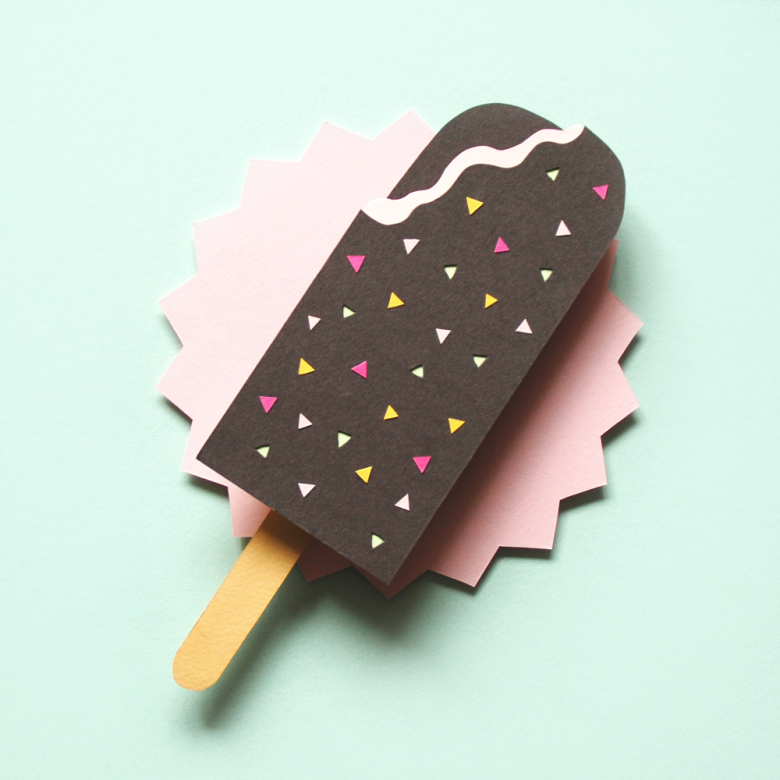
We need to prepare:
- Plasticine of different colors;
- Board for work;
- Ice cream sticks;
- A rolling pin for plasticine with a flat surface.
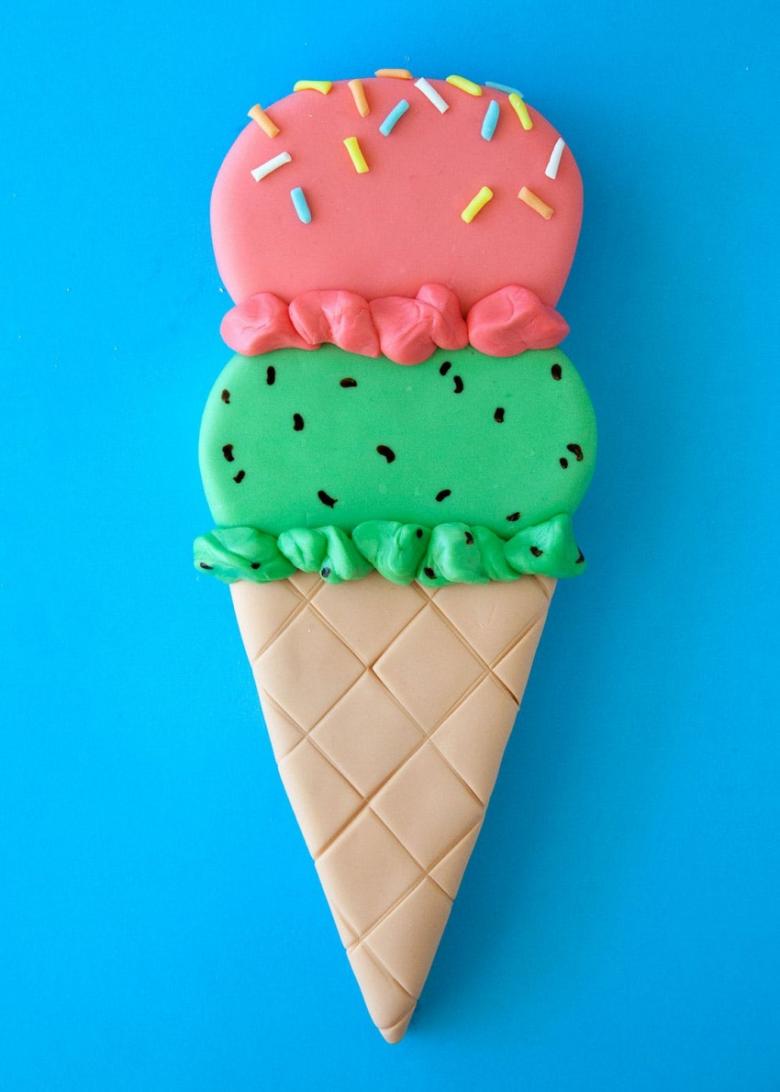
Let's get to work:
- Our popsicle will be multi-layered, so we will have to work with several layers of material.
- Put five balls of plasticine on the work board: two are black, three are green, yellow and pink.
- Roll out all the balls and lay them in the following order: the bottom one is black, then - pink, yellow, green, black again.
- Wrap the edges of the black layers around the sides of our popsicle. On the bottom edge secure the popsicle stick.
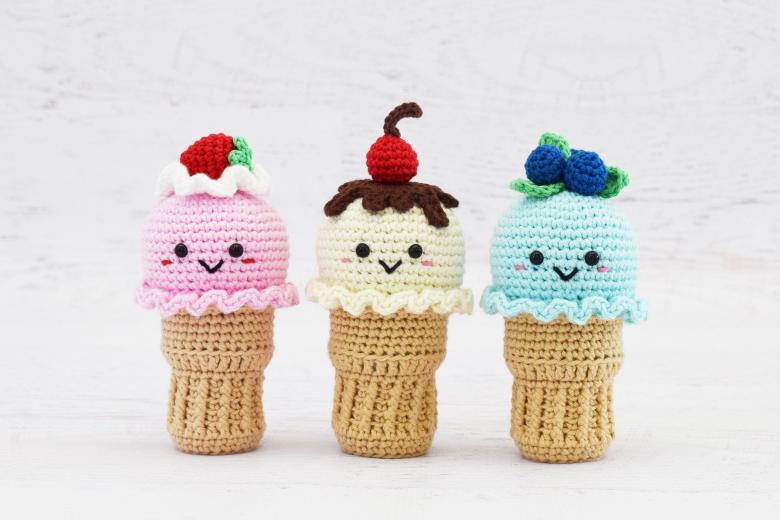
The popsicle is ready! Show your baby all the work and let him try to do all the steps himself. You will see how happy the child will be about the craft and the process of making it.
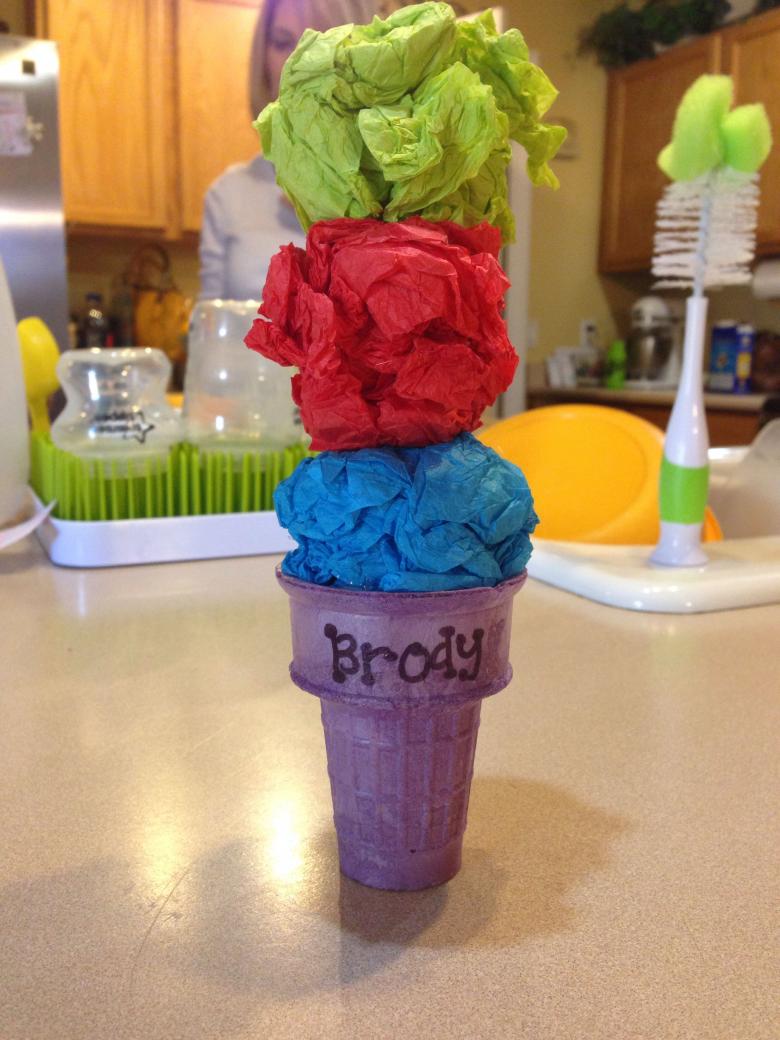
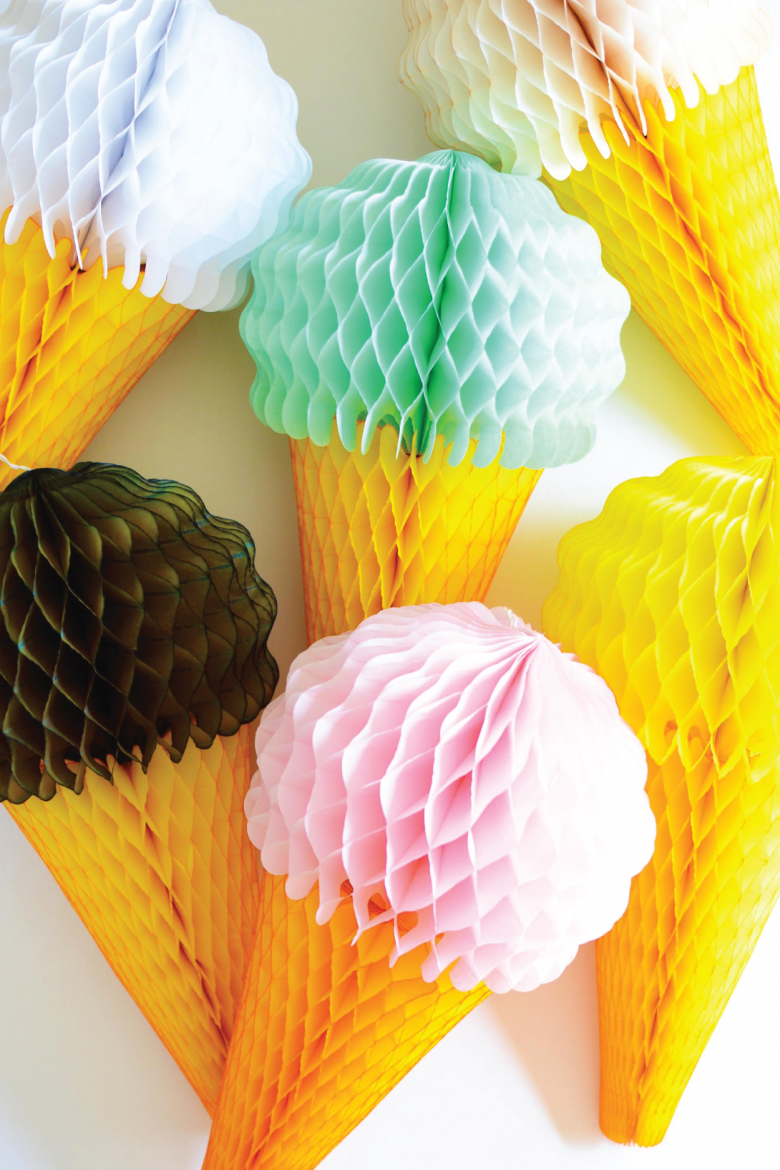
Corrugated paper cone
To work we will need:
- Corrugated paper;
- Colored cardboard;
- Glue, scissors, pencil;
- Accessories for decoration (rhinestones, beads).
Step by step instructions for the masters:
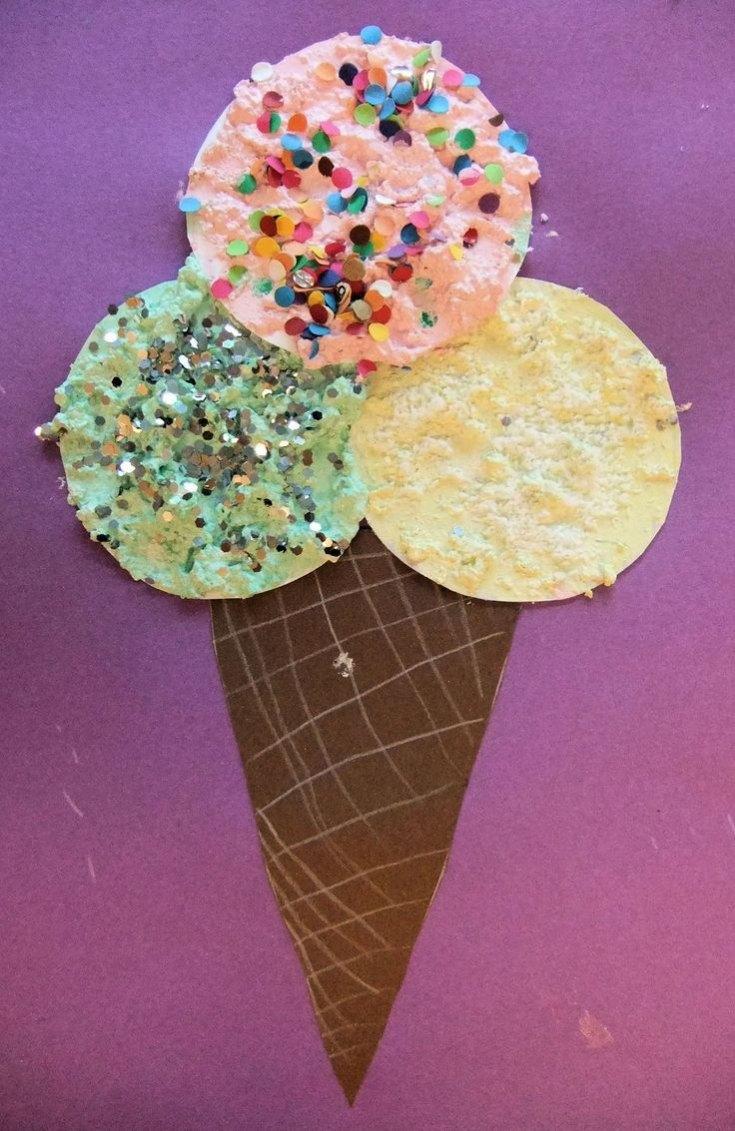
- On a sheet of cardboard, draw the base in the form of a large enough triangle. Cut out the figure.
- Roll the triangle into a cone and glue it at the seam.
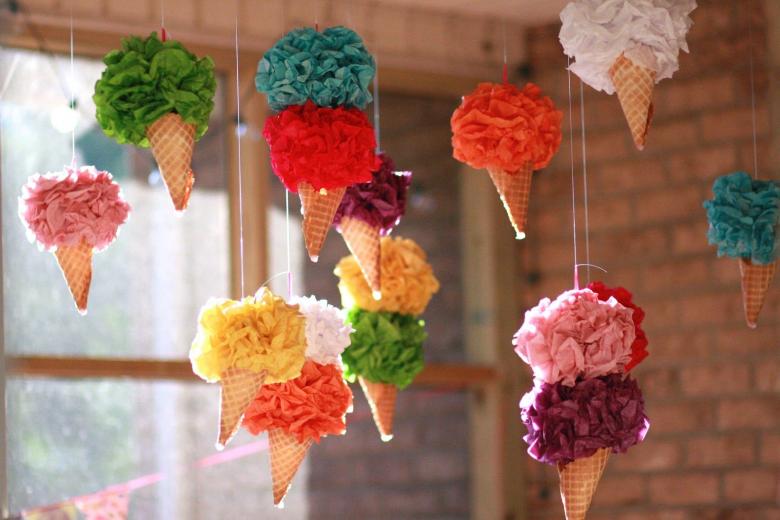
- We make balls of corrugated paper ice cream: prepare 5-6 squares of size 25 * 25 cm, squeeze them. Due to the properties of corrugated paper, the balls look like natural portions of ice cream.
- Stack the balls in a cone, dabbing them with glue.

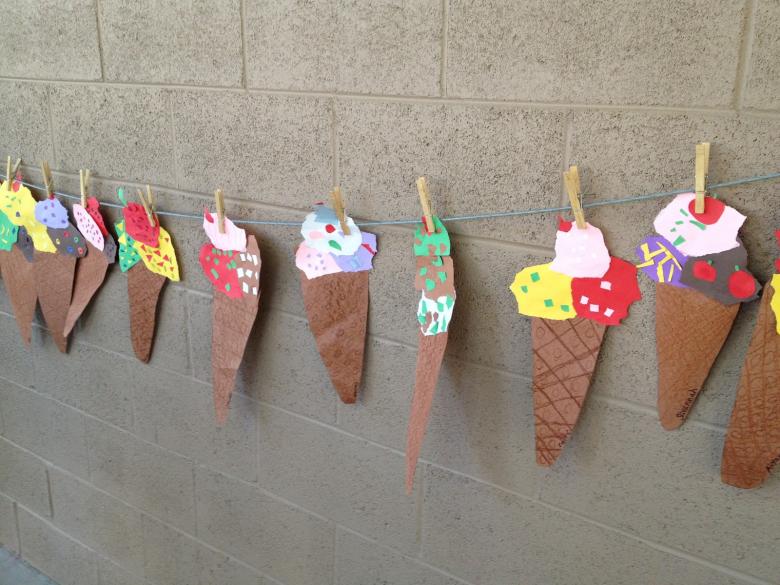
Decorate the finished cone you can use cut fruit (strawberries, raspberries, cherries) and beads.
Such crafts will be a great addition to the applications at exhibitions of independent work for schoolchildren.
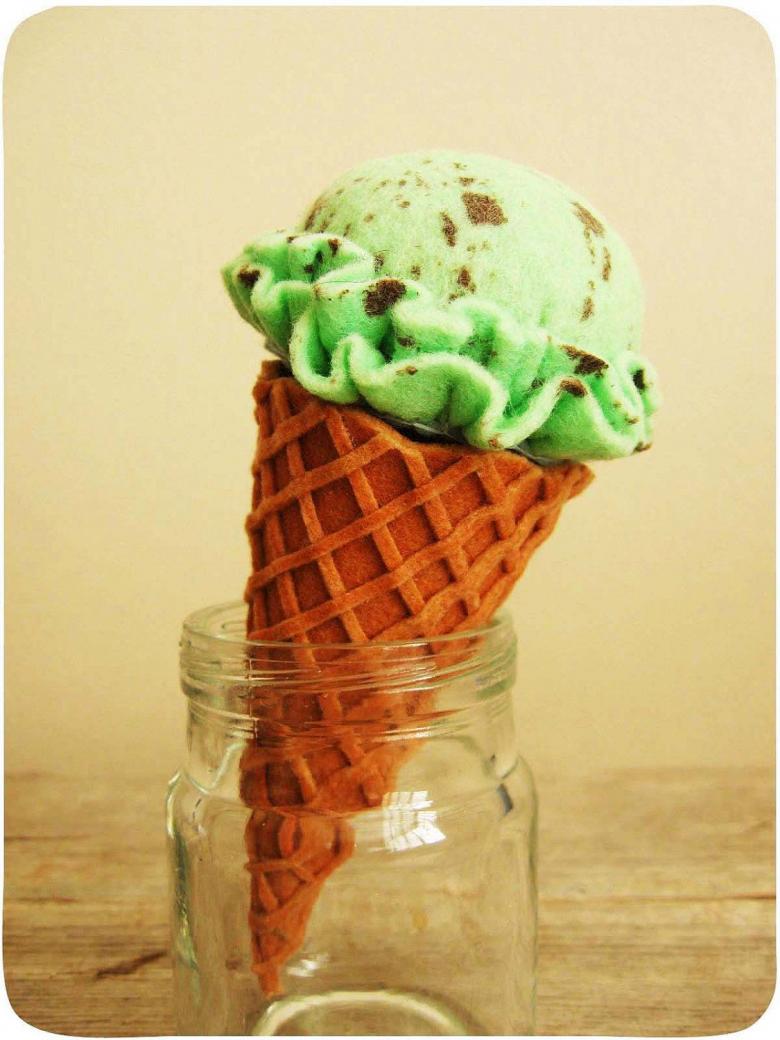
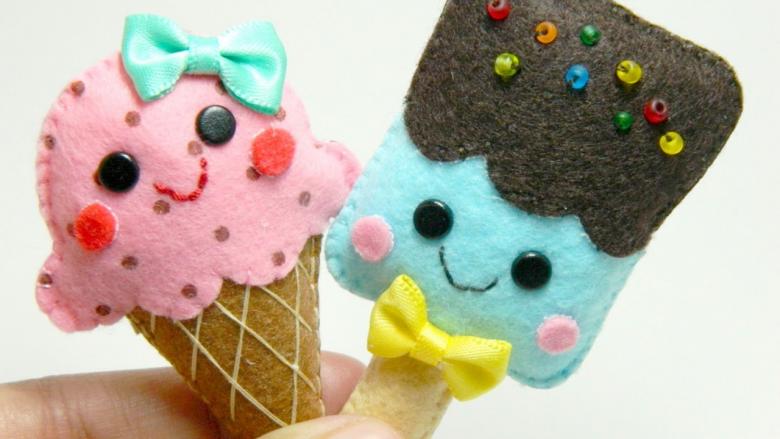
A volumetric ice cream cone made of fabric
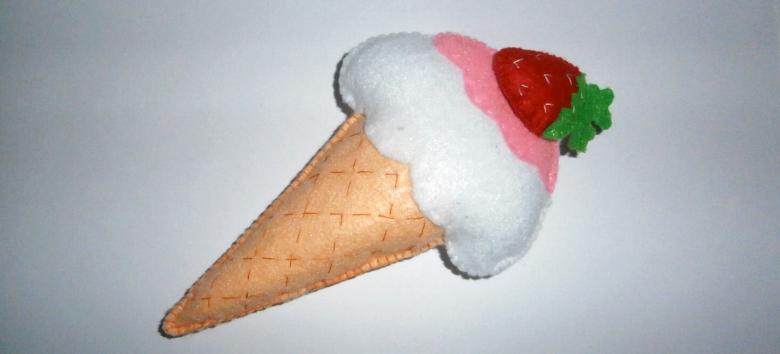
Neat crafts in the form of waffle cones will be a good option for girls who want to present their independent work in needlework classes. And stylish stitches on the outline will add originality to our product.

To work we will need the following set of materials:
- Pieces of fabric;
- Filling for the horn;
- Cardboard for making a pattern;
- Scissors, needles and thread;
- A pencil;
- Decor elements.
Let's review the step-by-step instructions:
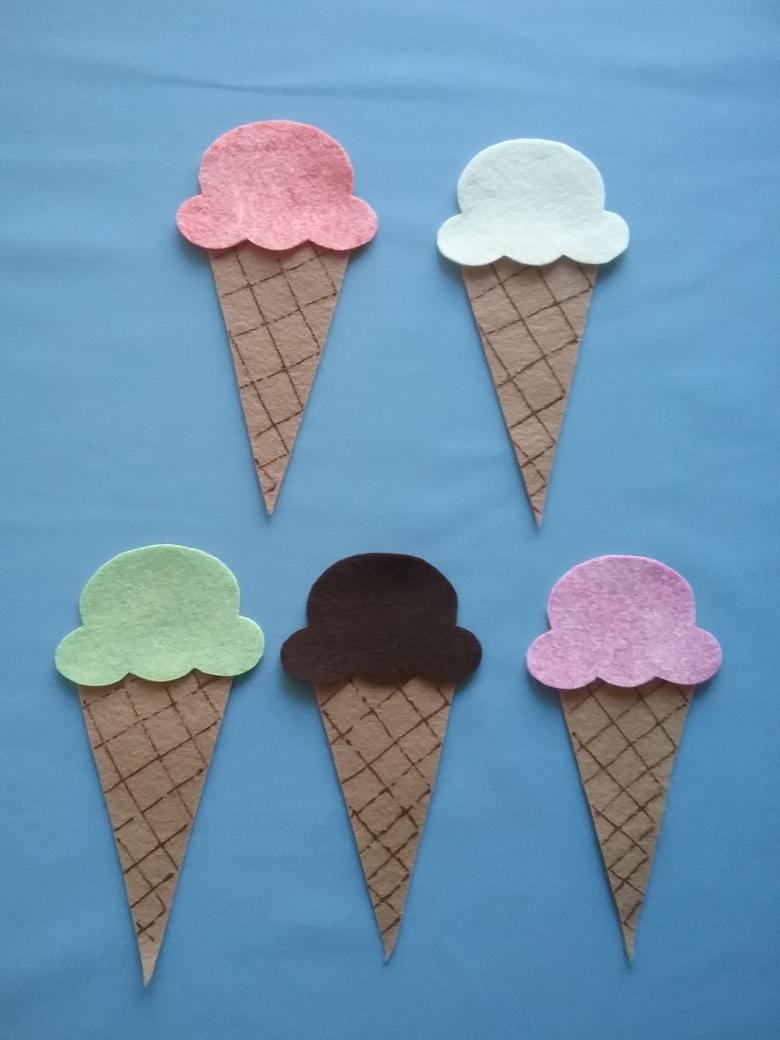
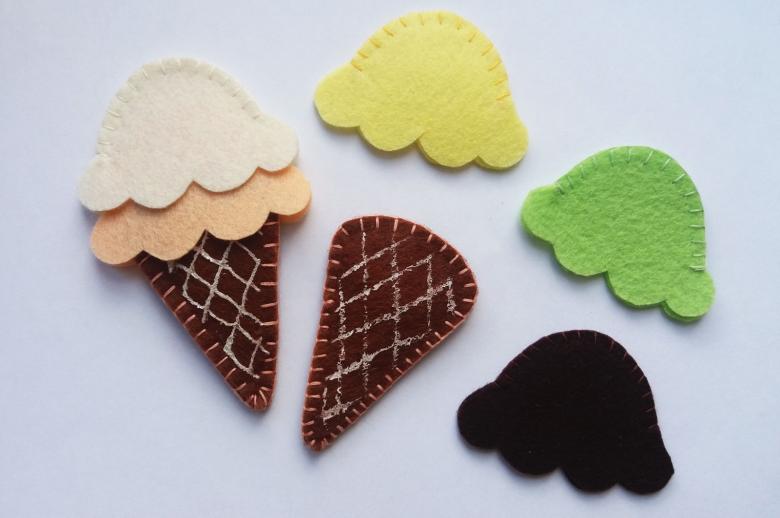
- Using cardboard and a pencil, we make a template of our ice cream cone and balls.
- Using the pattern, we make the pieces, adding 1-1.5 cm of fabric to form the seams.
- Sew the halves of the cone, leaving a "window" for the filler. Put stuffing and sew up the shape of the horn.
- Repeat steps with the preparations for the ice cream balls.
- Connect the parts into a single model.
- As a sprinkle for our volumetric dessert, use colorful beads or beads.
- If you want to add realism to your craft, stitch the waffle cone layouts before you begin assembling the pieces. The diagonal stitches crossing each other will create the appearance of a natural cup.
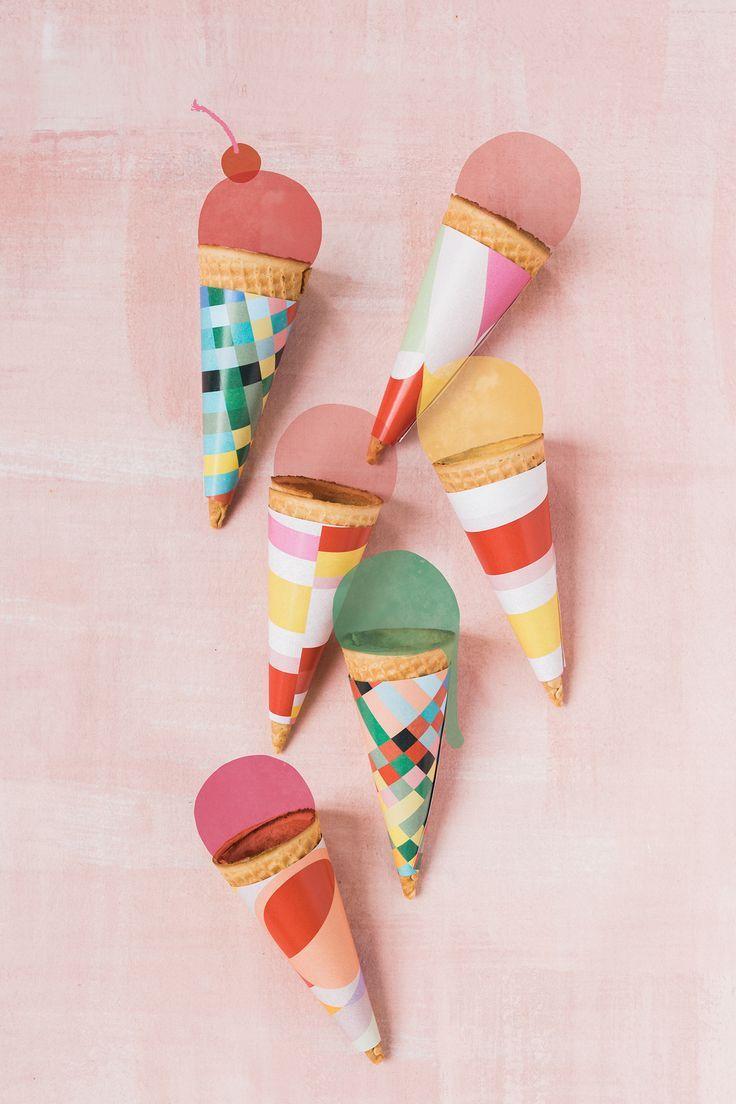
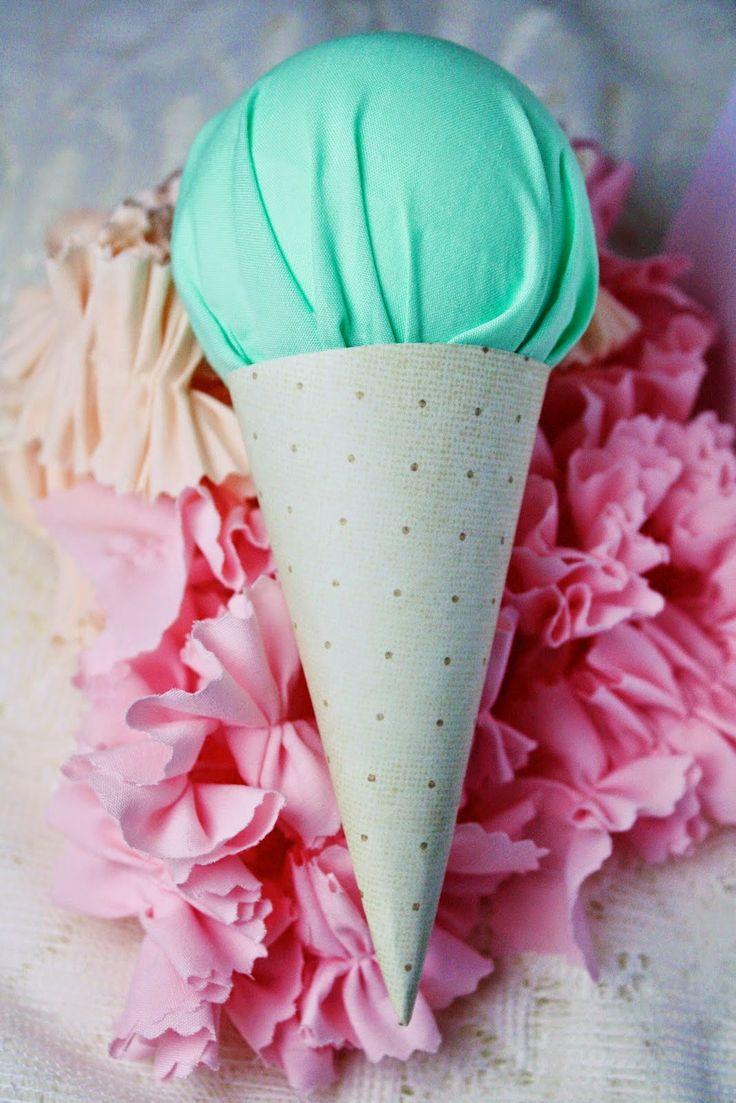
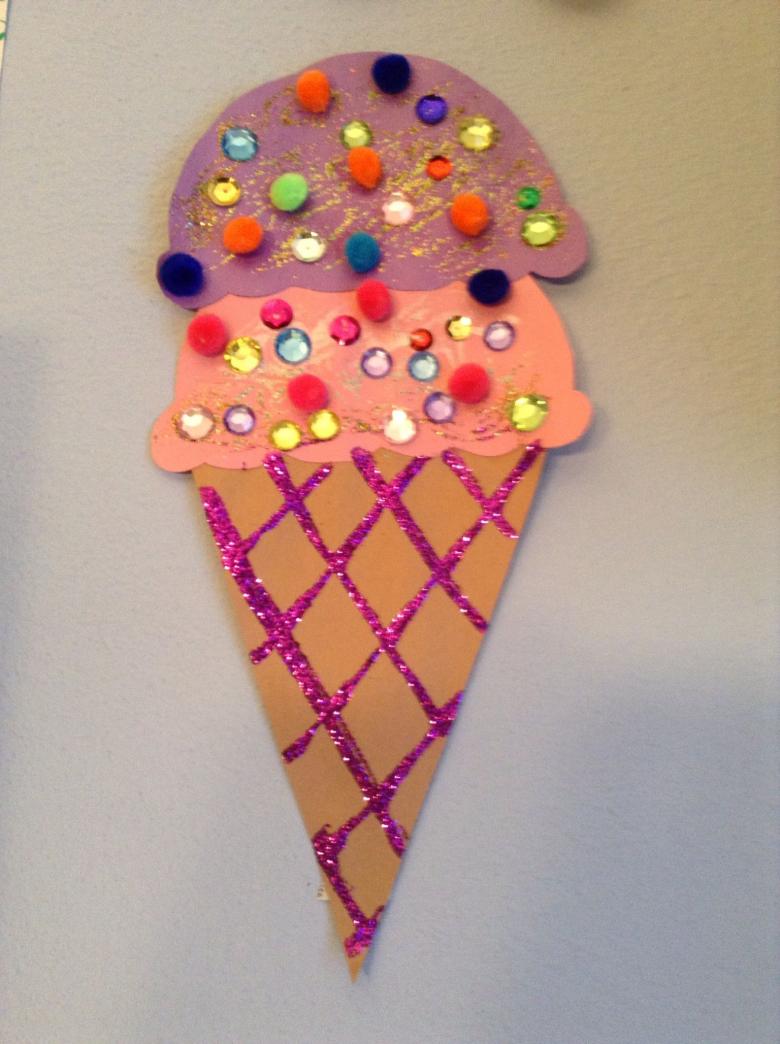
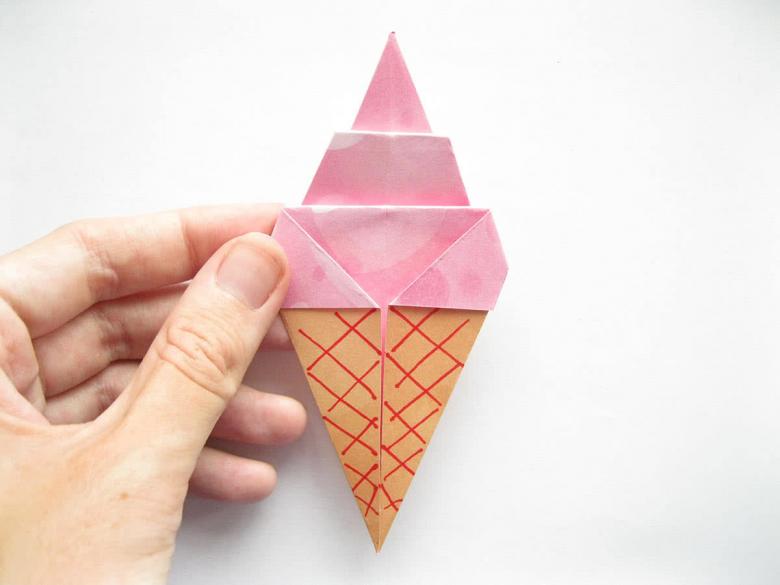
Volumetric ice cream cone made of paper
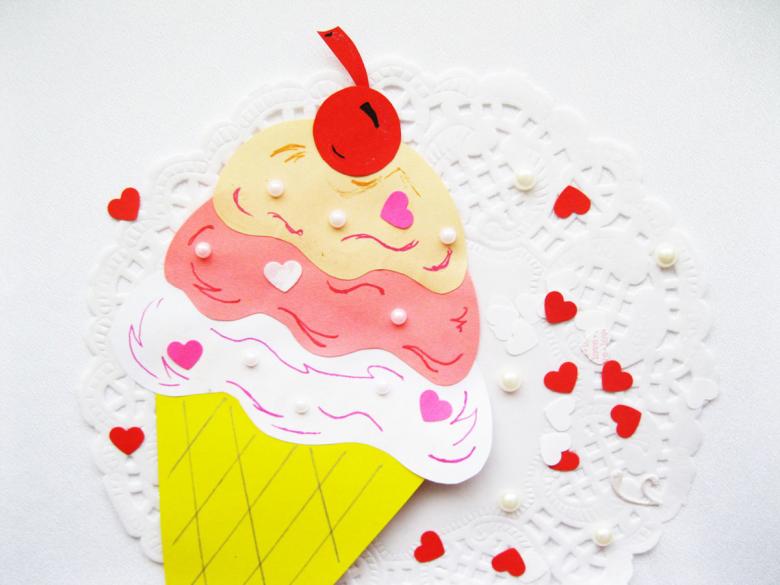
Contrary to current opinions, it is possible to make not only figures for applique and flat products for compositions from paper. Today we will get acquainted with another way to create an ice cream cone craft by ourselves.

For the work we will need:
- Colored paper;
- Cardboard for creating patterns of parts;
- Scissors, glue gun.
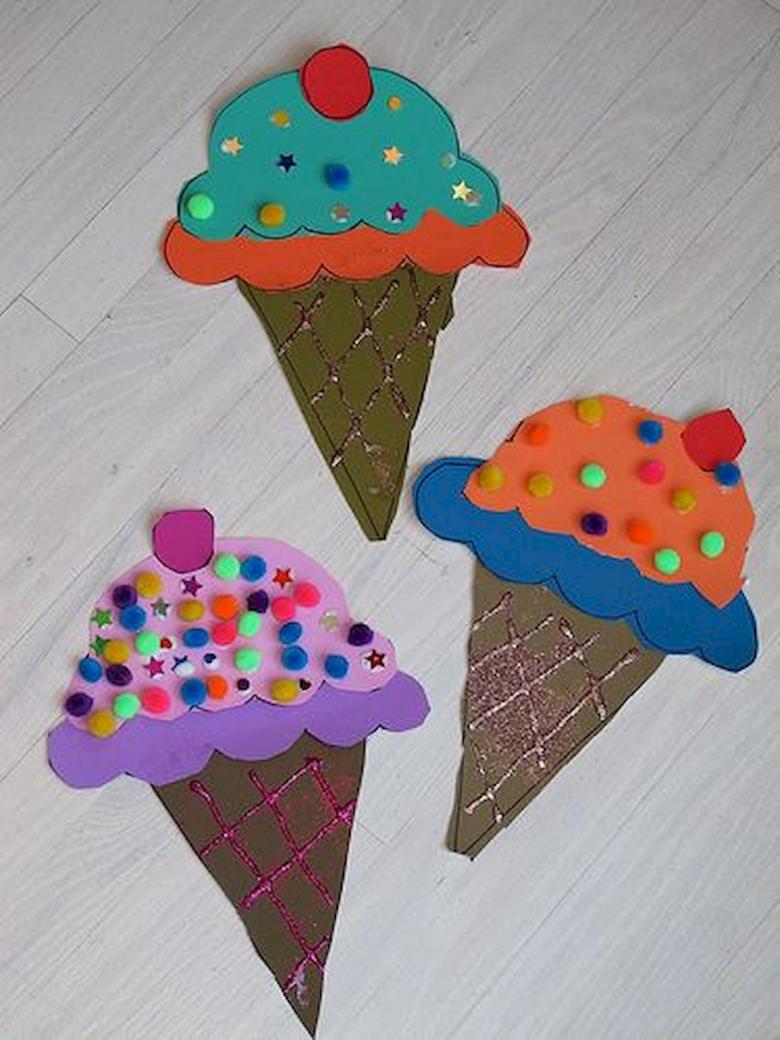
Step by step scheme to create a model:
- We prepare the patterns of parts. To save time you can find ready-made templates on the Internet, and you can make them yourself. It is not complicated at all.
- To make a pattern for a horn, we draw a semicircle of 1000 on cardboard with a compass. On the side surface of the workpiece, leave an extra strip of paper for easy connection of our horn.
- For the ice cream balls draw 1 circle.
- Using templates, cut out 1 cone and 8-10 balls of colored paper.
- Roll up and glue the cone.
- Each circle fold in half and glue the side edges of the balls together. As a result, we have a neat polyhedral ball of ice cream.
- Cover the bottom pole of the ball with glue, and lower it onto the waffle cone.

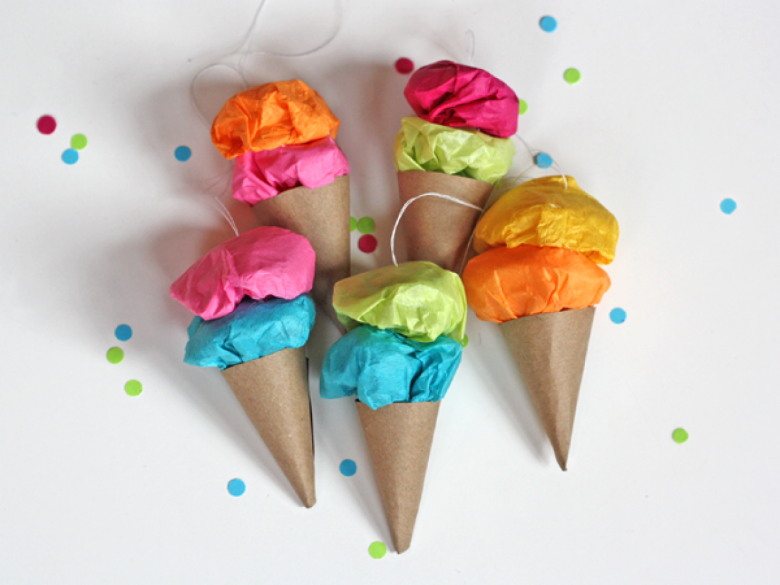
Our three-dimensional ice cream cone is ready. Make several colored cones and place them in a wicker basket. Such an ice-cream-cake will be a beautiful detail of the interior, and besides, it will never melt!
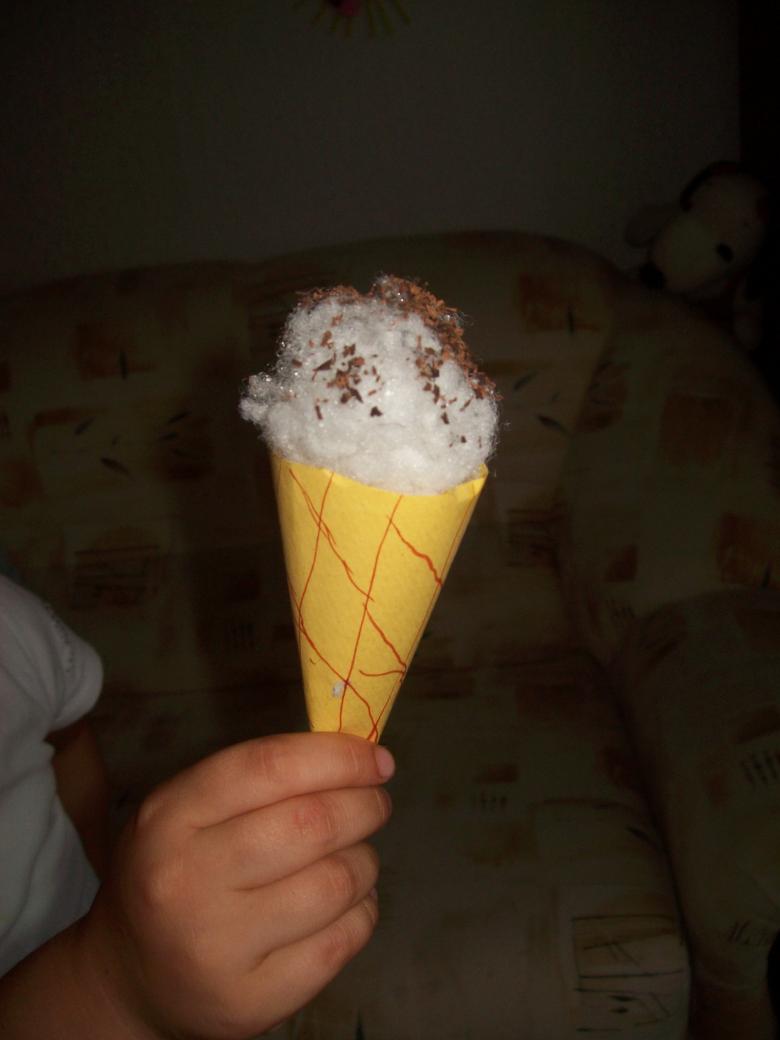
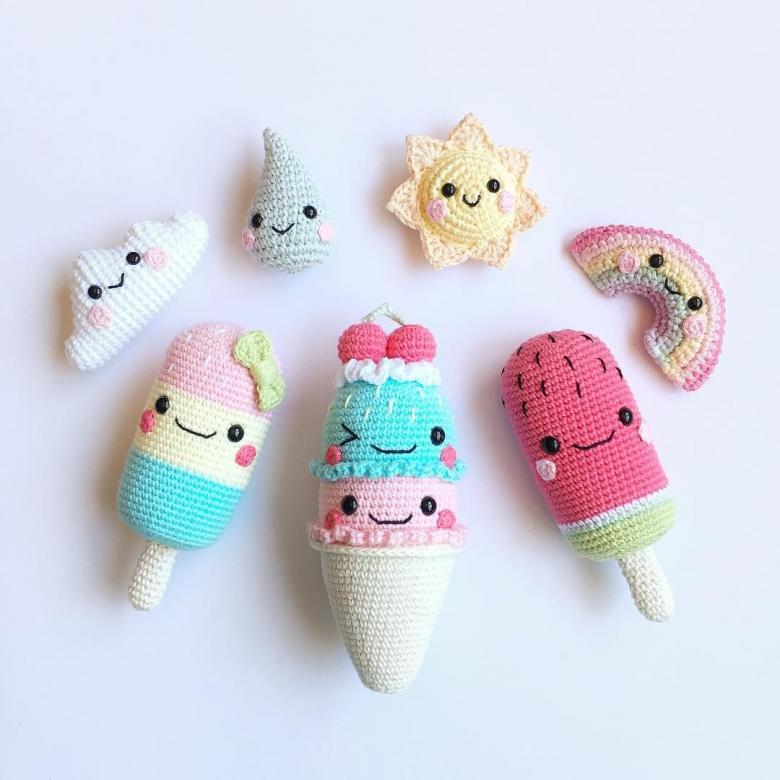
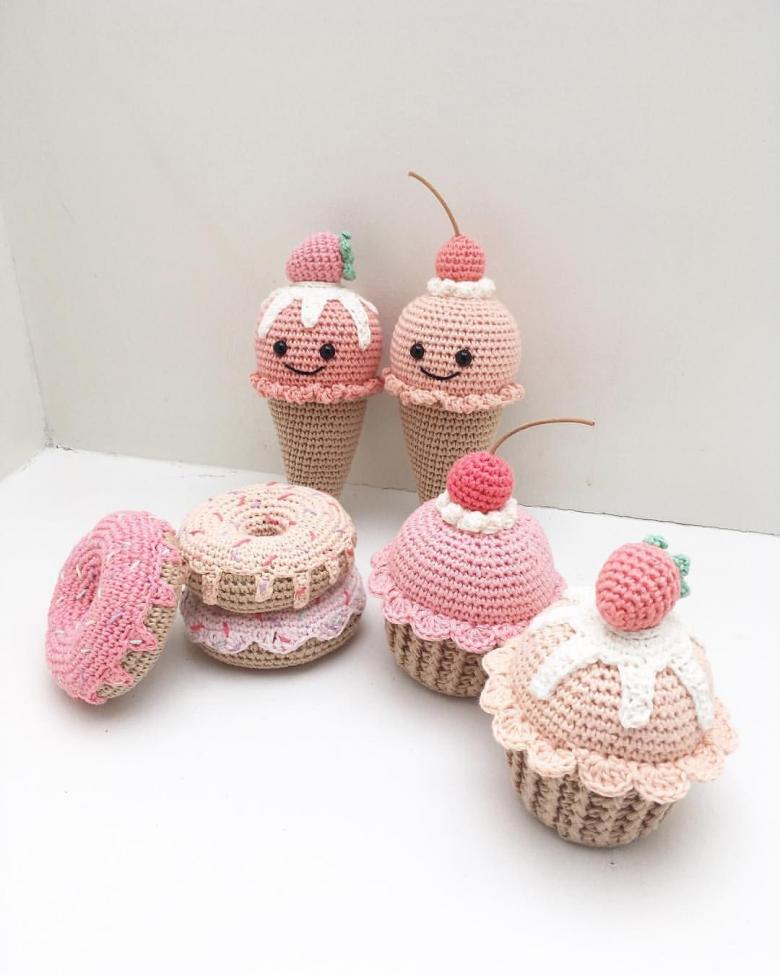
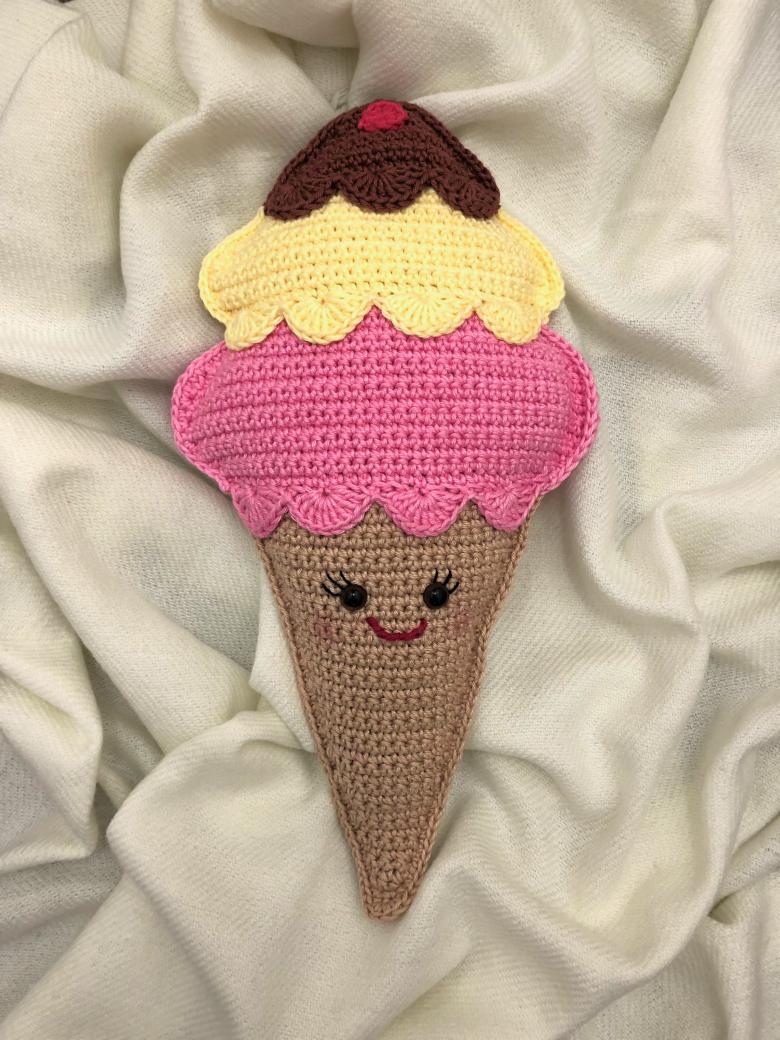
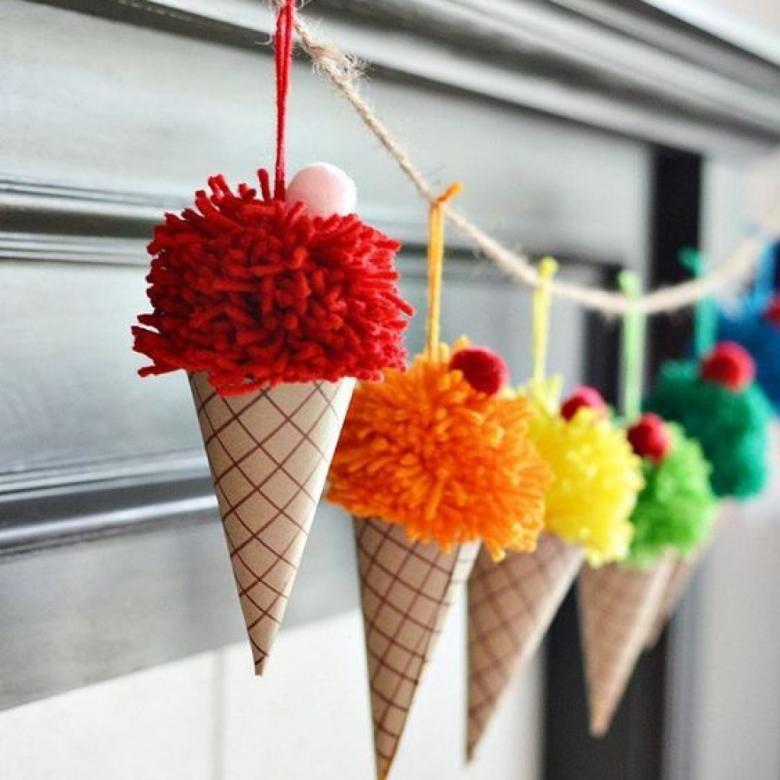
Ice cream crocheted
To work we will prepare:
- yarn;
- crochet;
- stuffing.
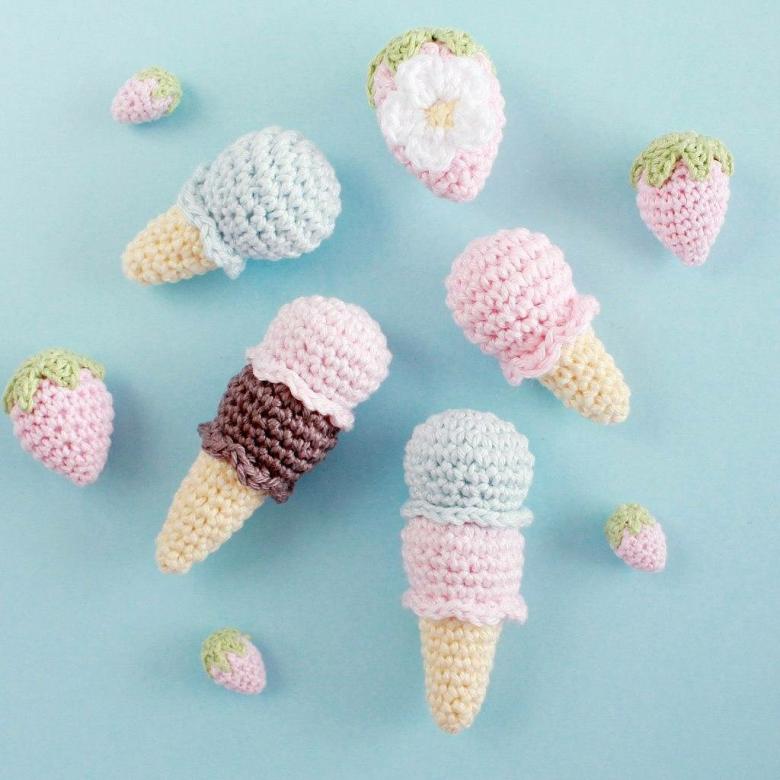
Step by step instructions for the master:
- Dial 6 air loops by crochet.
- Then successive rows according to the scheme.
- 1st: 6 columns with a squeeze, close in a ring.
- 2-nd: 6 columns with a stitch.
- Next, each row to increase the number of work items on three loops.
- Finish the fabric by threading.
- Knit ice cream balls in a regular circular knit with successive increases and decreases in the number of elements.
- Fill the ice cream balls with the selected filling material.
- Using thread and a needle, sew the balls to the waffle cone.
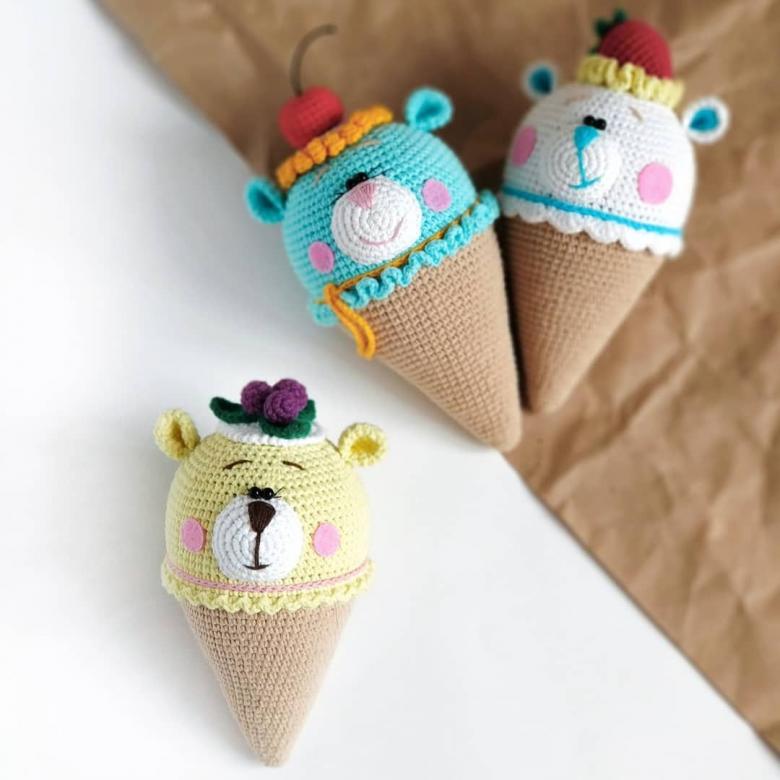
This scheme presents the so-called method of knitting amigurumi. But you can also find your own style to create a cone base.

We hope that we not only showed some ways to create ice cream crafts, but also awakened the interest of young craftsmen and their parents to this topic. Learn new techniques, create great masterpieces, and delight your family and friends with wonderful portions of ice cream! Ice cream that will never melt!

