Rose petal cups with their own hands - model options, step by step master classes, photo ideas
A wedding or the meeting of a new man from the maternity ward is a bright and solemn event. Each perpetrator of the holiday wants to remember it as a special day: balloons, bouquets, rose petals at our feet. Today you and I will get acquainted with techniques for creating envelopes for wrapping flower petals.
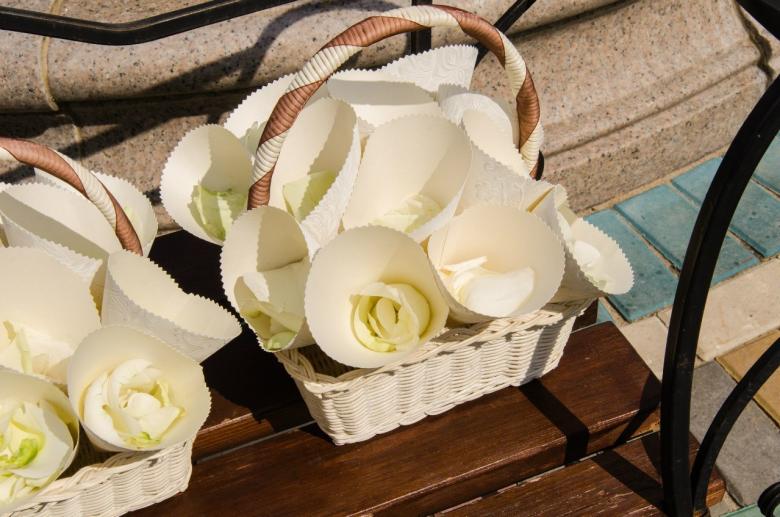
Models and variants of rose petals clutches
We will see today that designers and needleworkers provide us with a huge range of holiday envelopes. Let's get acquainted with the list of existing options:
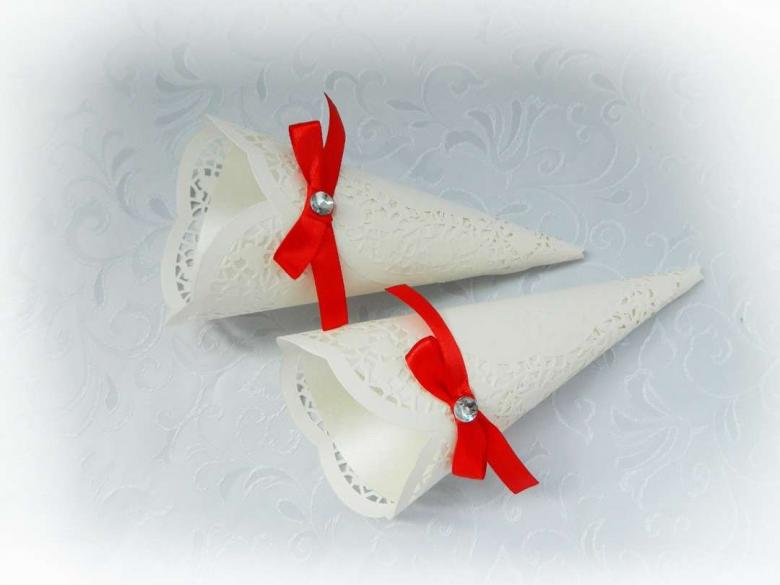
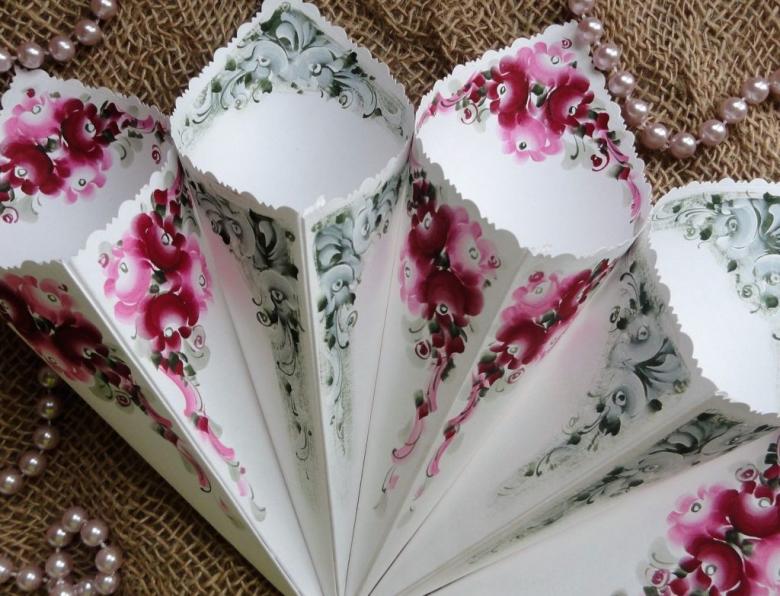
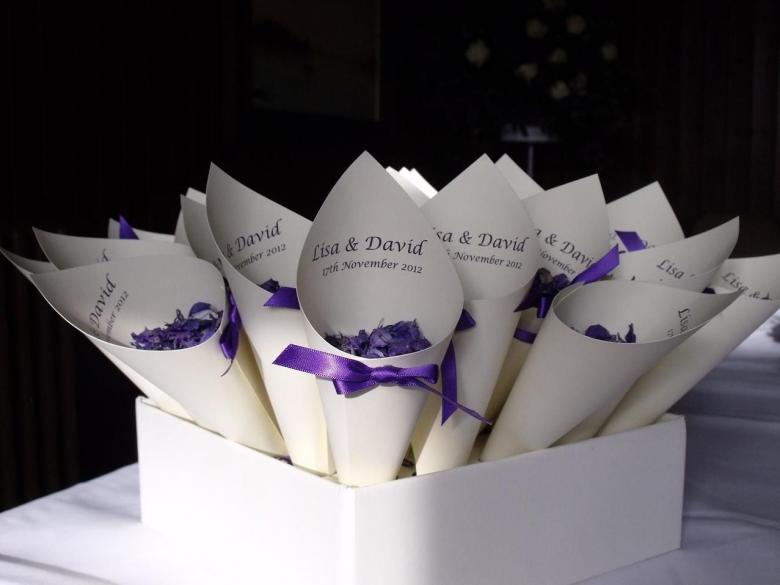
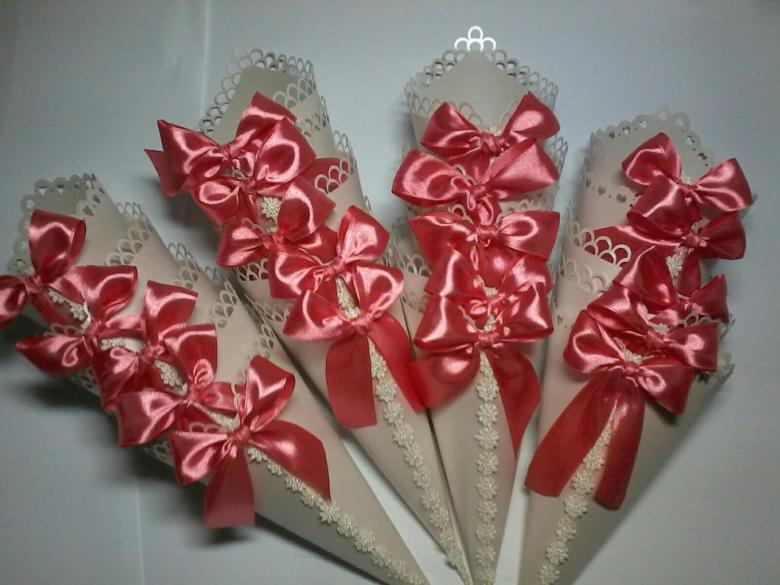
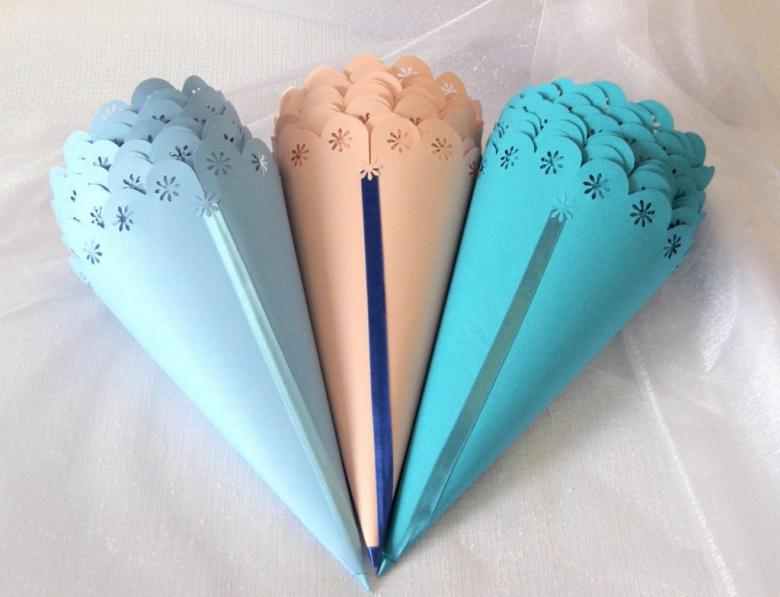
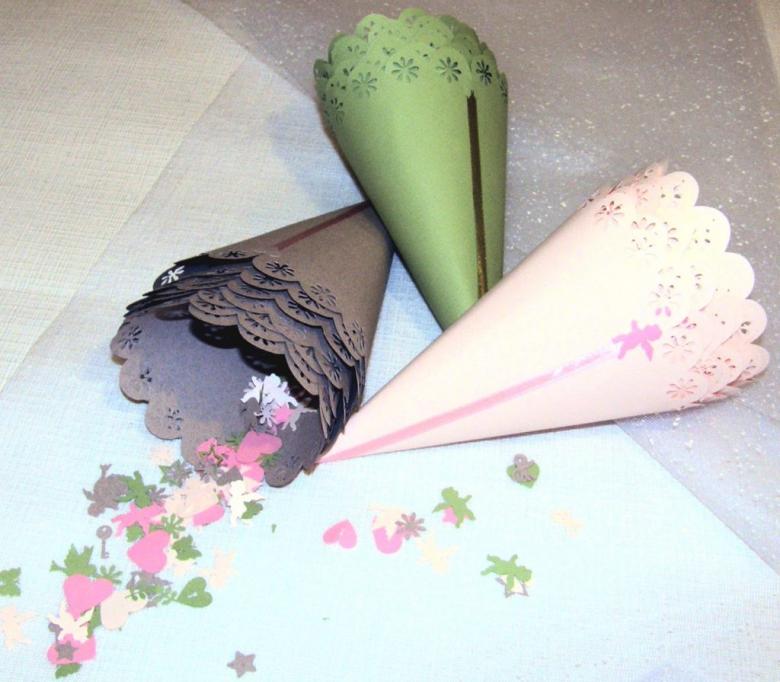
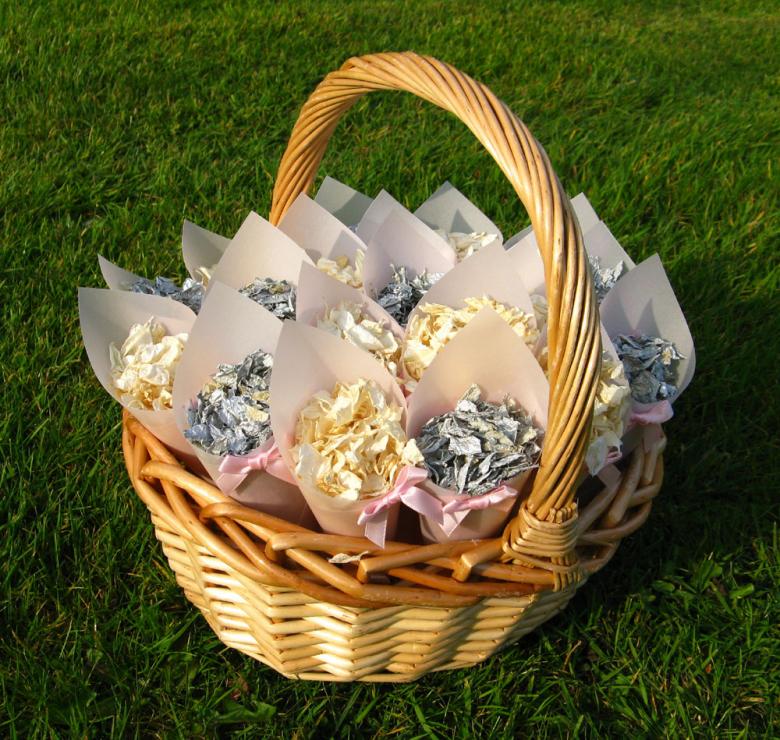
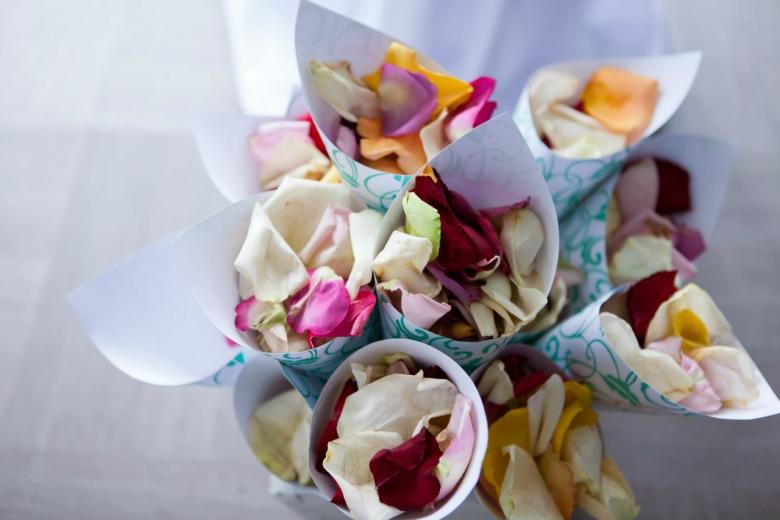
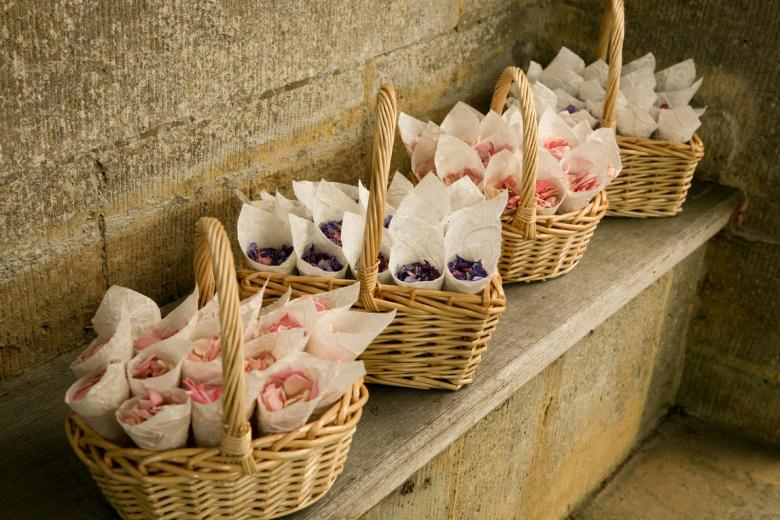
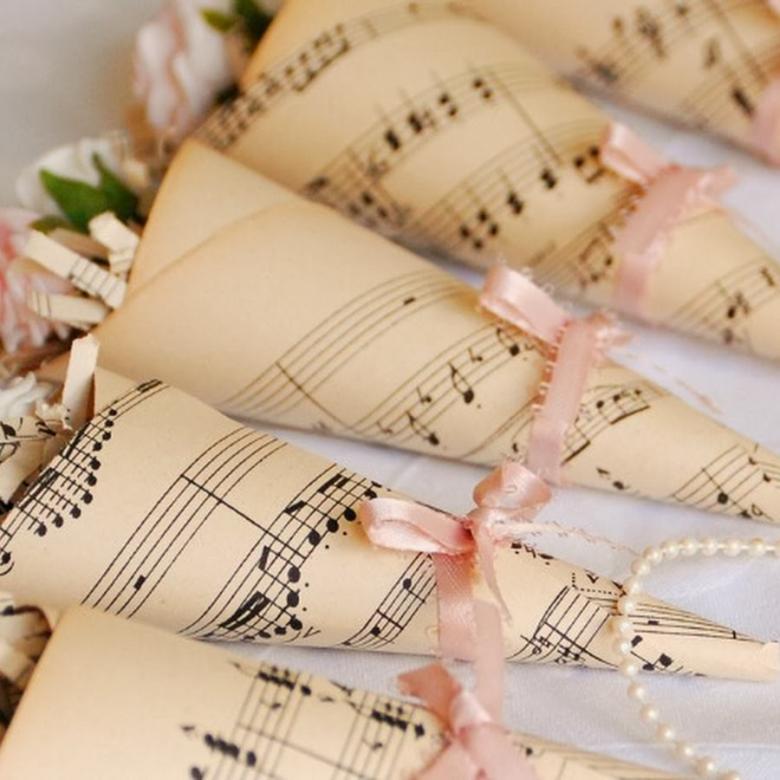
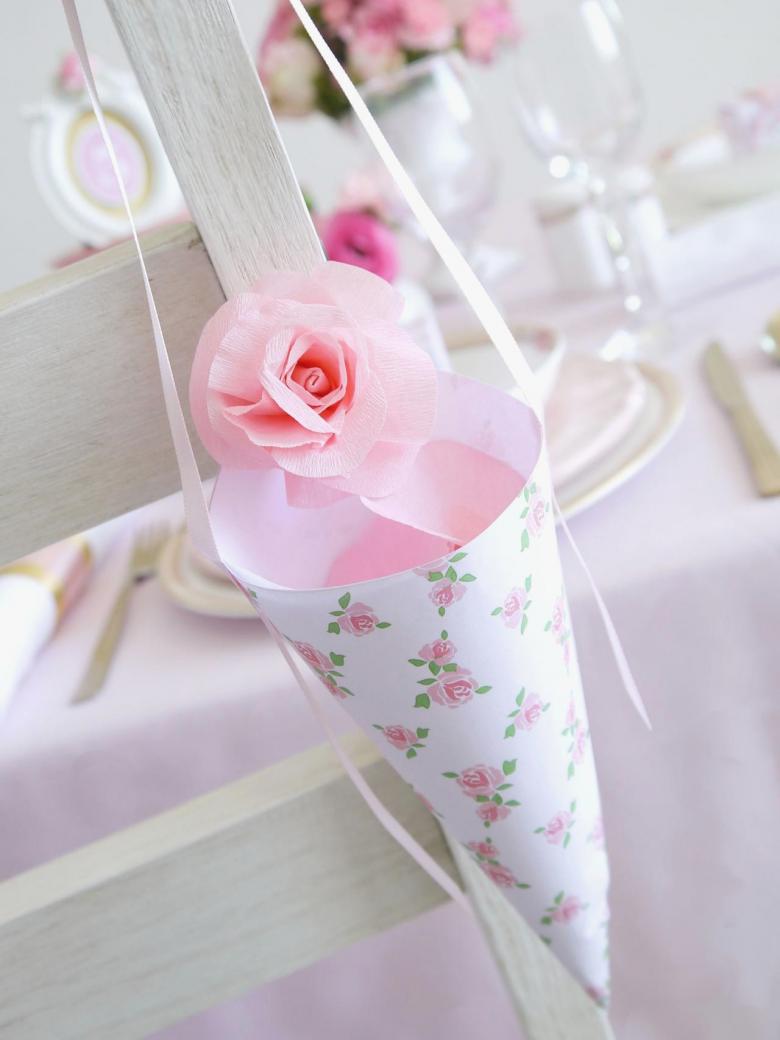
- Painted cones. Such items are made of illustrated thick paper (most often it is either crepe or cardboard base with painted patterns).
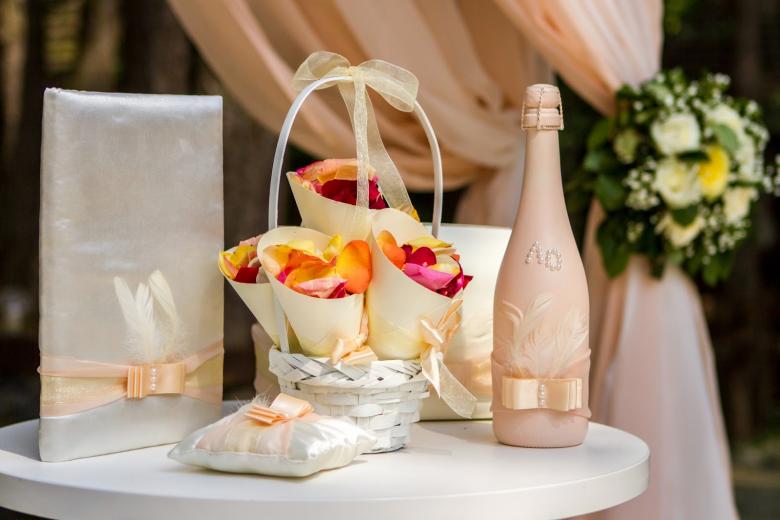
- Bowl-shaped models. Bowl-shaped cup allows you to quickly and beautifully raise a scattering of petals into the air, delighting the celebrants and guests.
- Mesh bags. This is an unusual envelope shape, but it has its own definite place in the art of decorating. Unlike other variants, the edges of the envelope are closed by a thin strip of fabric, which opens with a light touch.

What materials we have to work with today:
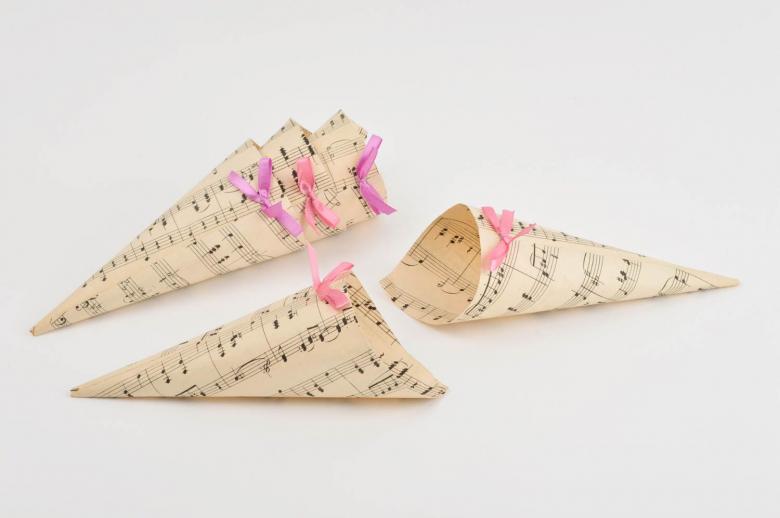
- Illustrated paper. Petal cups in a multicolored cone are the best piece of wedding decor. You can experiment not only with shades, but also with the images on the paper.
- Crepe base. Corrugated paper has proven to be a great design skill. Minimal amount of work for the craftsman, but, at the same time, natural lines and creases on the contour of the product.
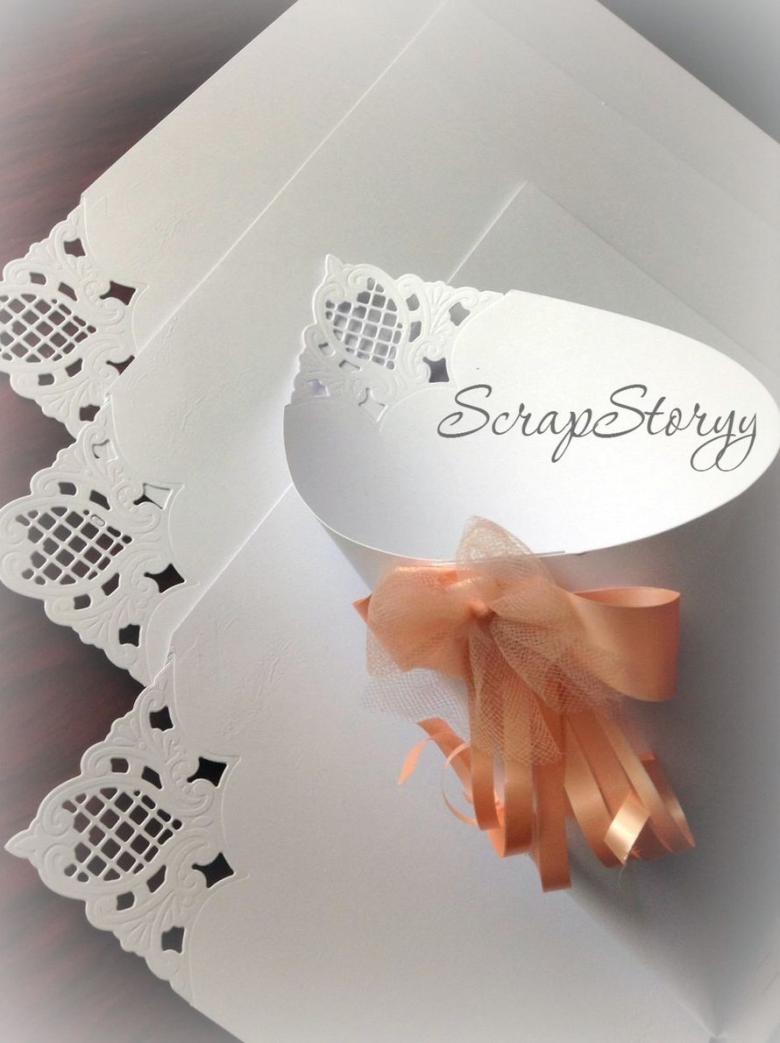
- Decorated napkins. In this case, four-layer sturdy napkins with a pattern are used. The edges are fastened with an adhesive base along the inner seam. Most often used to create bowl-shaped envelopes.
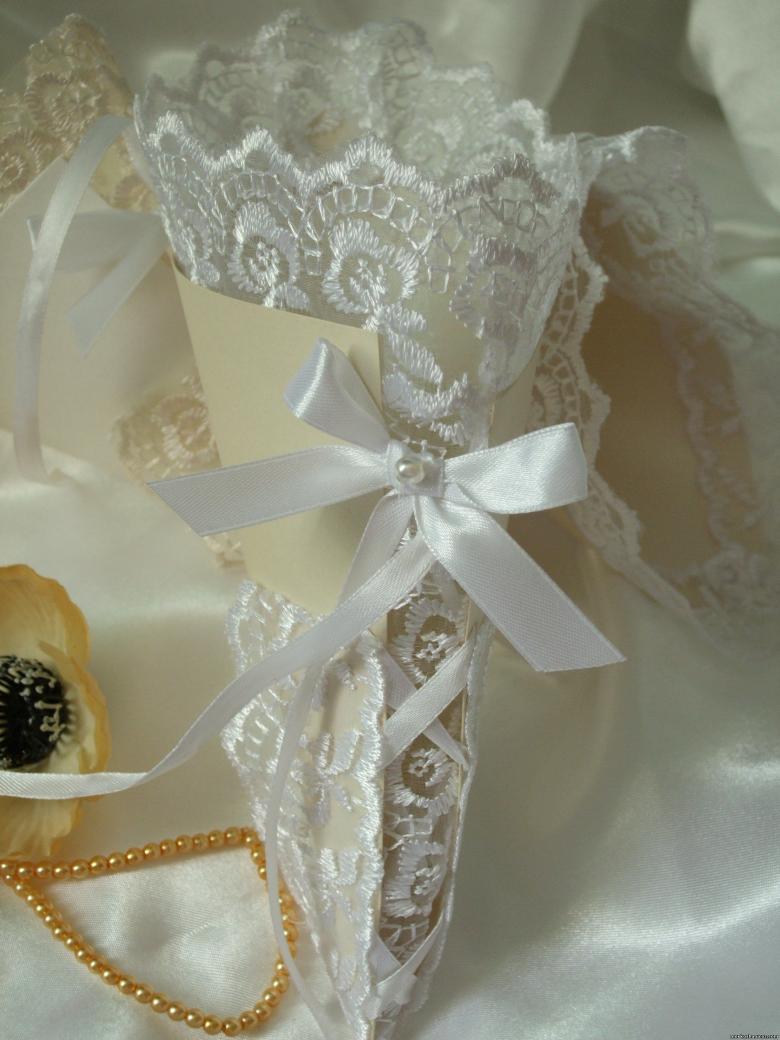
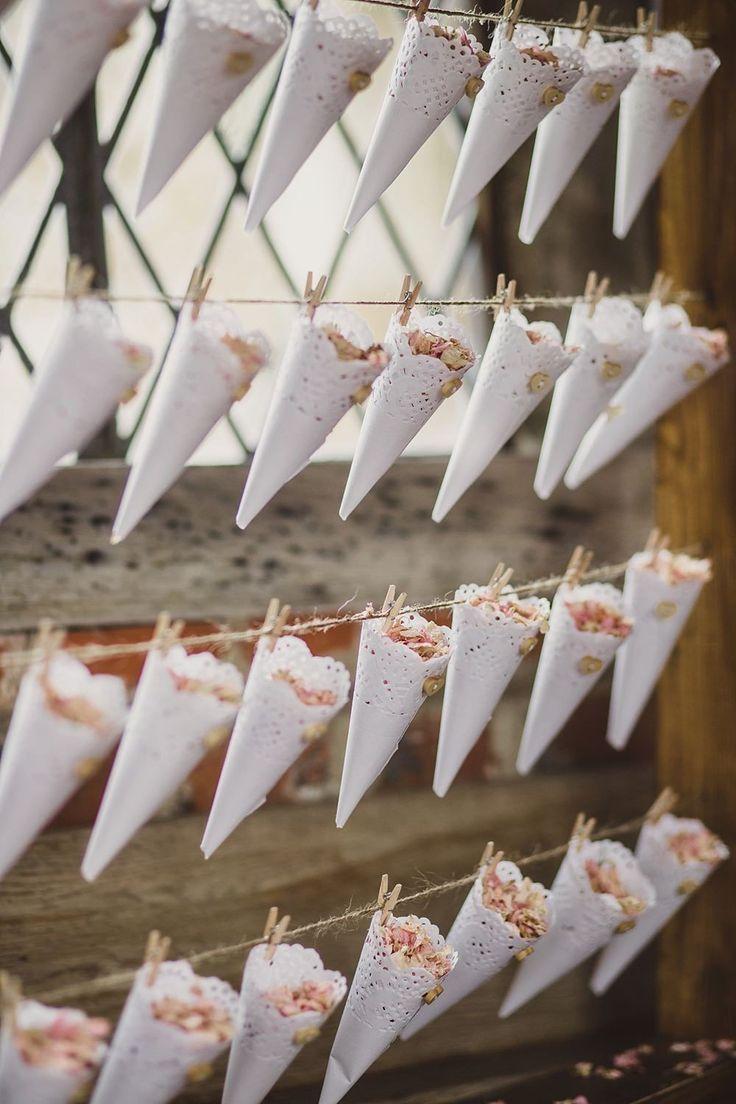
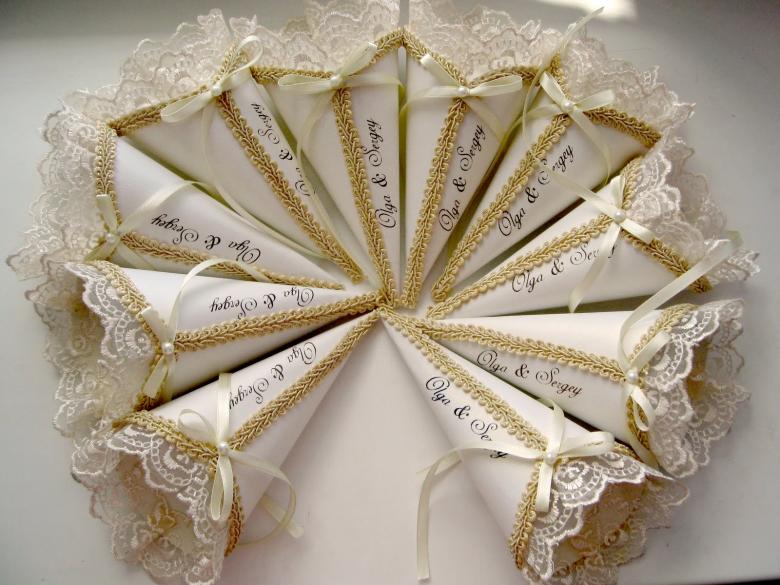
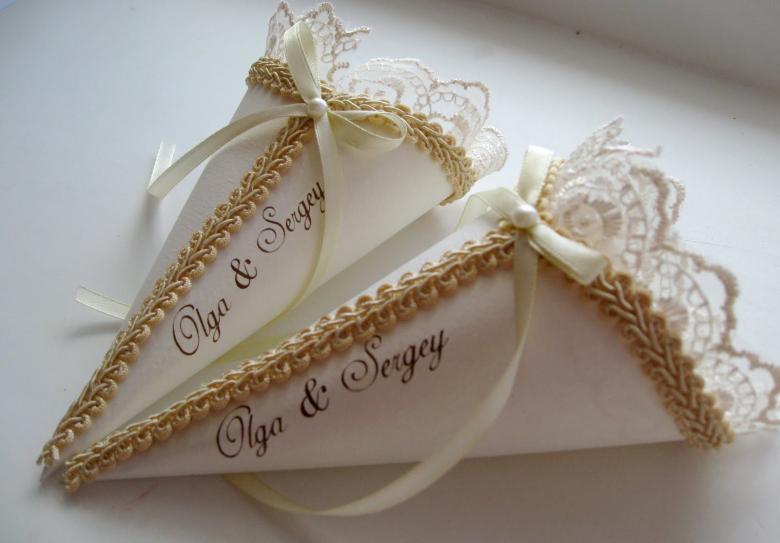
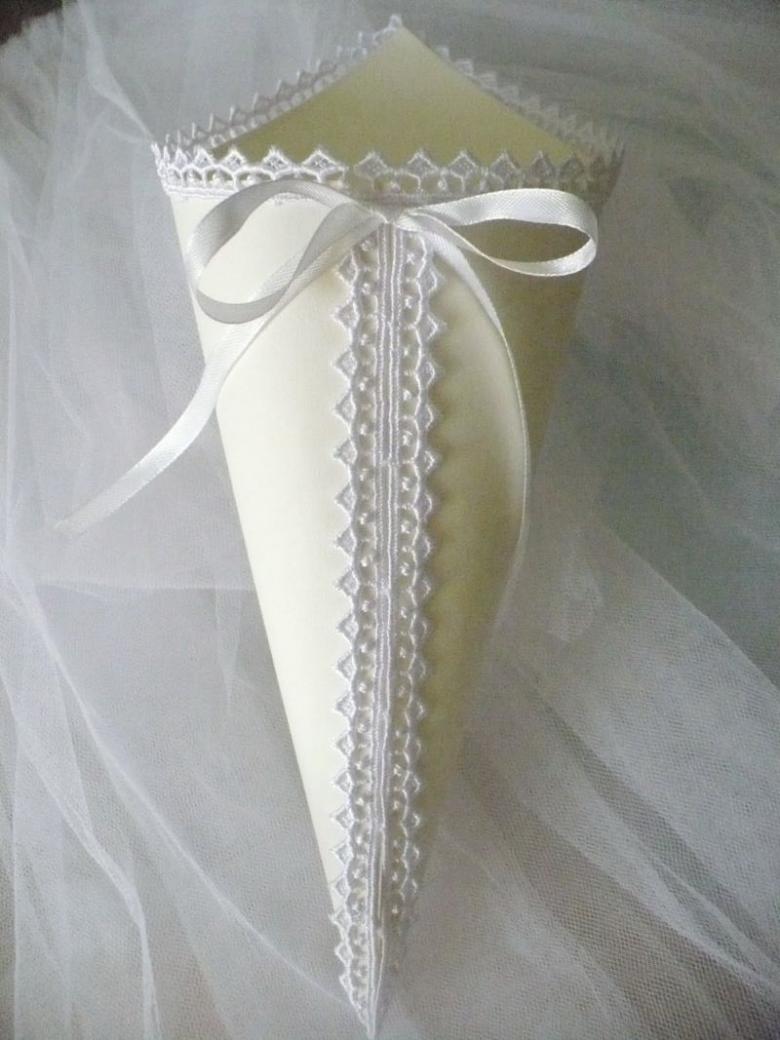
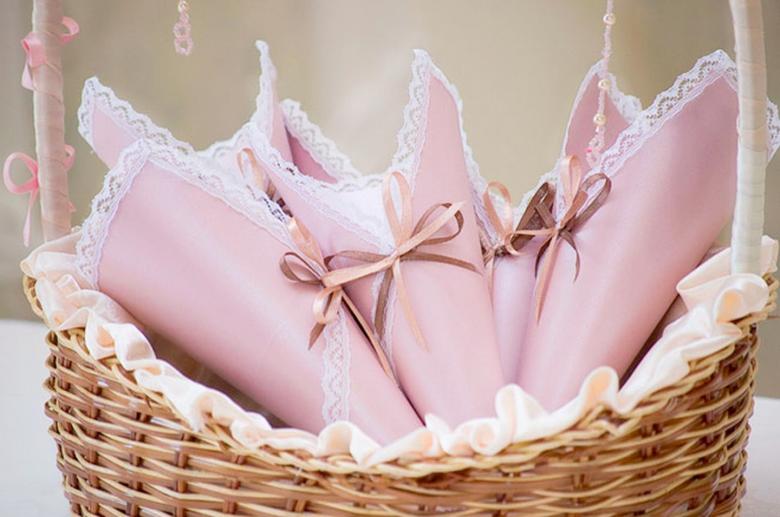
- Tissue backing for the cups. We will work with guipure, but each master has the right to choose any other fabric, decorating it with openwork edging or ribbons.
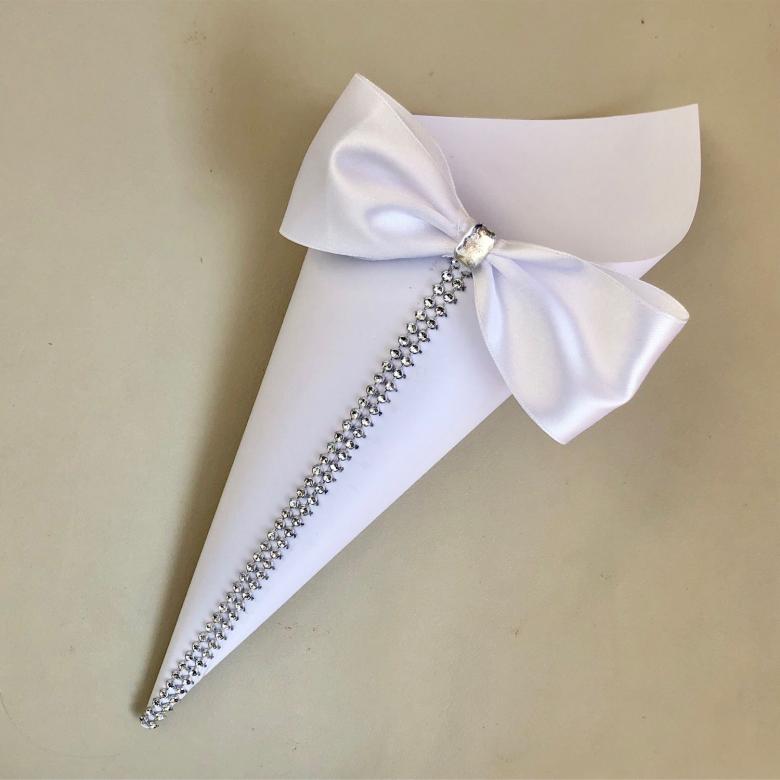
Master classes with step-by-step instructions
Our today's lesson we will devote to the consideration of several basic ways of working. You can get acquainted with video tutorials on creating envelopes for petals (use any available video clips on the Internet). In addition, to facilitate yourself in the creative process, stock up on schemes with detailed descriptions.
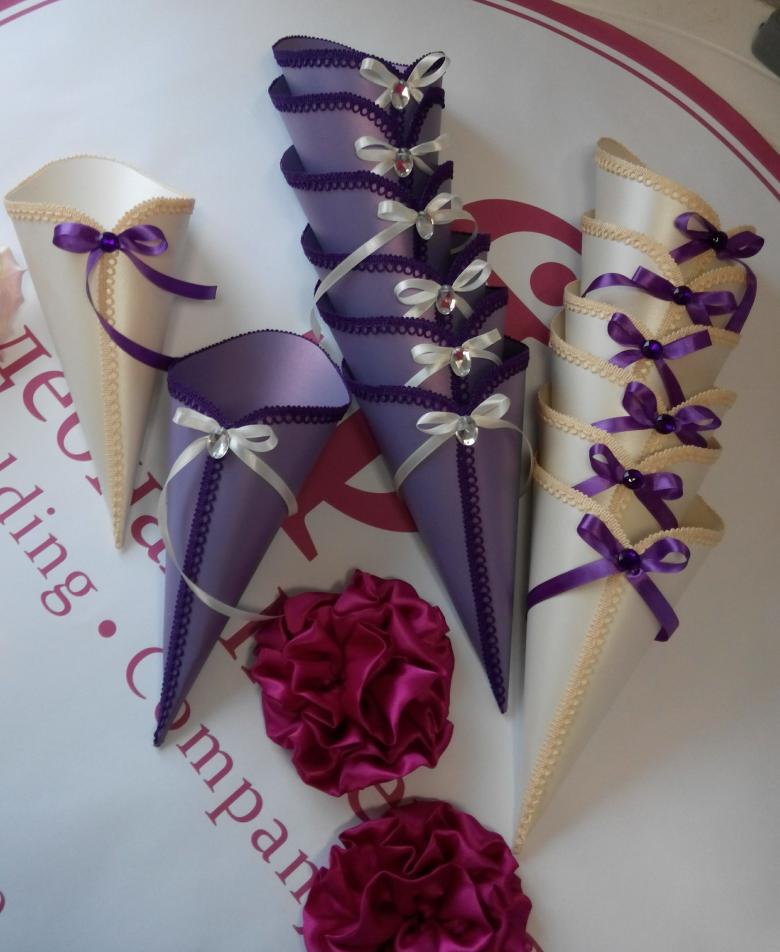
Making a cone of illustrated paper
This method is preferred by many novice masters and wedding planners. The main advantage is the simplicity of execution.
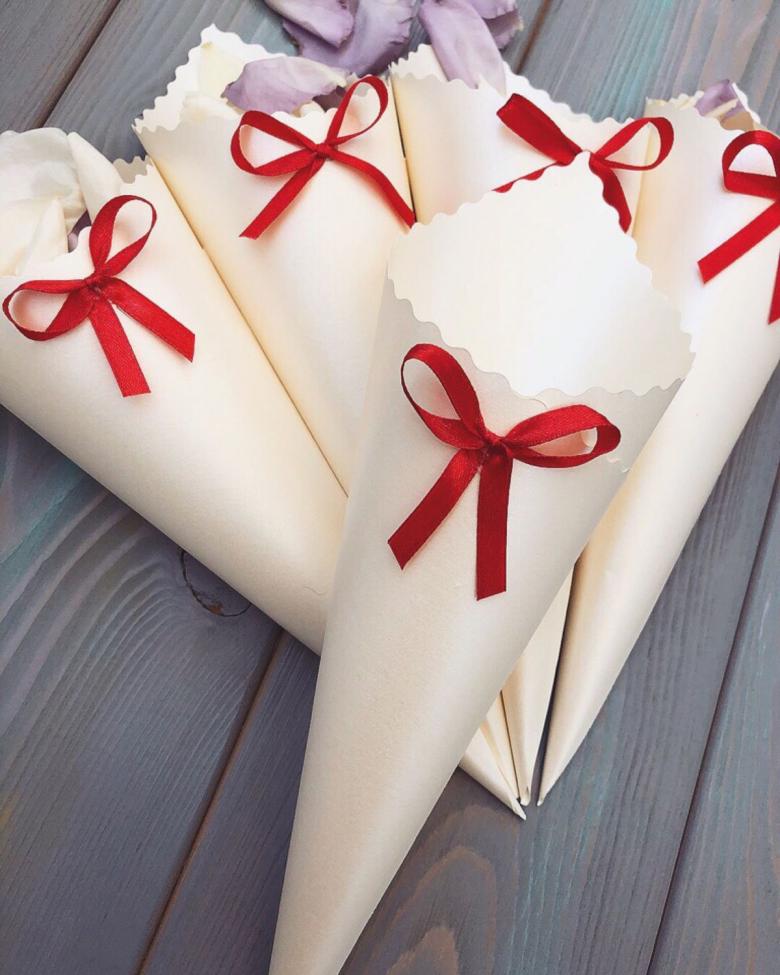
For the work we will need:
- Illustrated paper. Choose bright, but appropriate for the occasion shades and ornaments. For example, for weddings more often use, either red and blue tones, or the colors preferred by the future spouses.
- Glue.
- Scissors.

Step-by-step schematic instructions for the master:
- Let's make blanks in the quantity that you plan to use. We will need layouts in the form of squares.
- Each piece rolled into a cone.
- Secure the edges of the cone with a thin strip of glue (preferably smear glue on the inside surface of the seam to maintain the aesthetic appearance of the product).
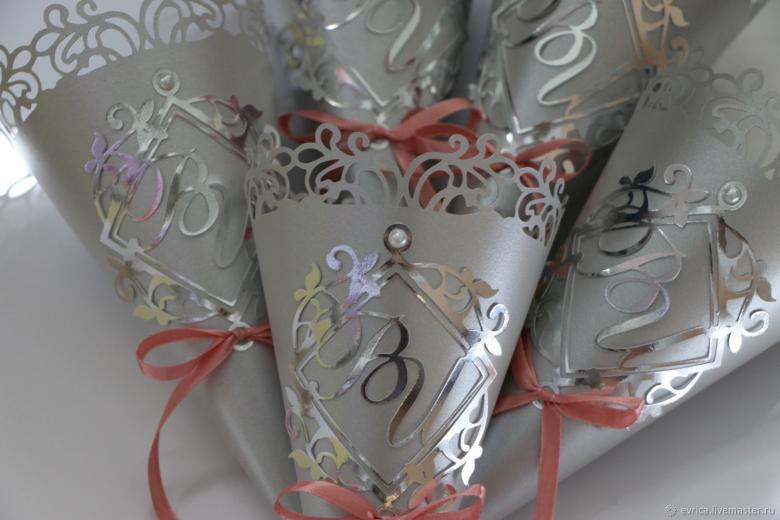
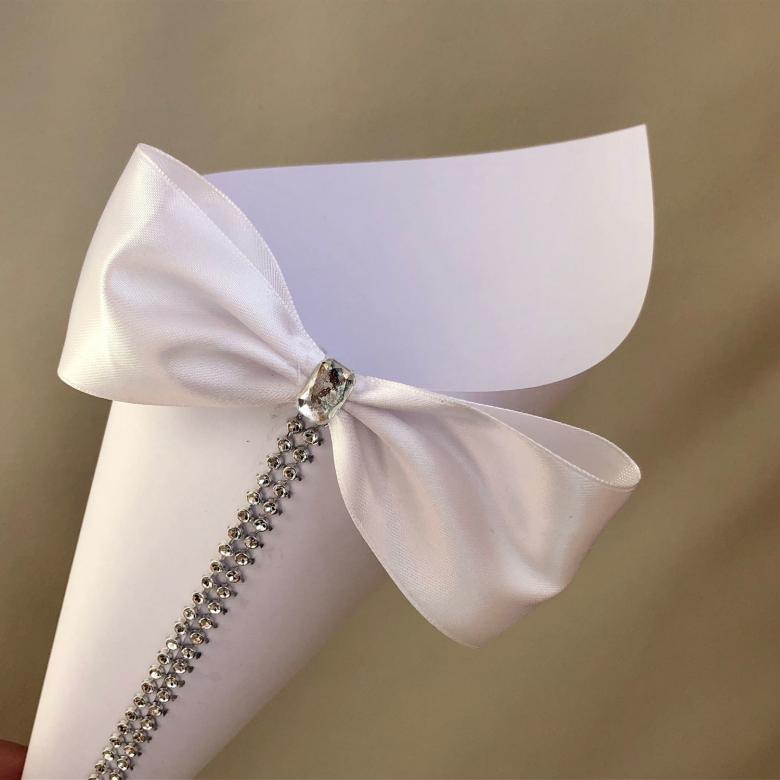
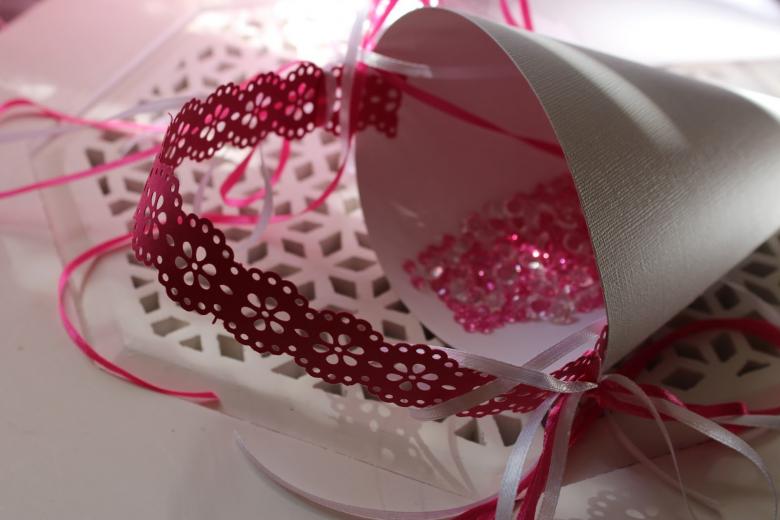
- Along the top edge of each cone, glue a strip of openwork ribbon, beads or quilling elements.
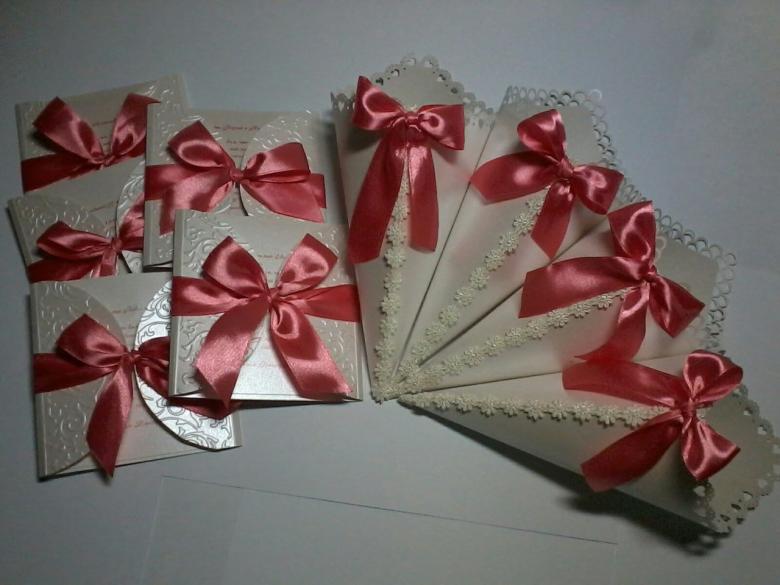
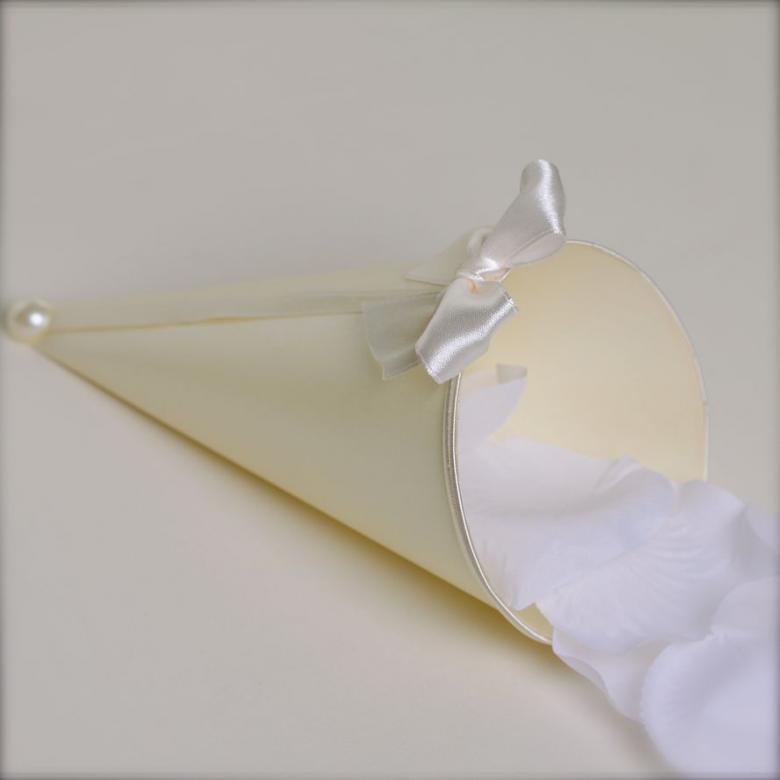
The petal cup is ready. Stack floral decorations in ready-made cones, and let the celebration be the most memorable event ever!
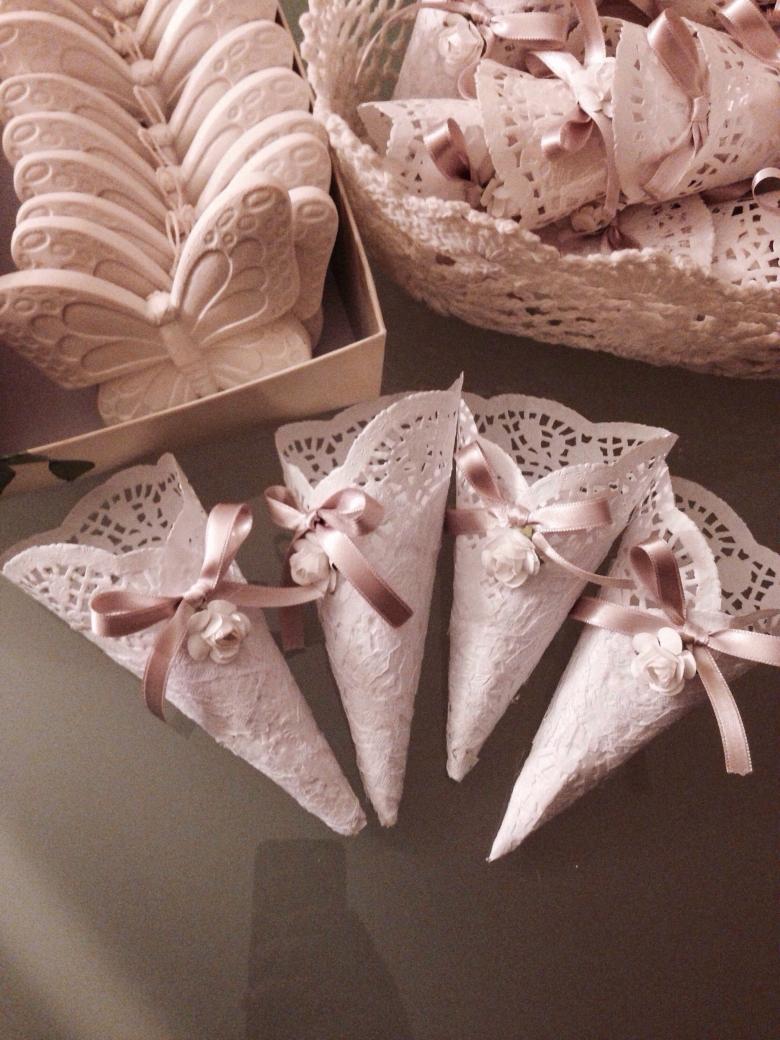
Working on creating crepe envelopes
Corrugated paper is a great choice for wedding planners. It is easy to use and lends itself to creative processing.
To work we will need:
- Sheets of crepe paper in pink and cream colors.
- Glue.
- An iron.
- Scissors.
A step-by-step diagram with instructions for the master:
- Let's make a blank of crepe. Cut squares of equal size: 20 pieces of pink, 20 pieces of cream shade. According to our technology, the pink blanks must be 2-3 cm larger than the cream ones.
- Process the sheets of corrugated paper with a barely warm iron. Immediately after that it is necessary to slightly stretch and immediately release the corners of the blanks. You will see that the crepe acquires a wavy shape, curves and roughness, which has quite a natural look.
- Now bring the corners of each cream square to each other, covering the very edges of the strips of blanks with glue. We should have flower buds with open leaves.
- Work with the second blanks. The sequence of operations is the same, but first we have to glue the pink squares to the cream-colored bud (we have to assemble a two-color envelope flower). To do this, we apply glue to the lower center point of the cream-colored blanks, to the middle and inner surface of the petals of the pink bud.
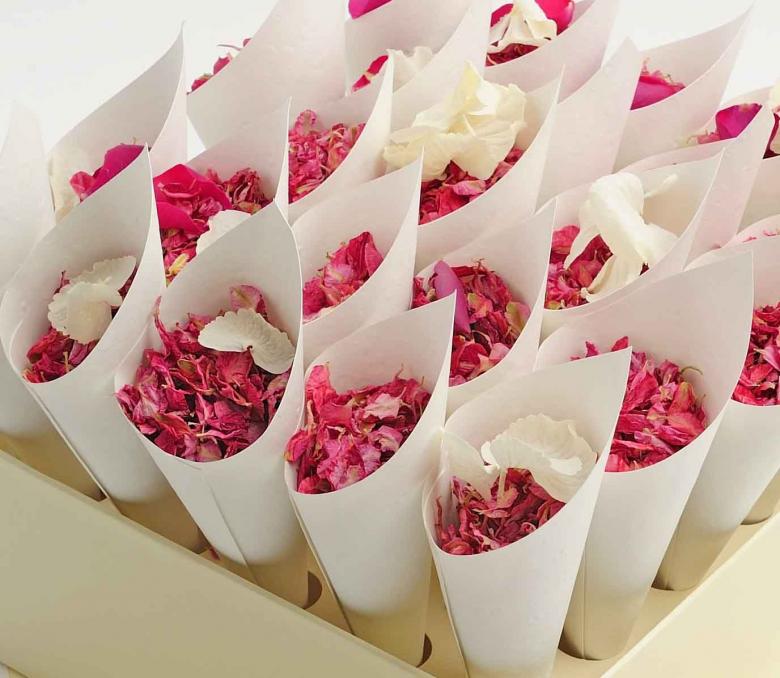
- After the glue dries, envelopes in the shape of flower buds can be filled with rose petals.

It is easy and pleasant to work with crepe, and the envelopes made of this material will be original and soft to the touch. This is important because the soft shell for the petals will not scratch the skin of the guest or bride.
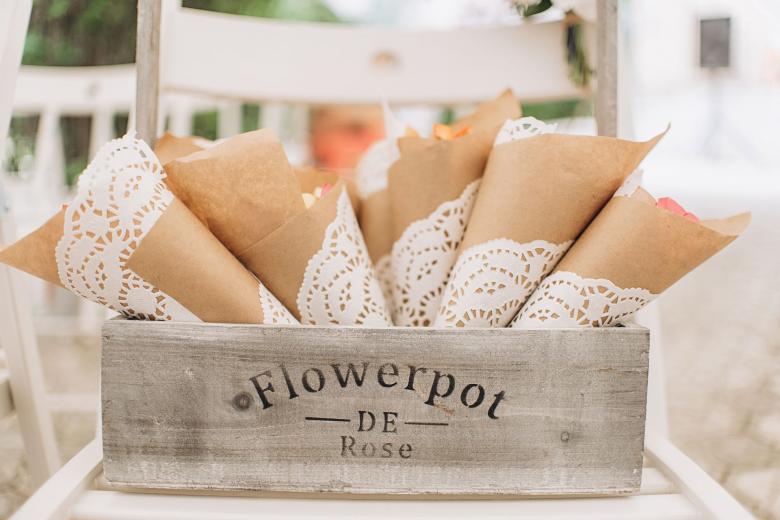
Petal bowls made of decorated napkins
Similar models also have soft walls and a wide base. To work we will need:
- A set of four-ply patterned napkins.
- Glue.
- Scissors.
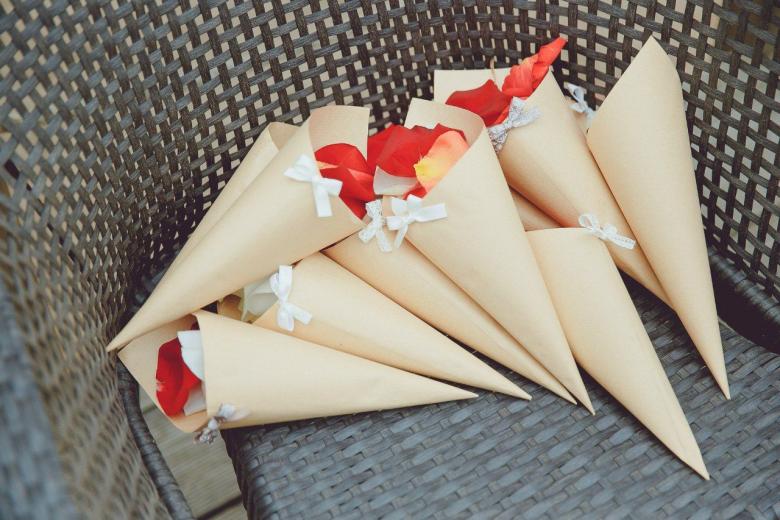
Step-by-step instructions for the master:
- Unwrap each napkin.
- Put it right side down.
- The corners of the workpiece slightly squeeze, as when creating a plissé (we need an "accordion" to maintain the shape of the envelope).
- Approach the corners to each other, bringing them to the sides (use minimal glue - extra glue dries and creates crooked seams). For added strength of our "glasses" we tie them on the outside with satin ribbons.
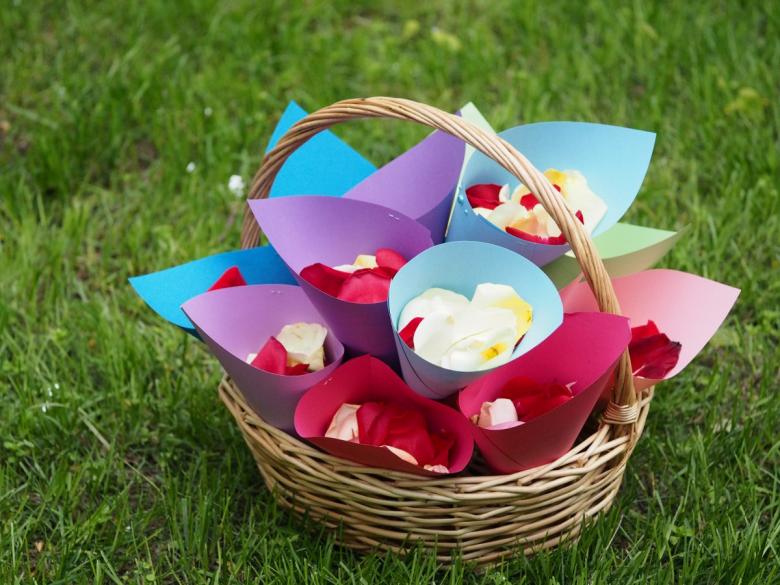
Fill the bowls with rose petals, and then proceed with them very carefully. If you want to strengthen the walls of the blanks, you can use several napkins in one bowl (follow the same scheme as in the previous master class).
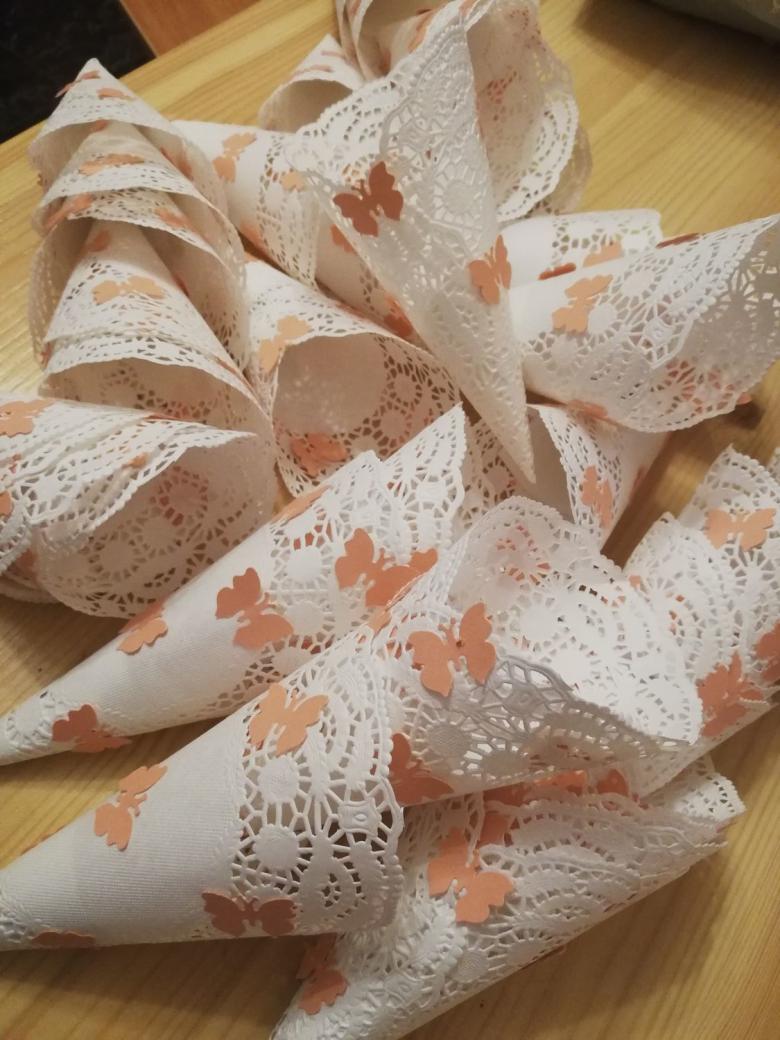
Tissue cups in the form of cones
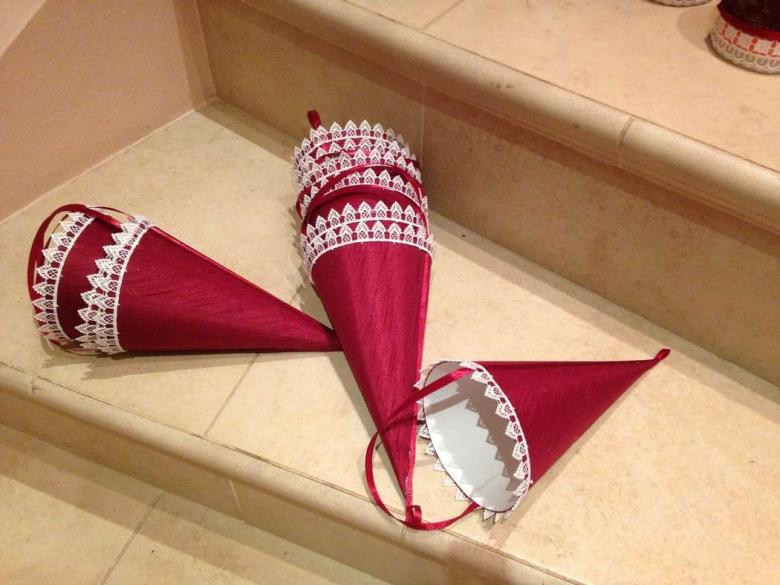
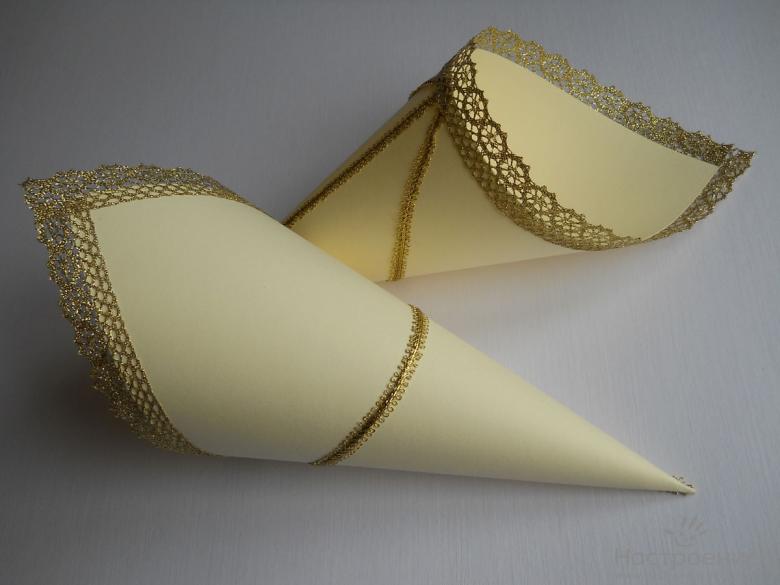
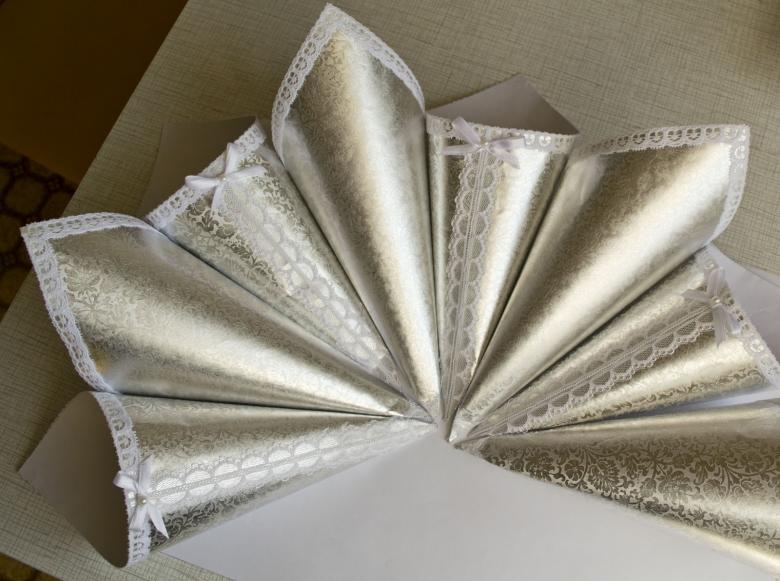
These models are characterized by increased strength and original patterns, but there is one drawback. When sprinkling the newlyweds with petals, the cone itself should remain in your hands (the fabric is dense, but heavy).
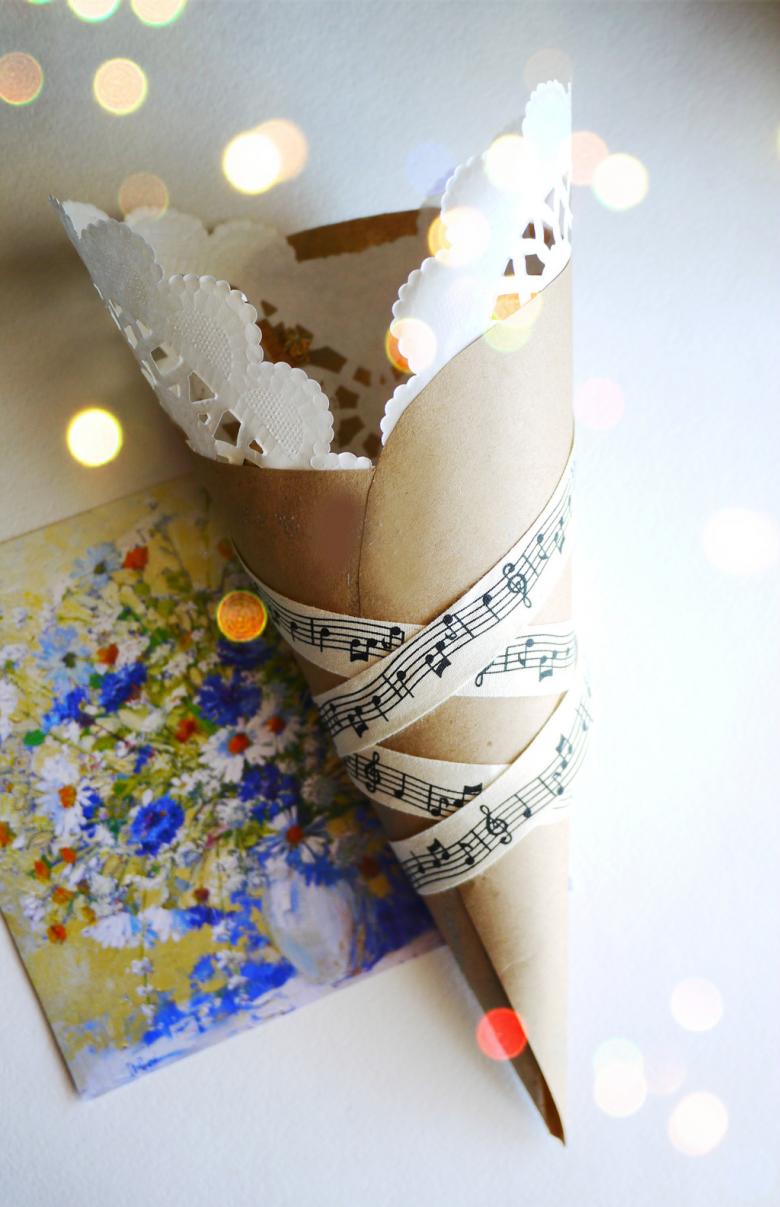
For the work we will need:
- Fabric base.
- Guipure and satin ribbons for decoration.
- Glue, thread and needle.
- Scissors.
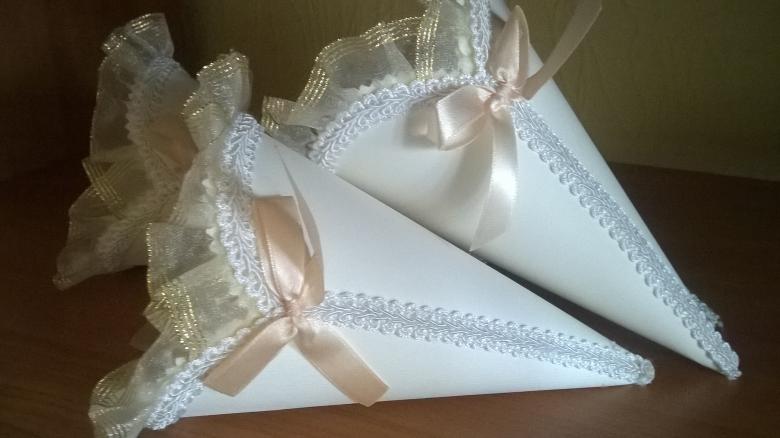
A step-by-step schematic instruction for the master:
- Let's make a template in the shape of a square.
- According to the layout, cut fabric blanks. You can use any material: dense fabric, silk, guipure alone or in composition, mesh materials.
- We wrap the blanks into cones. The edges of the product can be glued, and you can stitch with fine stitches.
- If you work with regular fabric, sew a strip of guipure along the outer edge. Such a detail will decorate your product, give it an original style.
- You can choose any colors, but the richer and brighter will look shiny fabric of monochrome shades (gold, cream, silver tones).
Fill our dolls with petals, and go to the wedding or discharge from the maternity hospital.
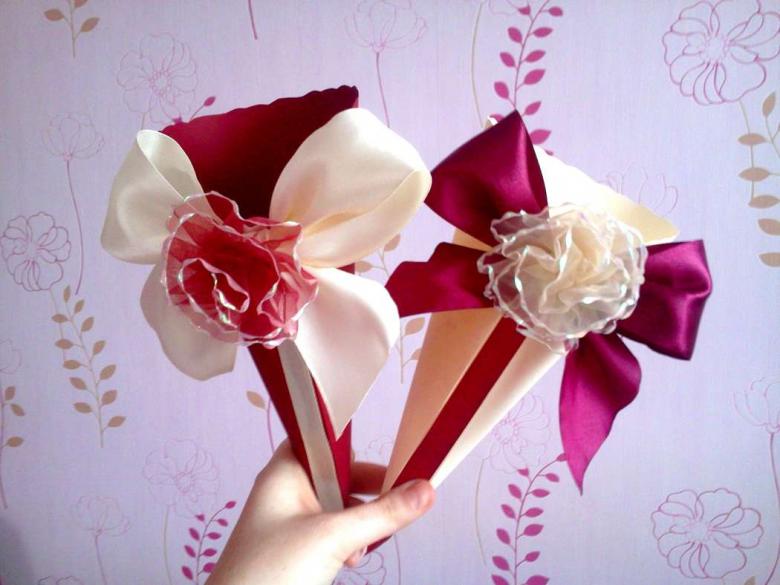
Sprinkling rose petals is a beautiful and new tradition among the younger generation. Envelopes with floral fragrant petals made by your hands will perfectly complement the romantic motifs of the holiday. Give the gift of joy and happiness to the new family!

