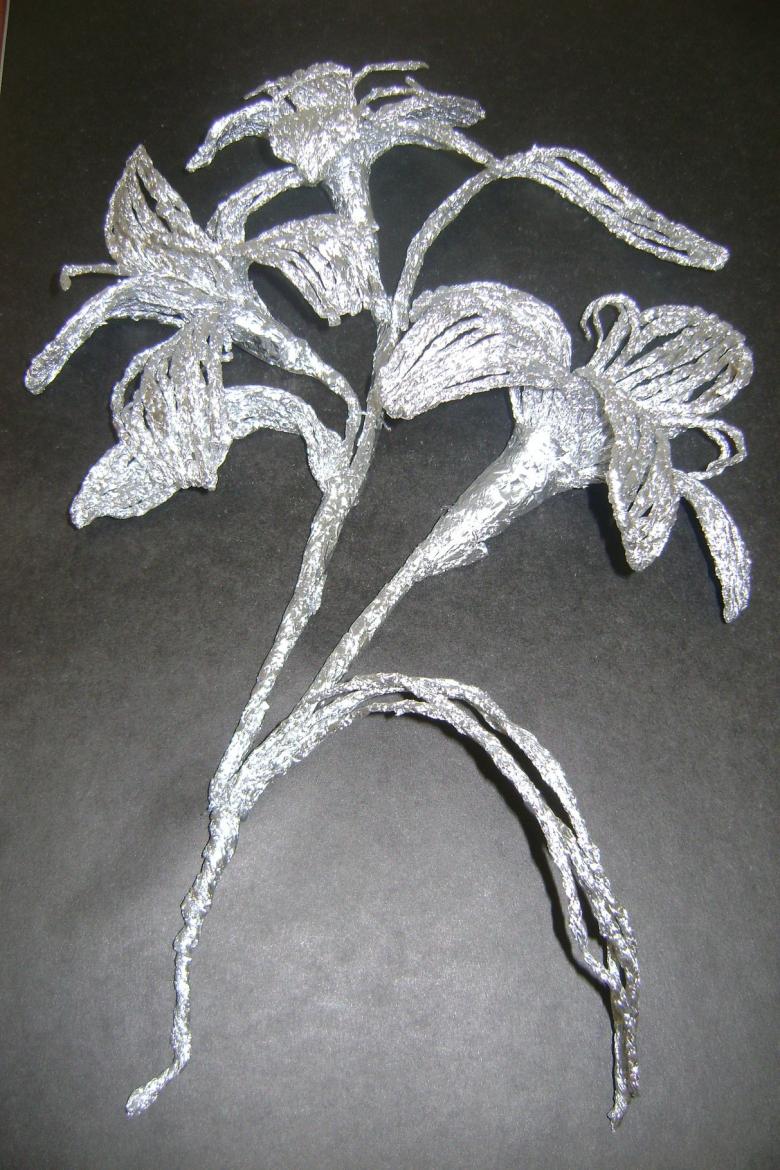
Flowers out of foil with their own hands - a detailed step by step master class (42 photos)
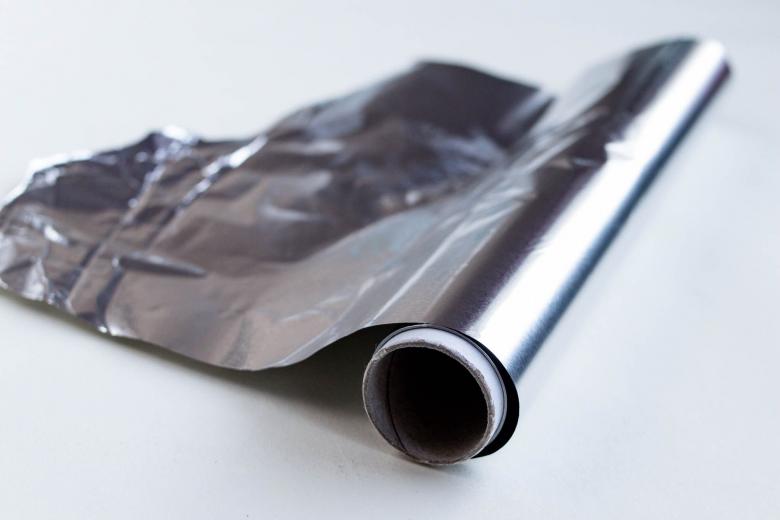
Since ancient times, craftsmen of applied art have been interested in the noble shiny material, called "foil".
Properties of foil
This thin aluminum sheet has a number of useful qualities:
- It does not deteriorate from increased moisture, temperature fluctuations, from sunlight and dust.
- The material is lightweight, environmentally friendly, impermeable.
- Foil is plastic, pliable and able to hold its shape. For these properties it is especially loved by masters of decorative art and has become a basic component of various compositions.
Currently, in addition to aluminum foil can be found steel, gold, silvered and tin foil.
How to make flowers out of foil
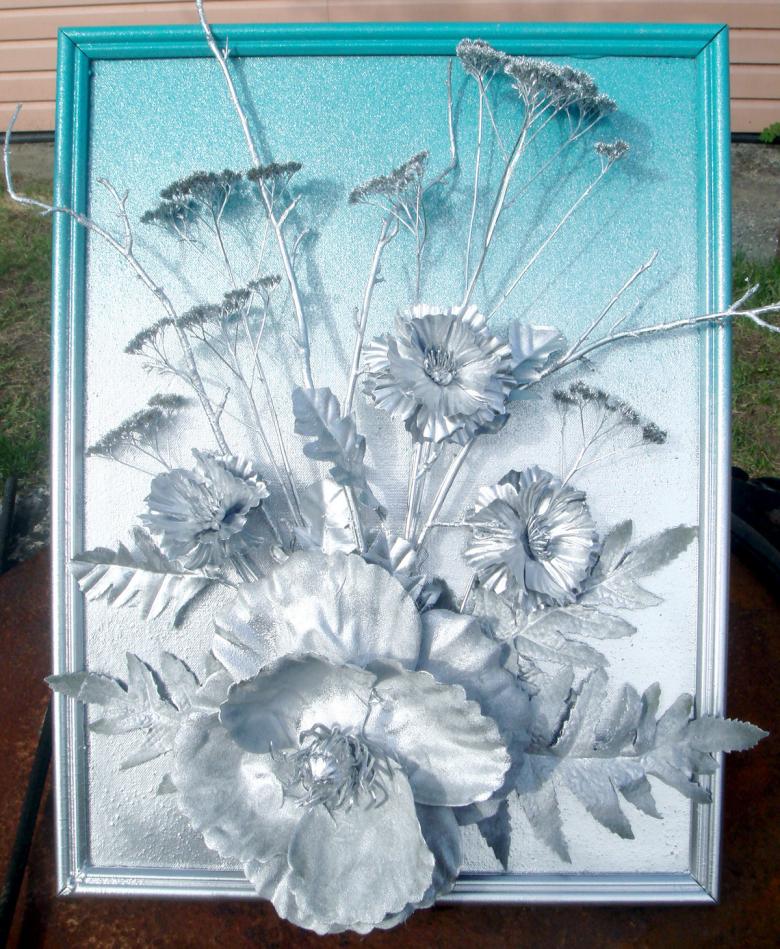
Flowers, made of foil with their own hands, will become a unique decoration of the interior or a holiday gift. For this, you can use ordinary food foil, bought in a hardware store. The purchase will not be expensive, and the craft itself will hold its shape well.
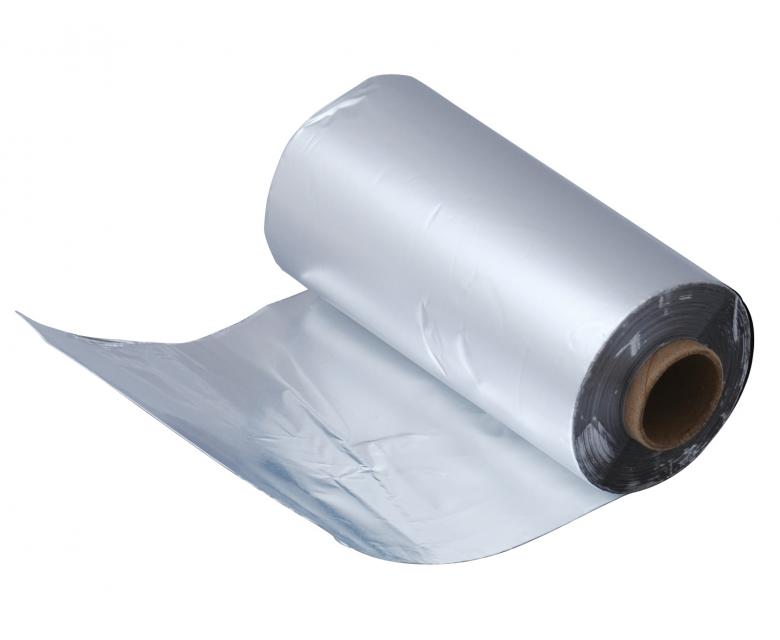
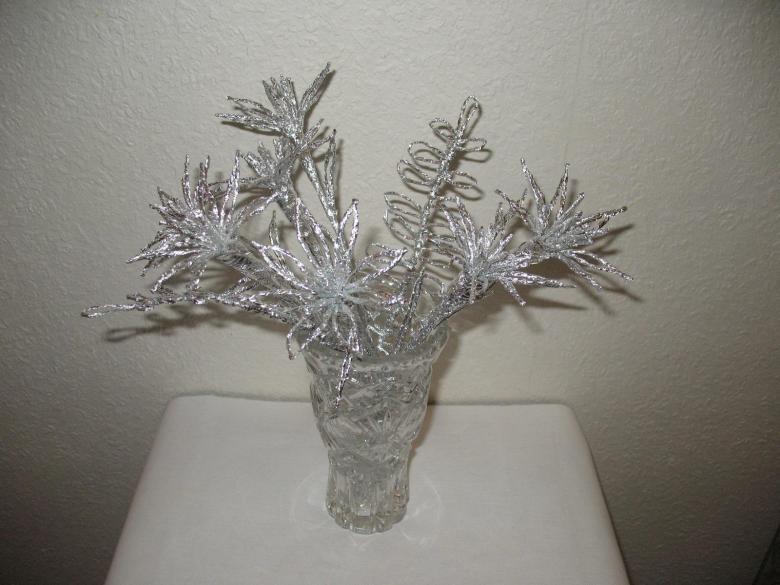
Fragile silver flowers will look especially elegant in clear crystal vases. Make such a beauty is really not that difficult. Even an inexperienced craftsman can cope with the work.

Tools and materials required for constructing flowers from foil
To make a foil flower, you will need:
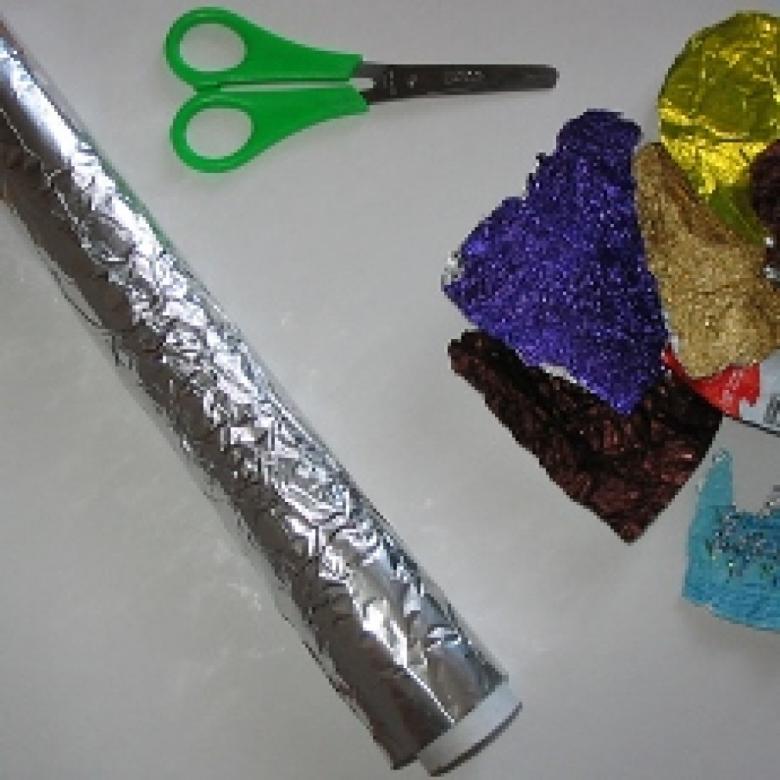
- food foil;
- wooden shish kebab skewers (bamboo sushi sticks can also be used);
- wire for making the frame of the craft (florist wire will also work for this purpose);
- PVA glue, ruler, sewing thread.
Designing a flower
Consider step by step making a flower out of foil.
- From the foil we cut off several strips. Their width is enough to make the same as the ruler.
- Twist the strips in the form of thin tubes. Do not twist the ends of the strips to connect the tubular parts with each other.
In the process of twisting foil strips may break. In this case, torn parts reconnect and twist.
When curling fine motor skills of hands develops well, so it would be good to involve children in the manufacture of tubes.
- Let's proceed to the manufacture of the petal frame.
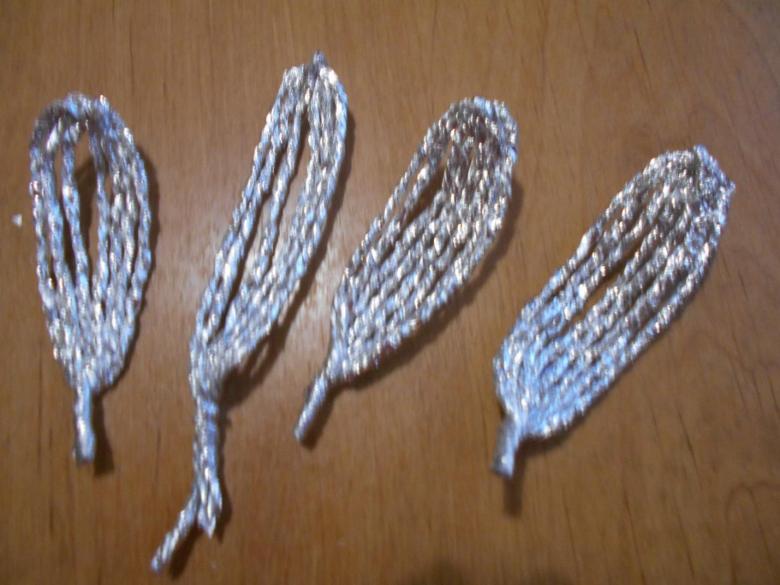
To do this, cut three pieces of wire of necessary length and wrap them in foil. Connect one end of the wires and wrap a thread of 2 mm. For strength, glue the bonded end with glue.
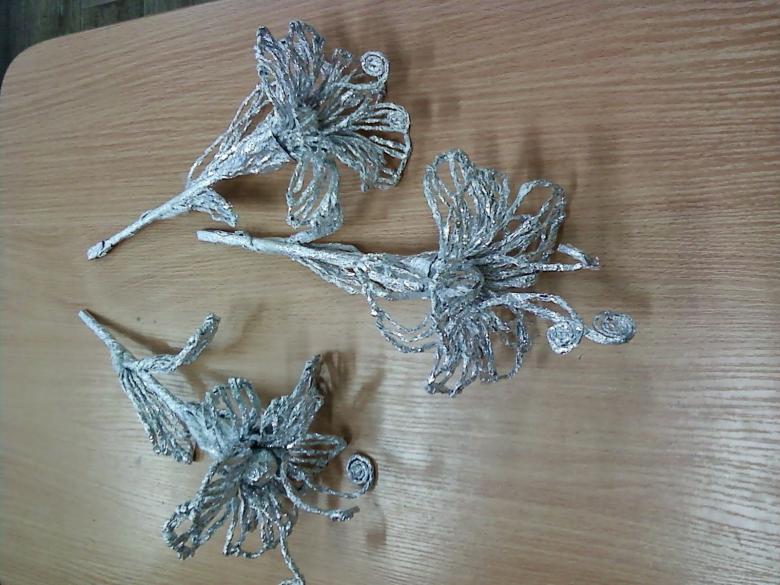
- To obtain a petal, fill the space between the veins of the resulting "trident" with twisted tubes. We start at the attachment point of the wires. Fix the first tube on it and start braiding the wires in staggered order. When one tube ends, screw the second one to it, and so on to the end.
Please note that when braiding the workpiece wire ends should converge at one point, forming a final form of petals.
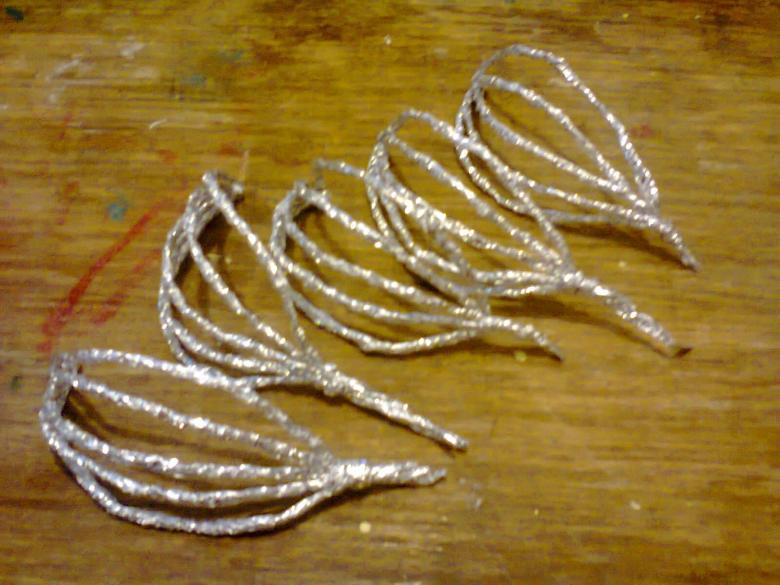
To make one flower will need six of these blanks.
- Similarly, we make three leaves. They should be slightly narrower and smaller in shape.
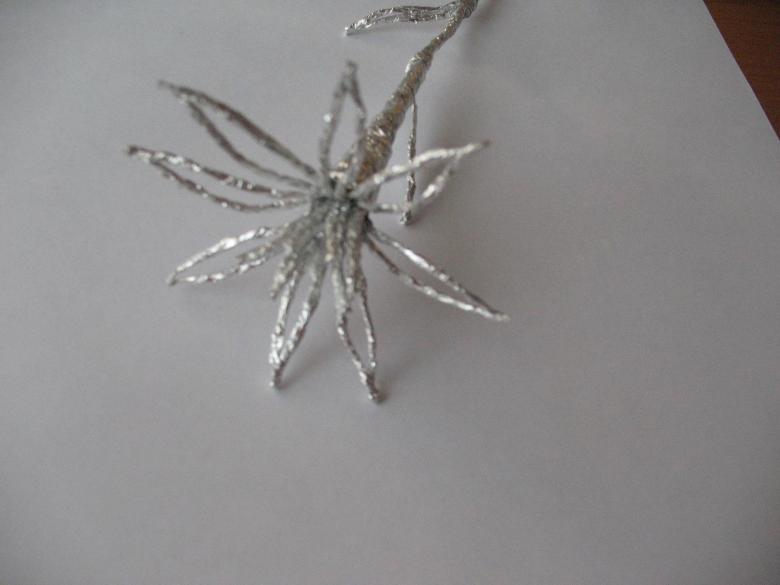
- Make stamens. For a flower is enough for 3-5 pieces.
We take the rod of a ballpoint pen (or a toothpick) and wind the tube of foil on it. The resulting spiral is removed from the rod and stretch a little.

- Assemble the flower.
At the end of a wooden stick with strings attached stamens. Then, around the stamens attach the first three petals in a circle. Fix the remaining petals in the gaps between the elements of the first row.
All parts are wrapped tightly with thread, and the attachment points are smeared with glue. Attach the leaves to the stem-stick with threads.
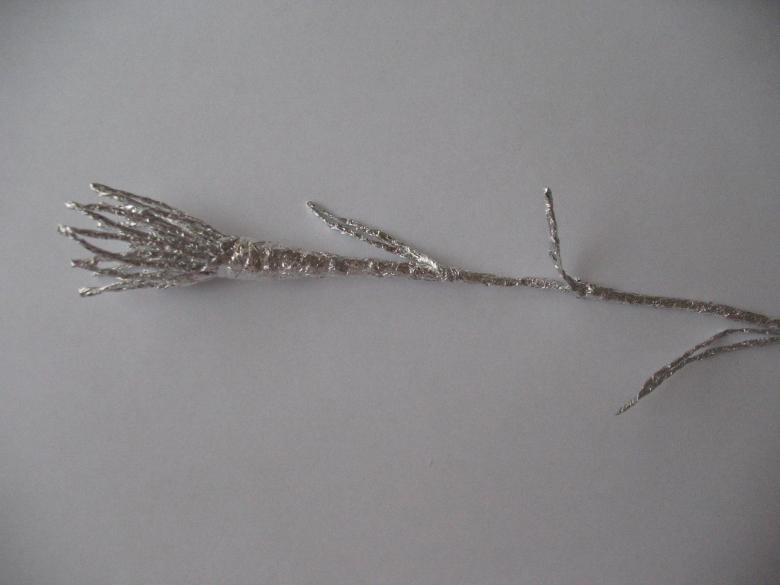
Next, using a strip of foil, cover the attachment point of the petals and start wrapping the stem. Secure the end of the wrapping with scotch tape or threads.
- Give the resulting flower desired shape.
For example, you can bend the outer row of petals outward, and the second - inward bud. In this case we get a beautiful iris.
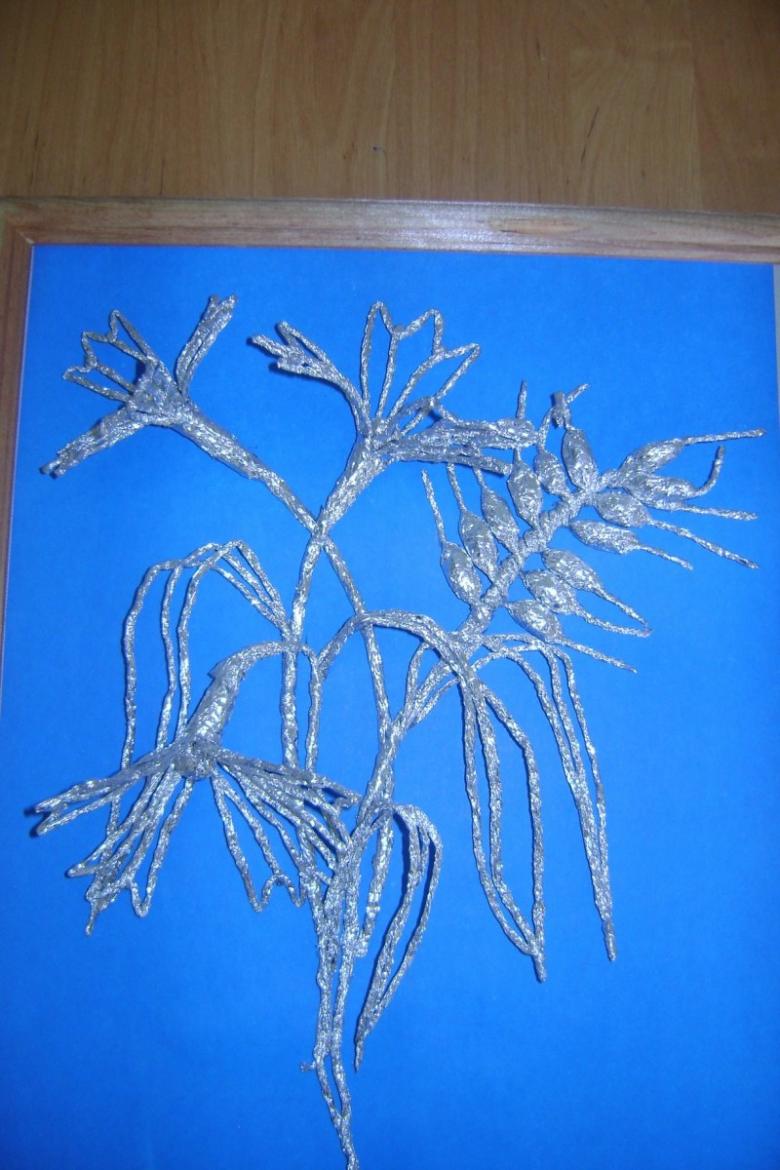
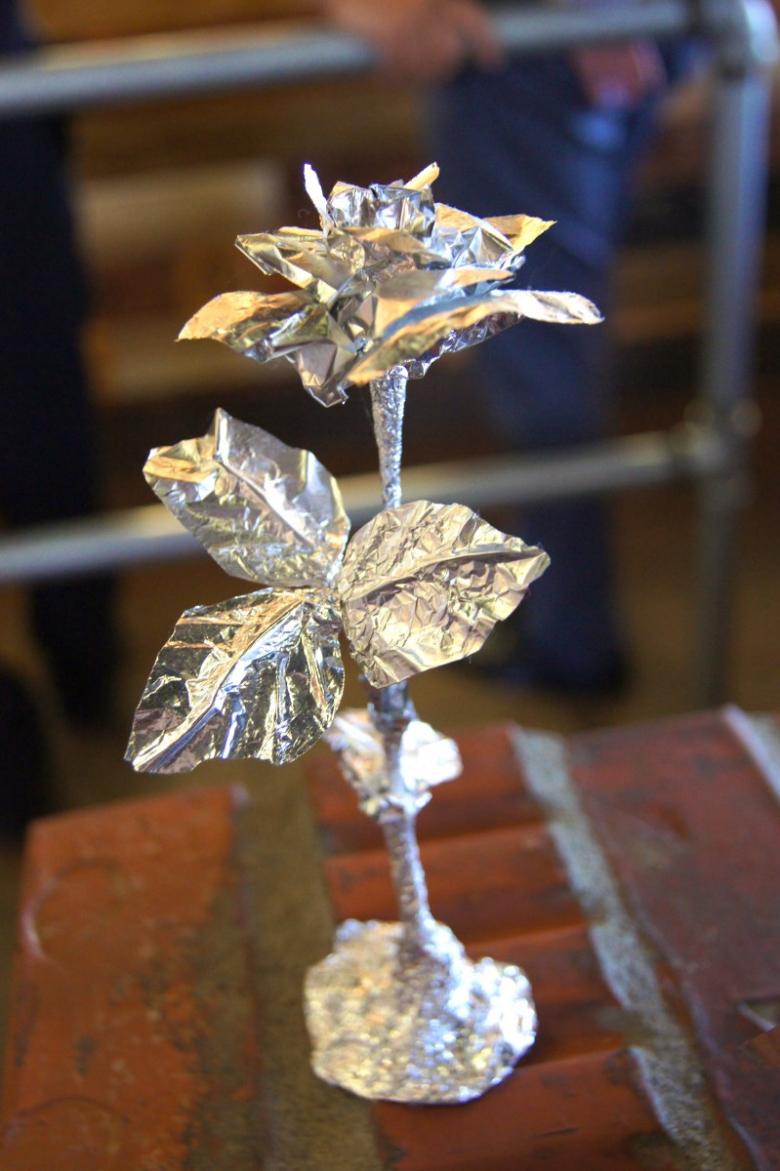
Petals and leaves can be made from a single piece of foil. Consider the process in detail.
- From foil cut a leaf or petal of the desired shape. In shaping the edges of the workpiece adhere to the appearance of this element in nature.
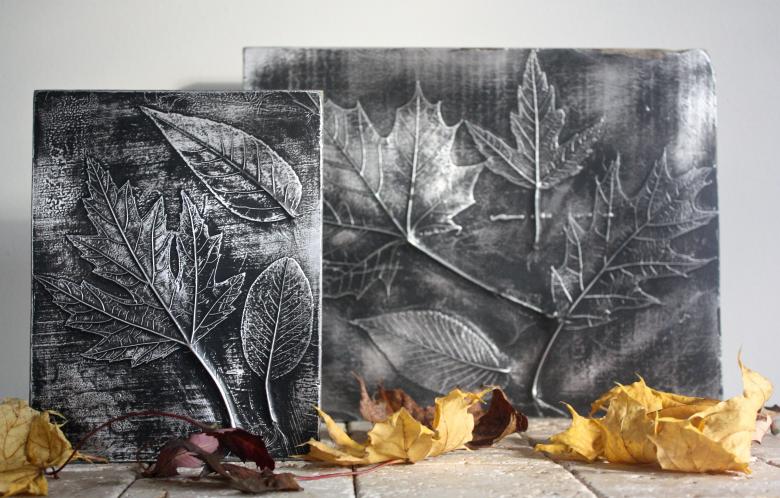
- Using a toothpick carefully so as not to tear, trace all the veins of the petal.
- Fingers pads give the desired curve of the flower element.
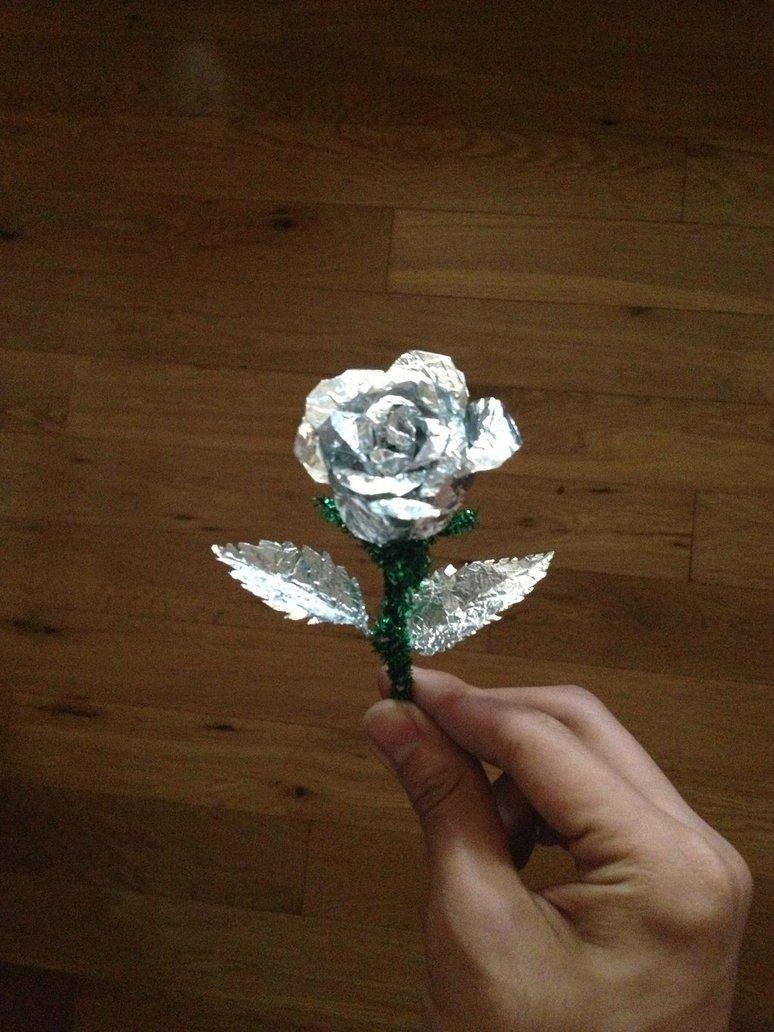
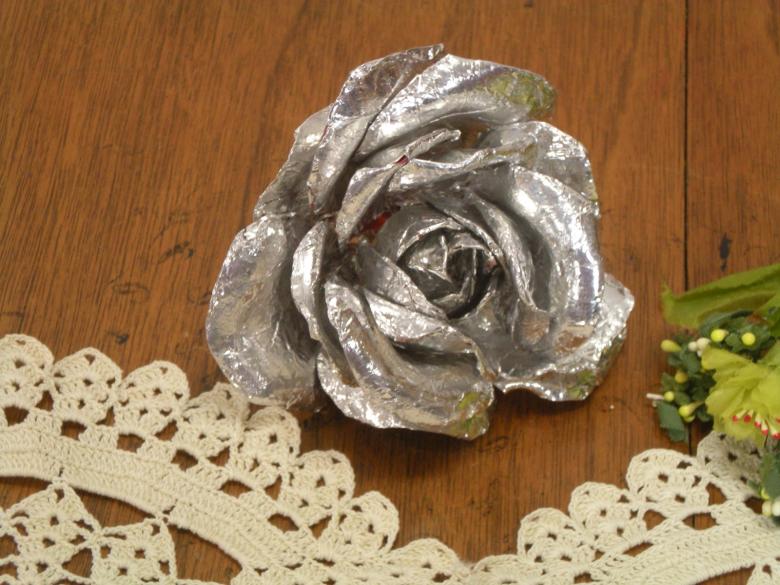
Roses from foil
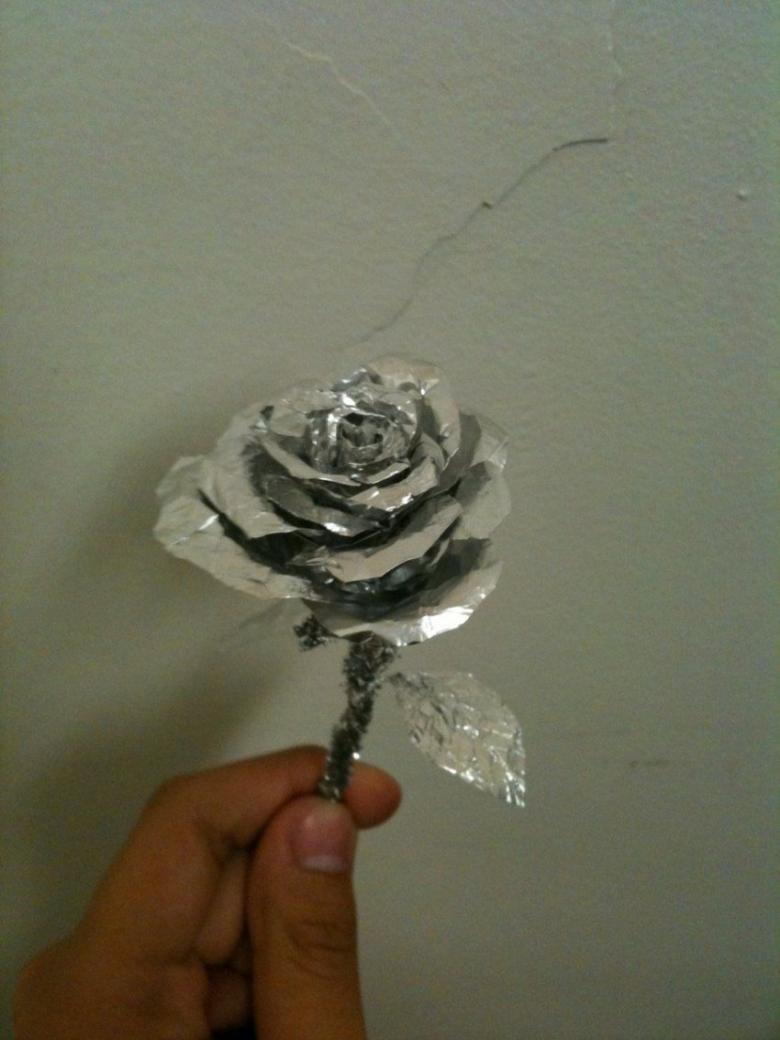
Bouquet of glittering roses will undoubtedly attract the eye with its beauty and originality.
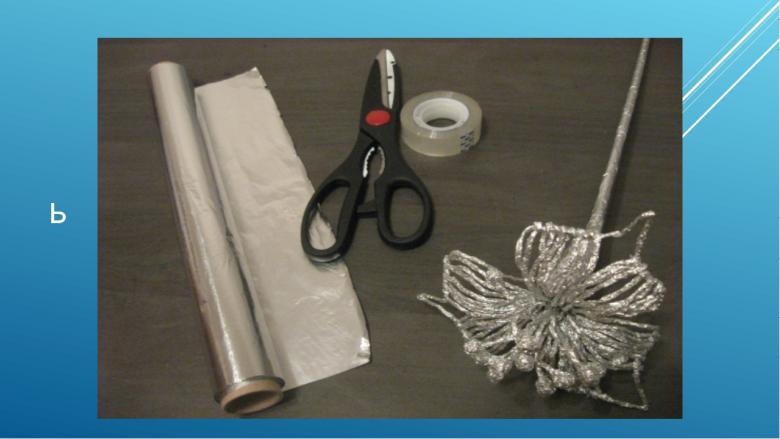
For the work you need to prepare:
- food foil;
- ruler.
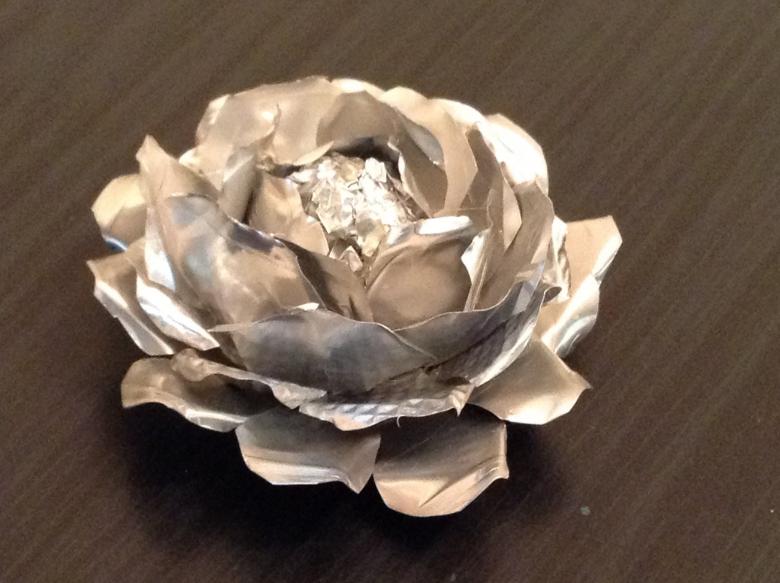
Let's proceed to make rosebuds.
- From a roll of foil cut strips of 60 cm in length. The width of the strips should be a quarter larger than the size of the finished bud.
- The bottom part of the strips bend on ¼ of the total width, leaving the mat side inside.
- The sides of the strips bend at 1 cm.
- We begin to carefully roll the top one-layer portion of the workpiece. In this twisting should be done slightly askew, forming the resulting spiral in the form of a rose.
Tinfoil is easy to mold, so the process of making a flower will not be difficult.
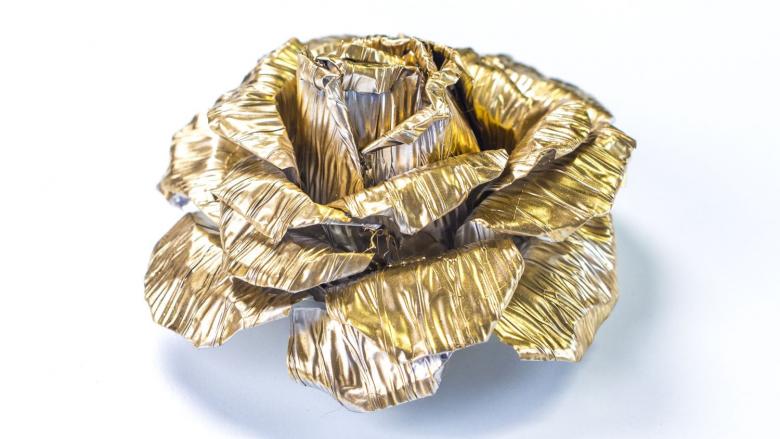
- Make the required number of rosebuds, which can be attached to the stems or fill a decorative basket with them.
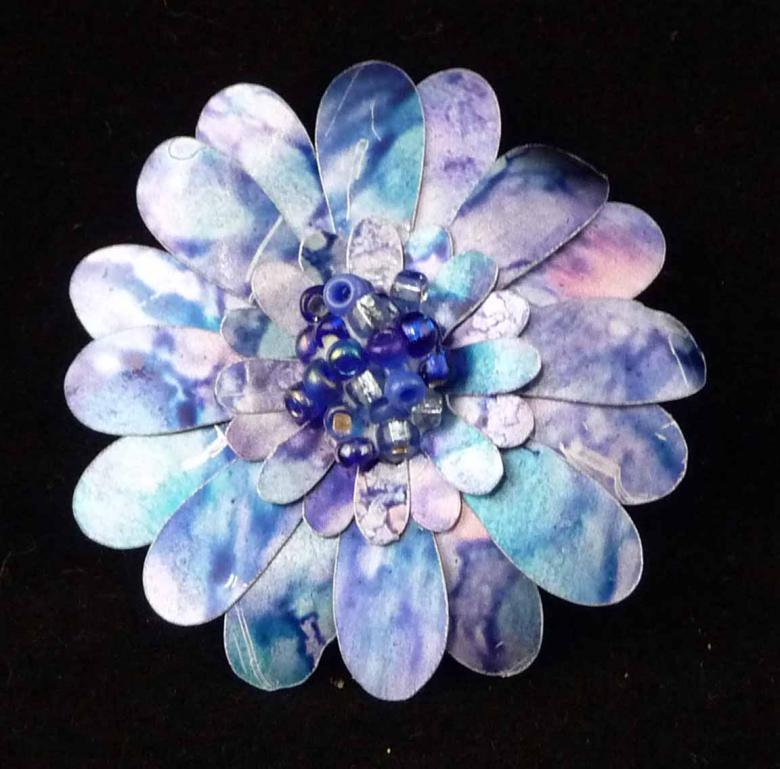
If the floral composition needs to add color, in this case you can use spray paint.
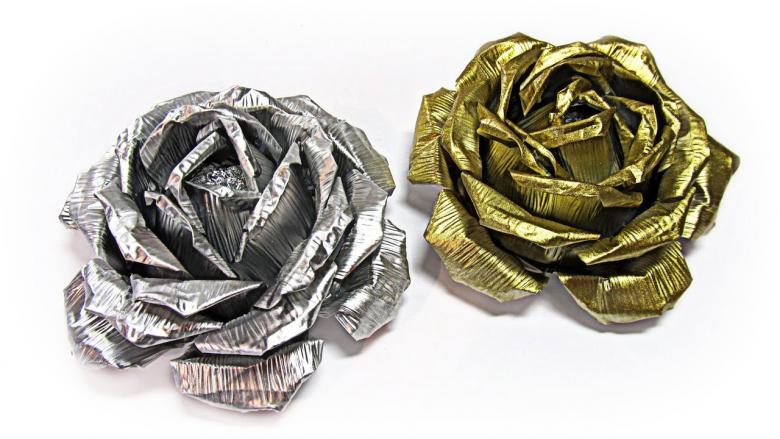
Nowadays, the use of foil in creating floral decorations is becoming more and more popular due to the following positive points: handicrafts are easy to construct, durable, unique, colorful. Materials are inexpensive, and the manufacturing process fascinates family members of all ages.

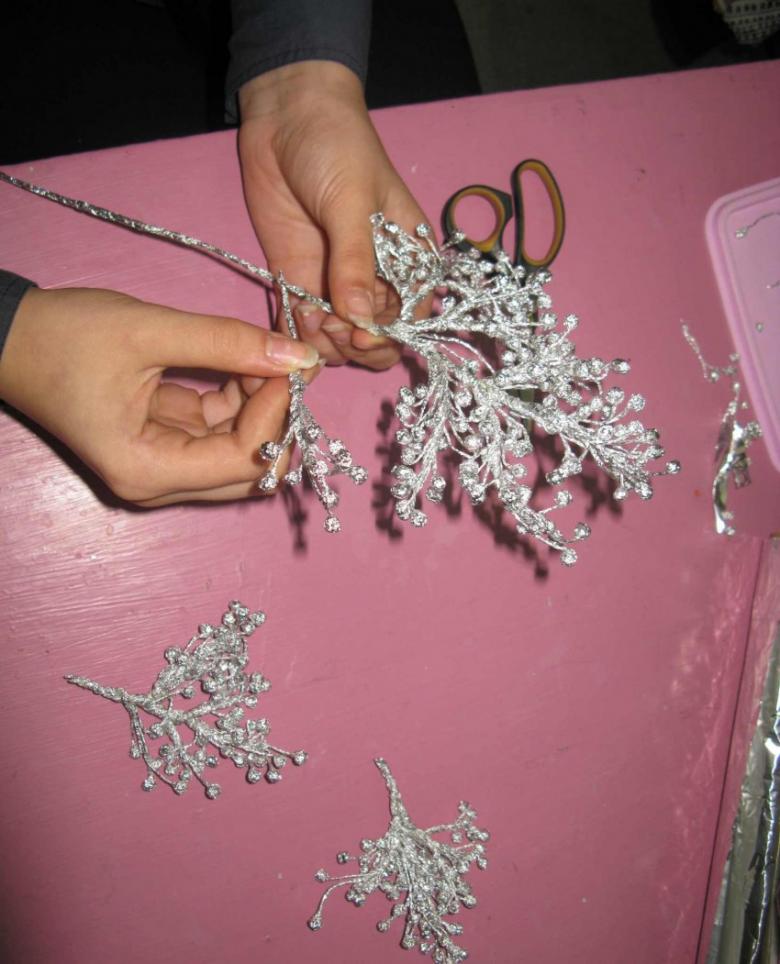
Flowers from foil can be used in the creation of necklaces, hairpins, wreaths for decorating the front door, garlands and many other original accessories.

